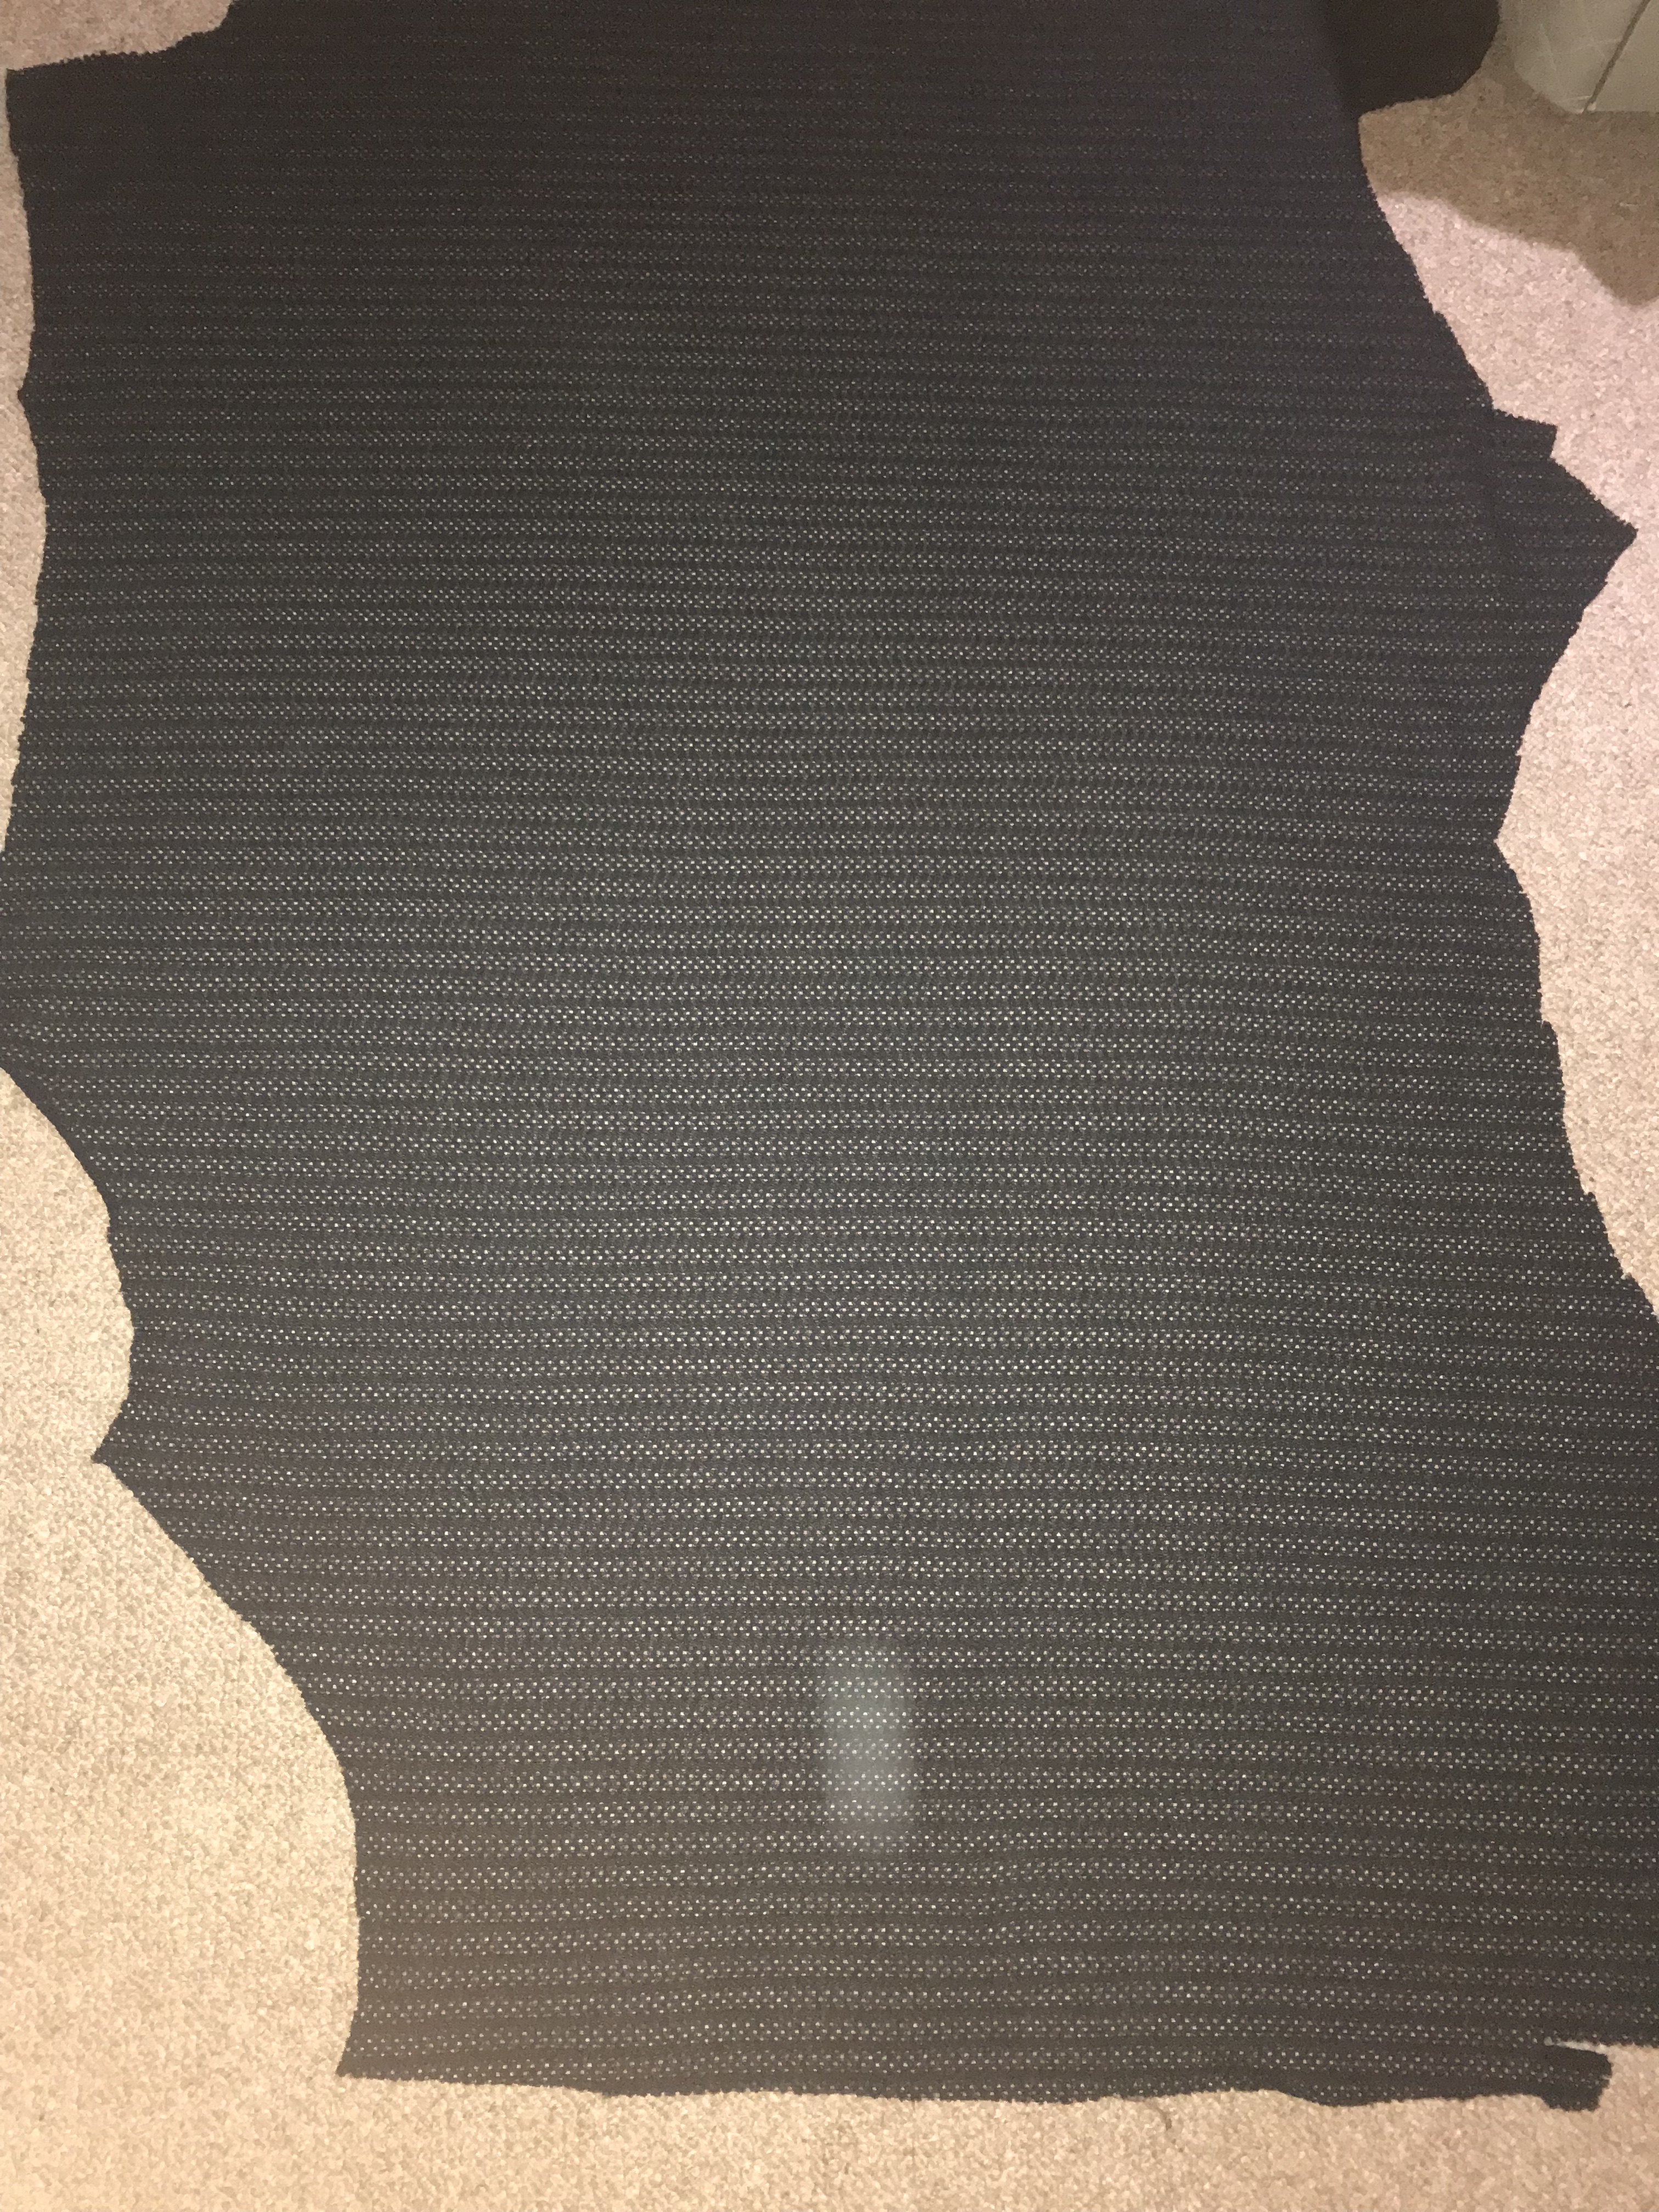
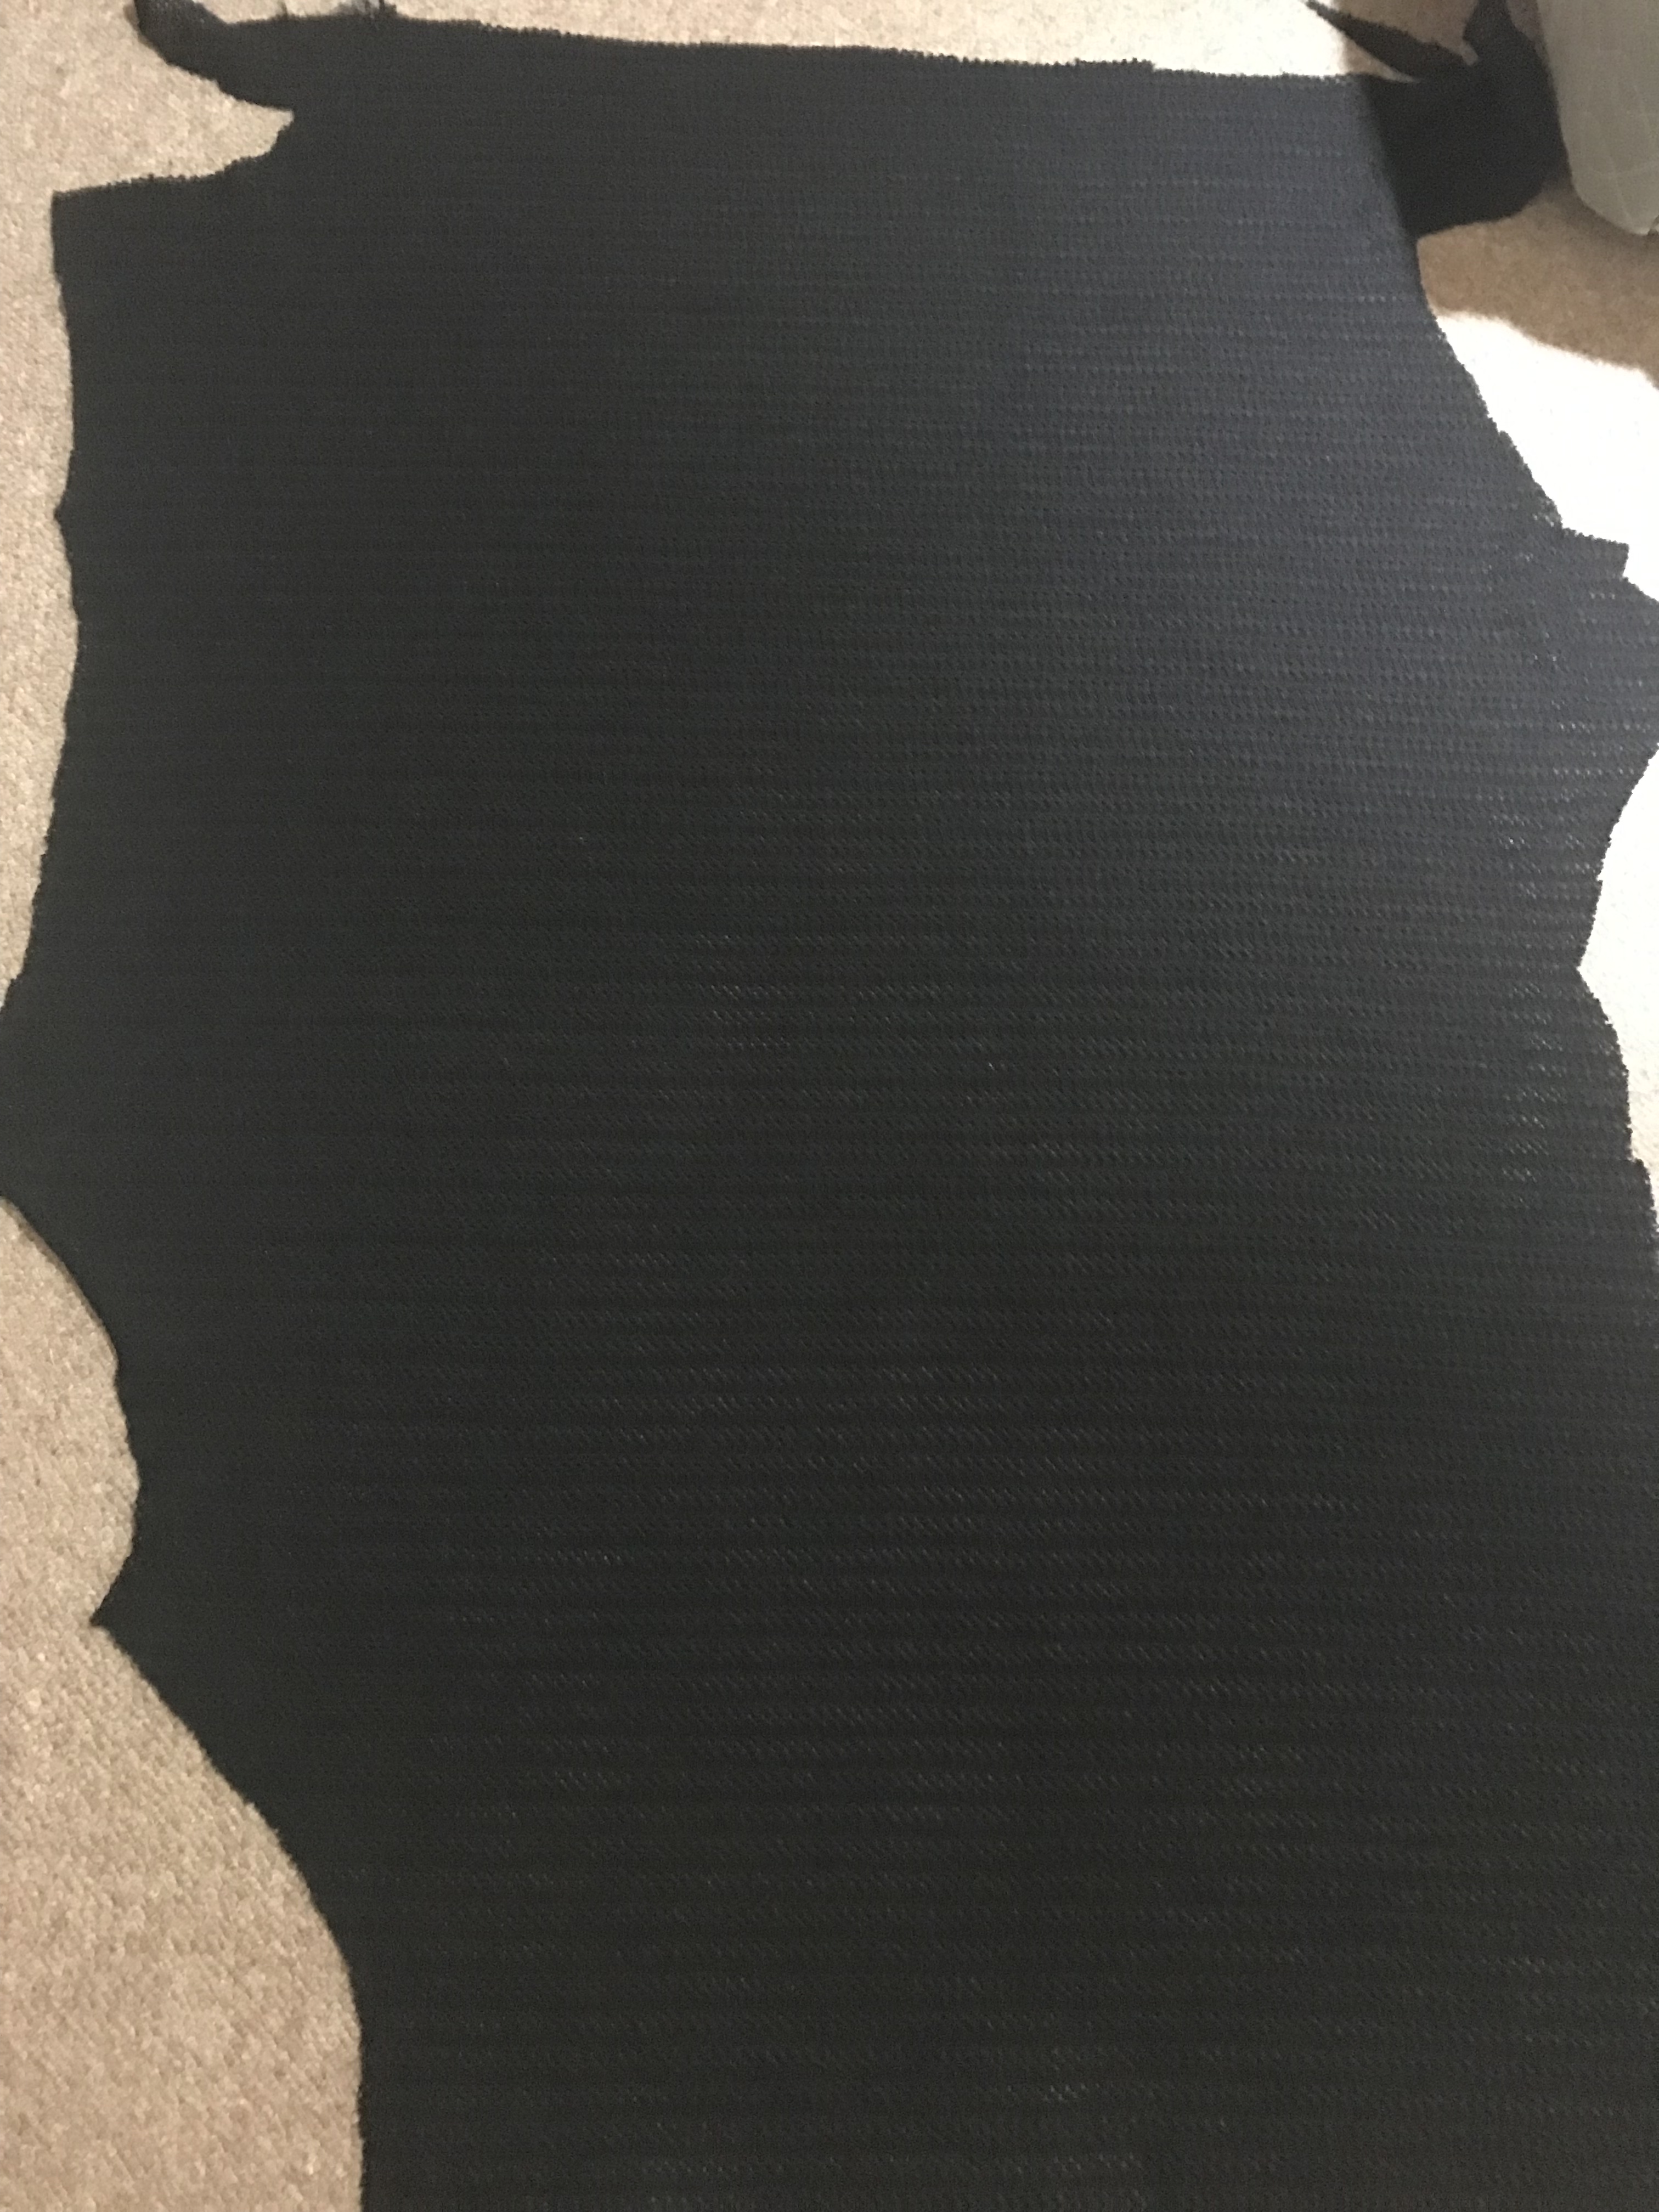
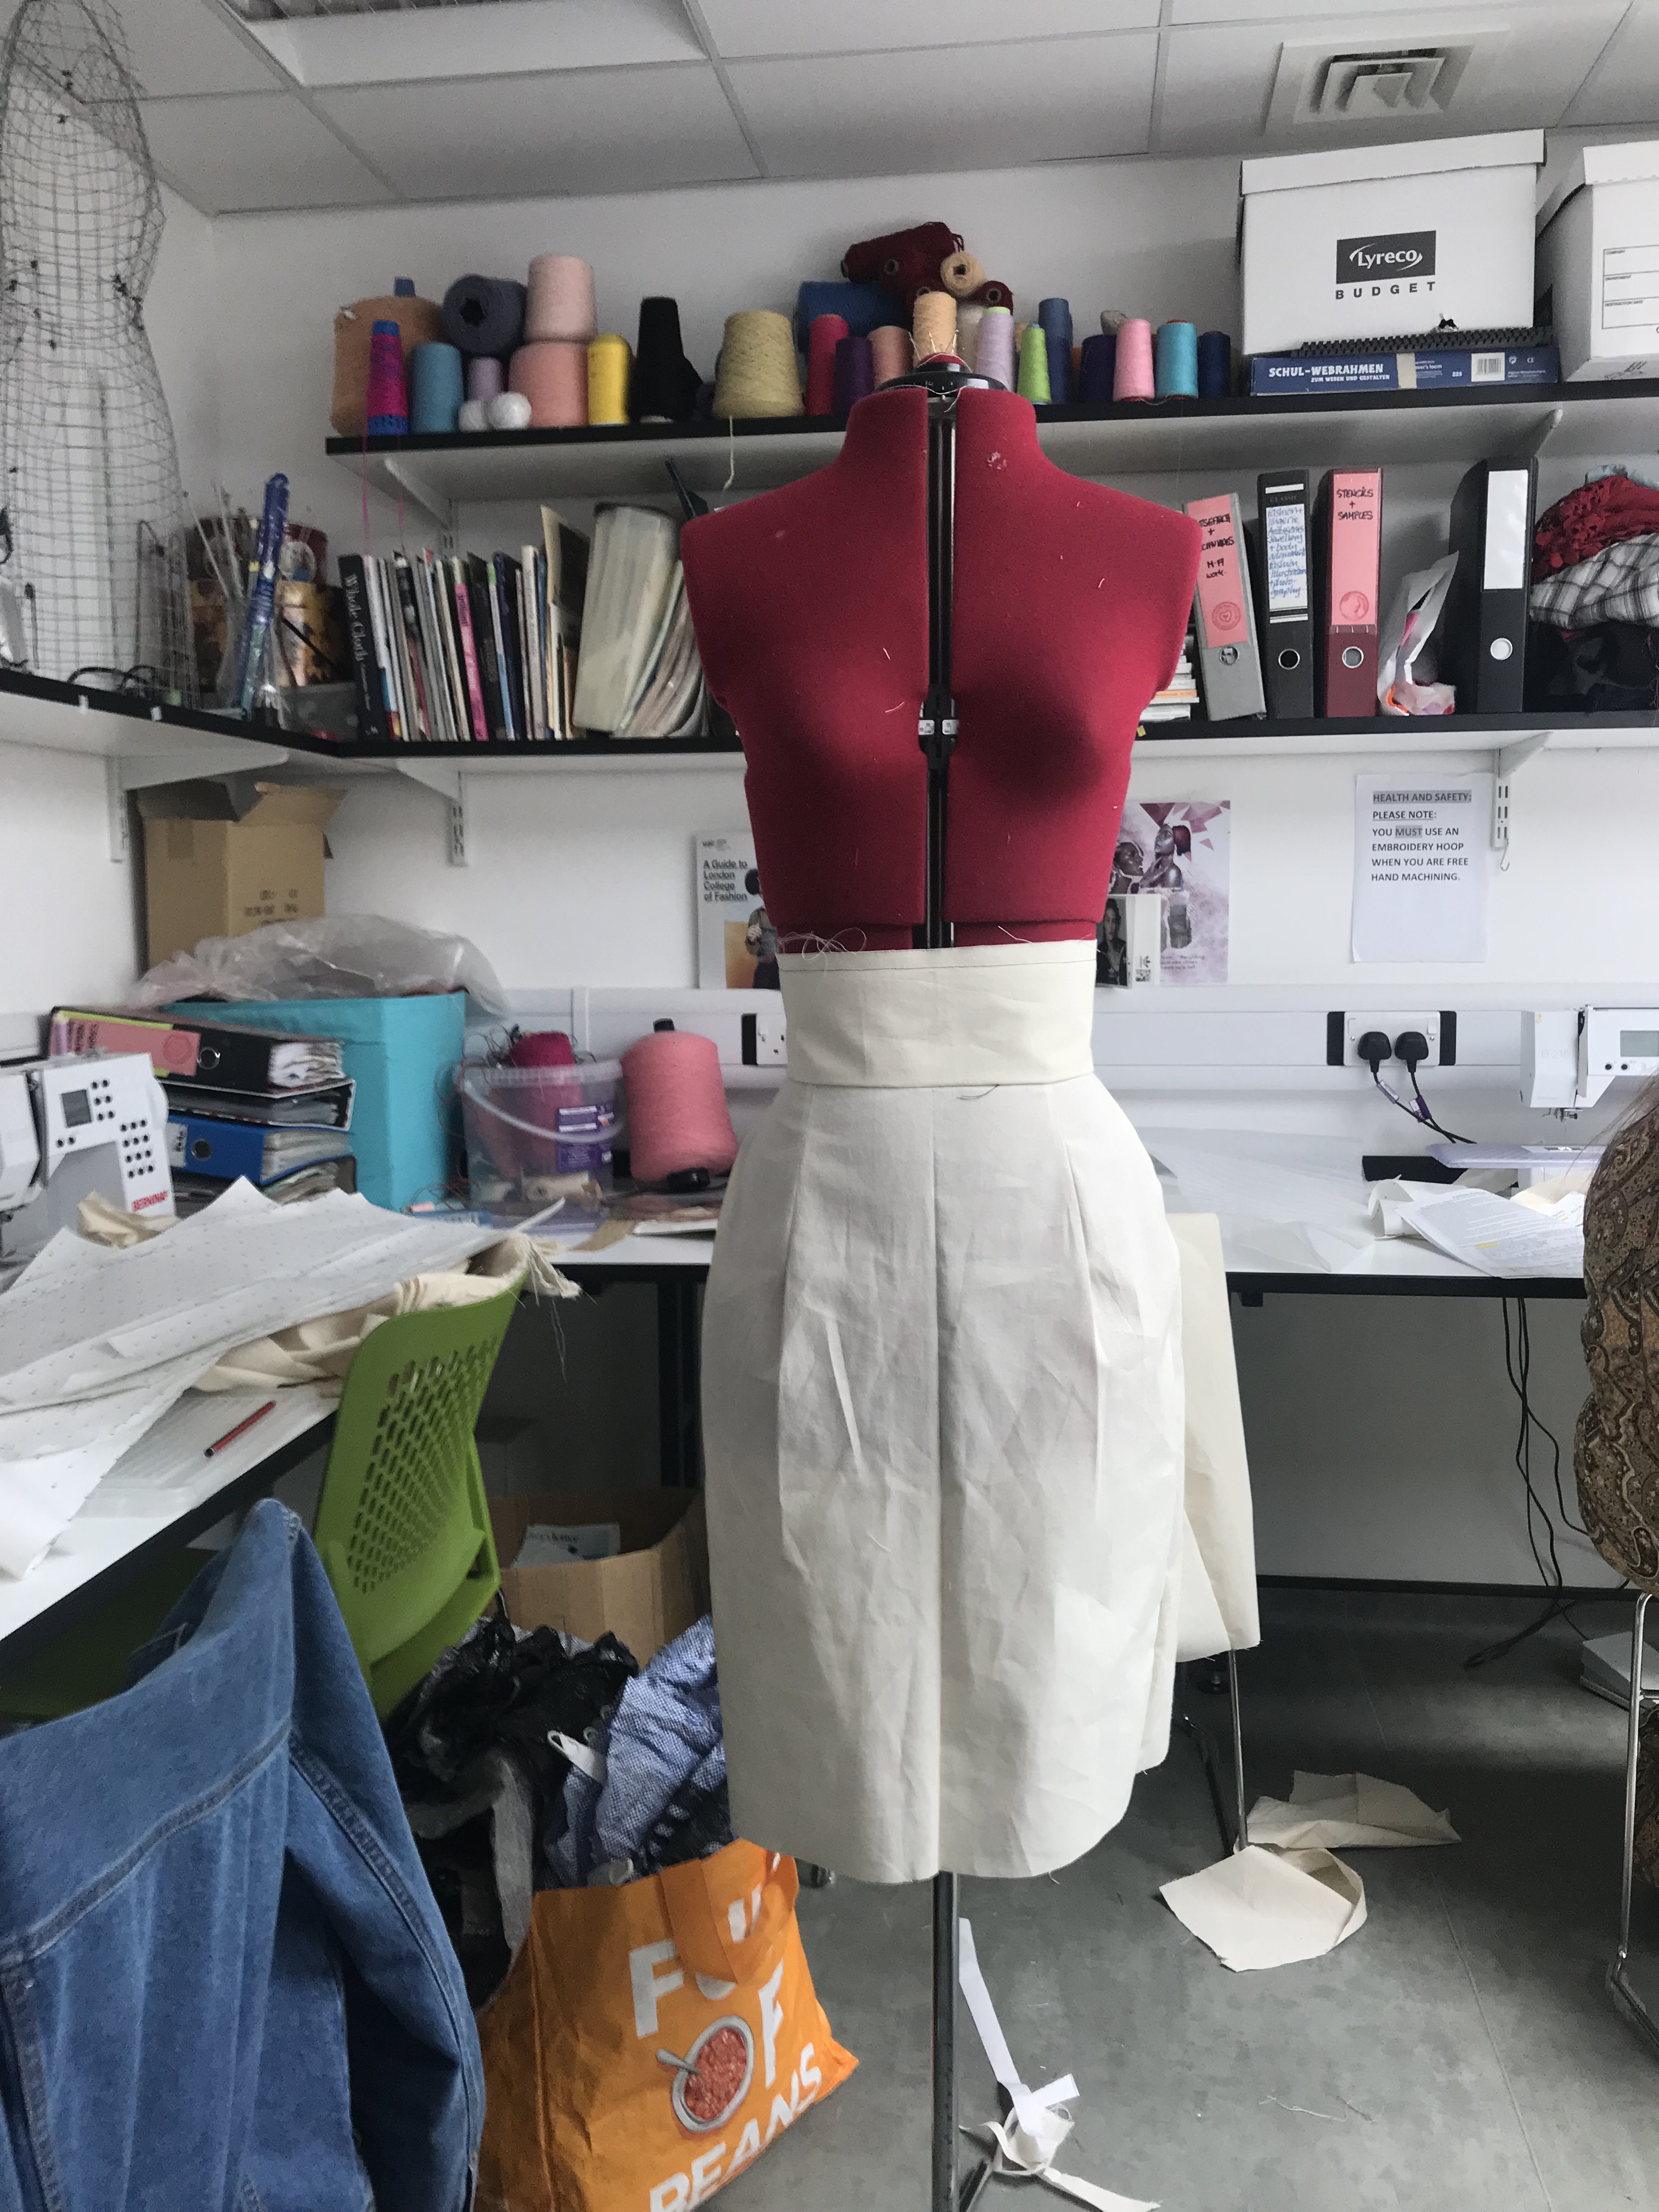
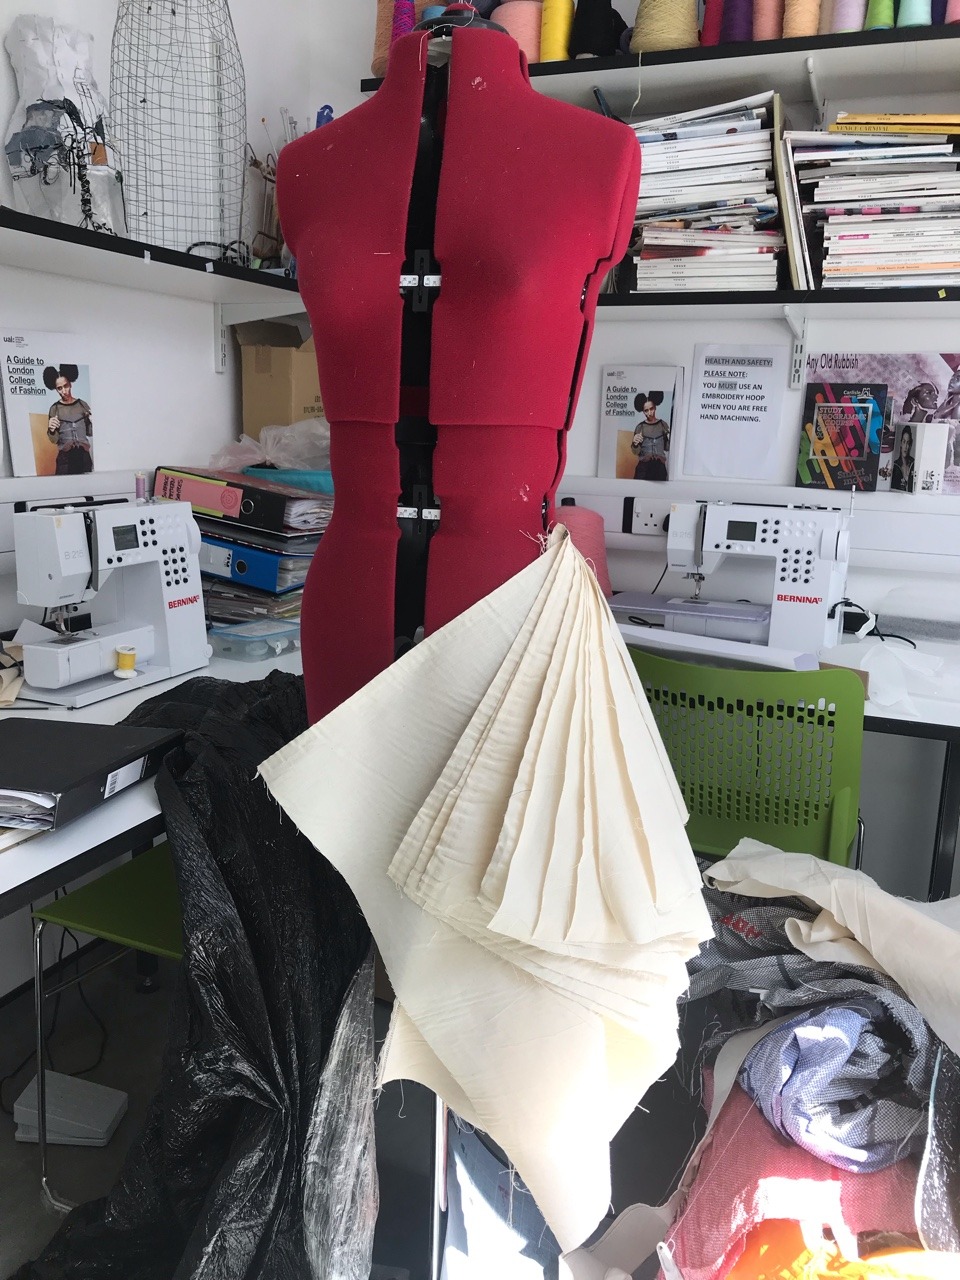
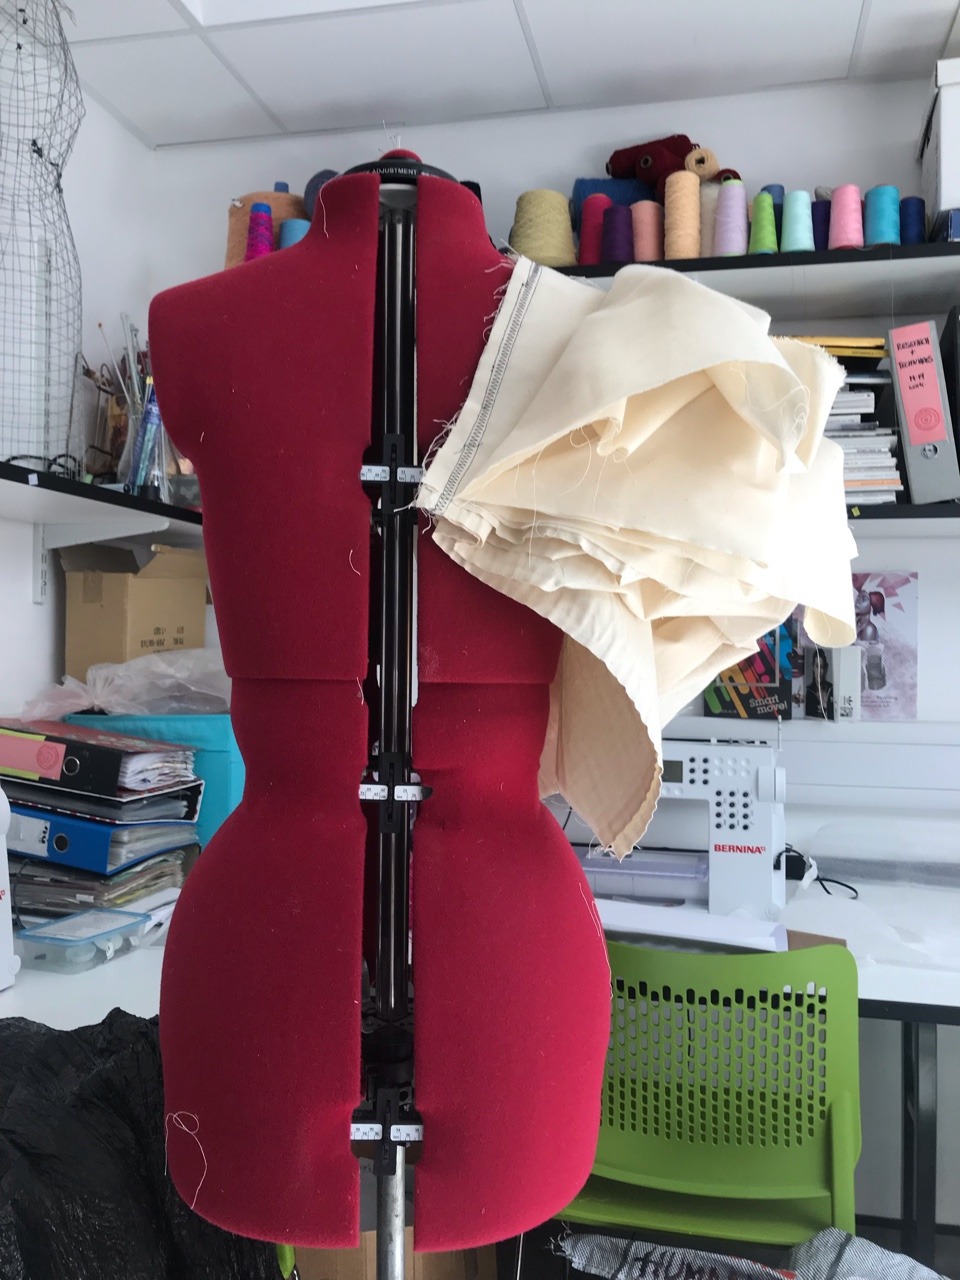
Toile 1: before creating the first toile I draped a piece of fabric on to the stand to create a rough pattern for the toile before cutting the pattern. (The stand was set to the models measurements).
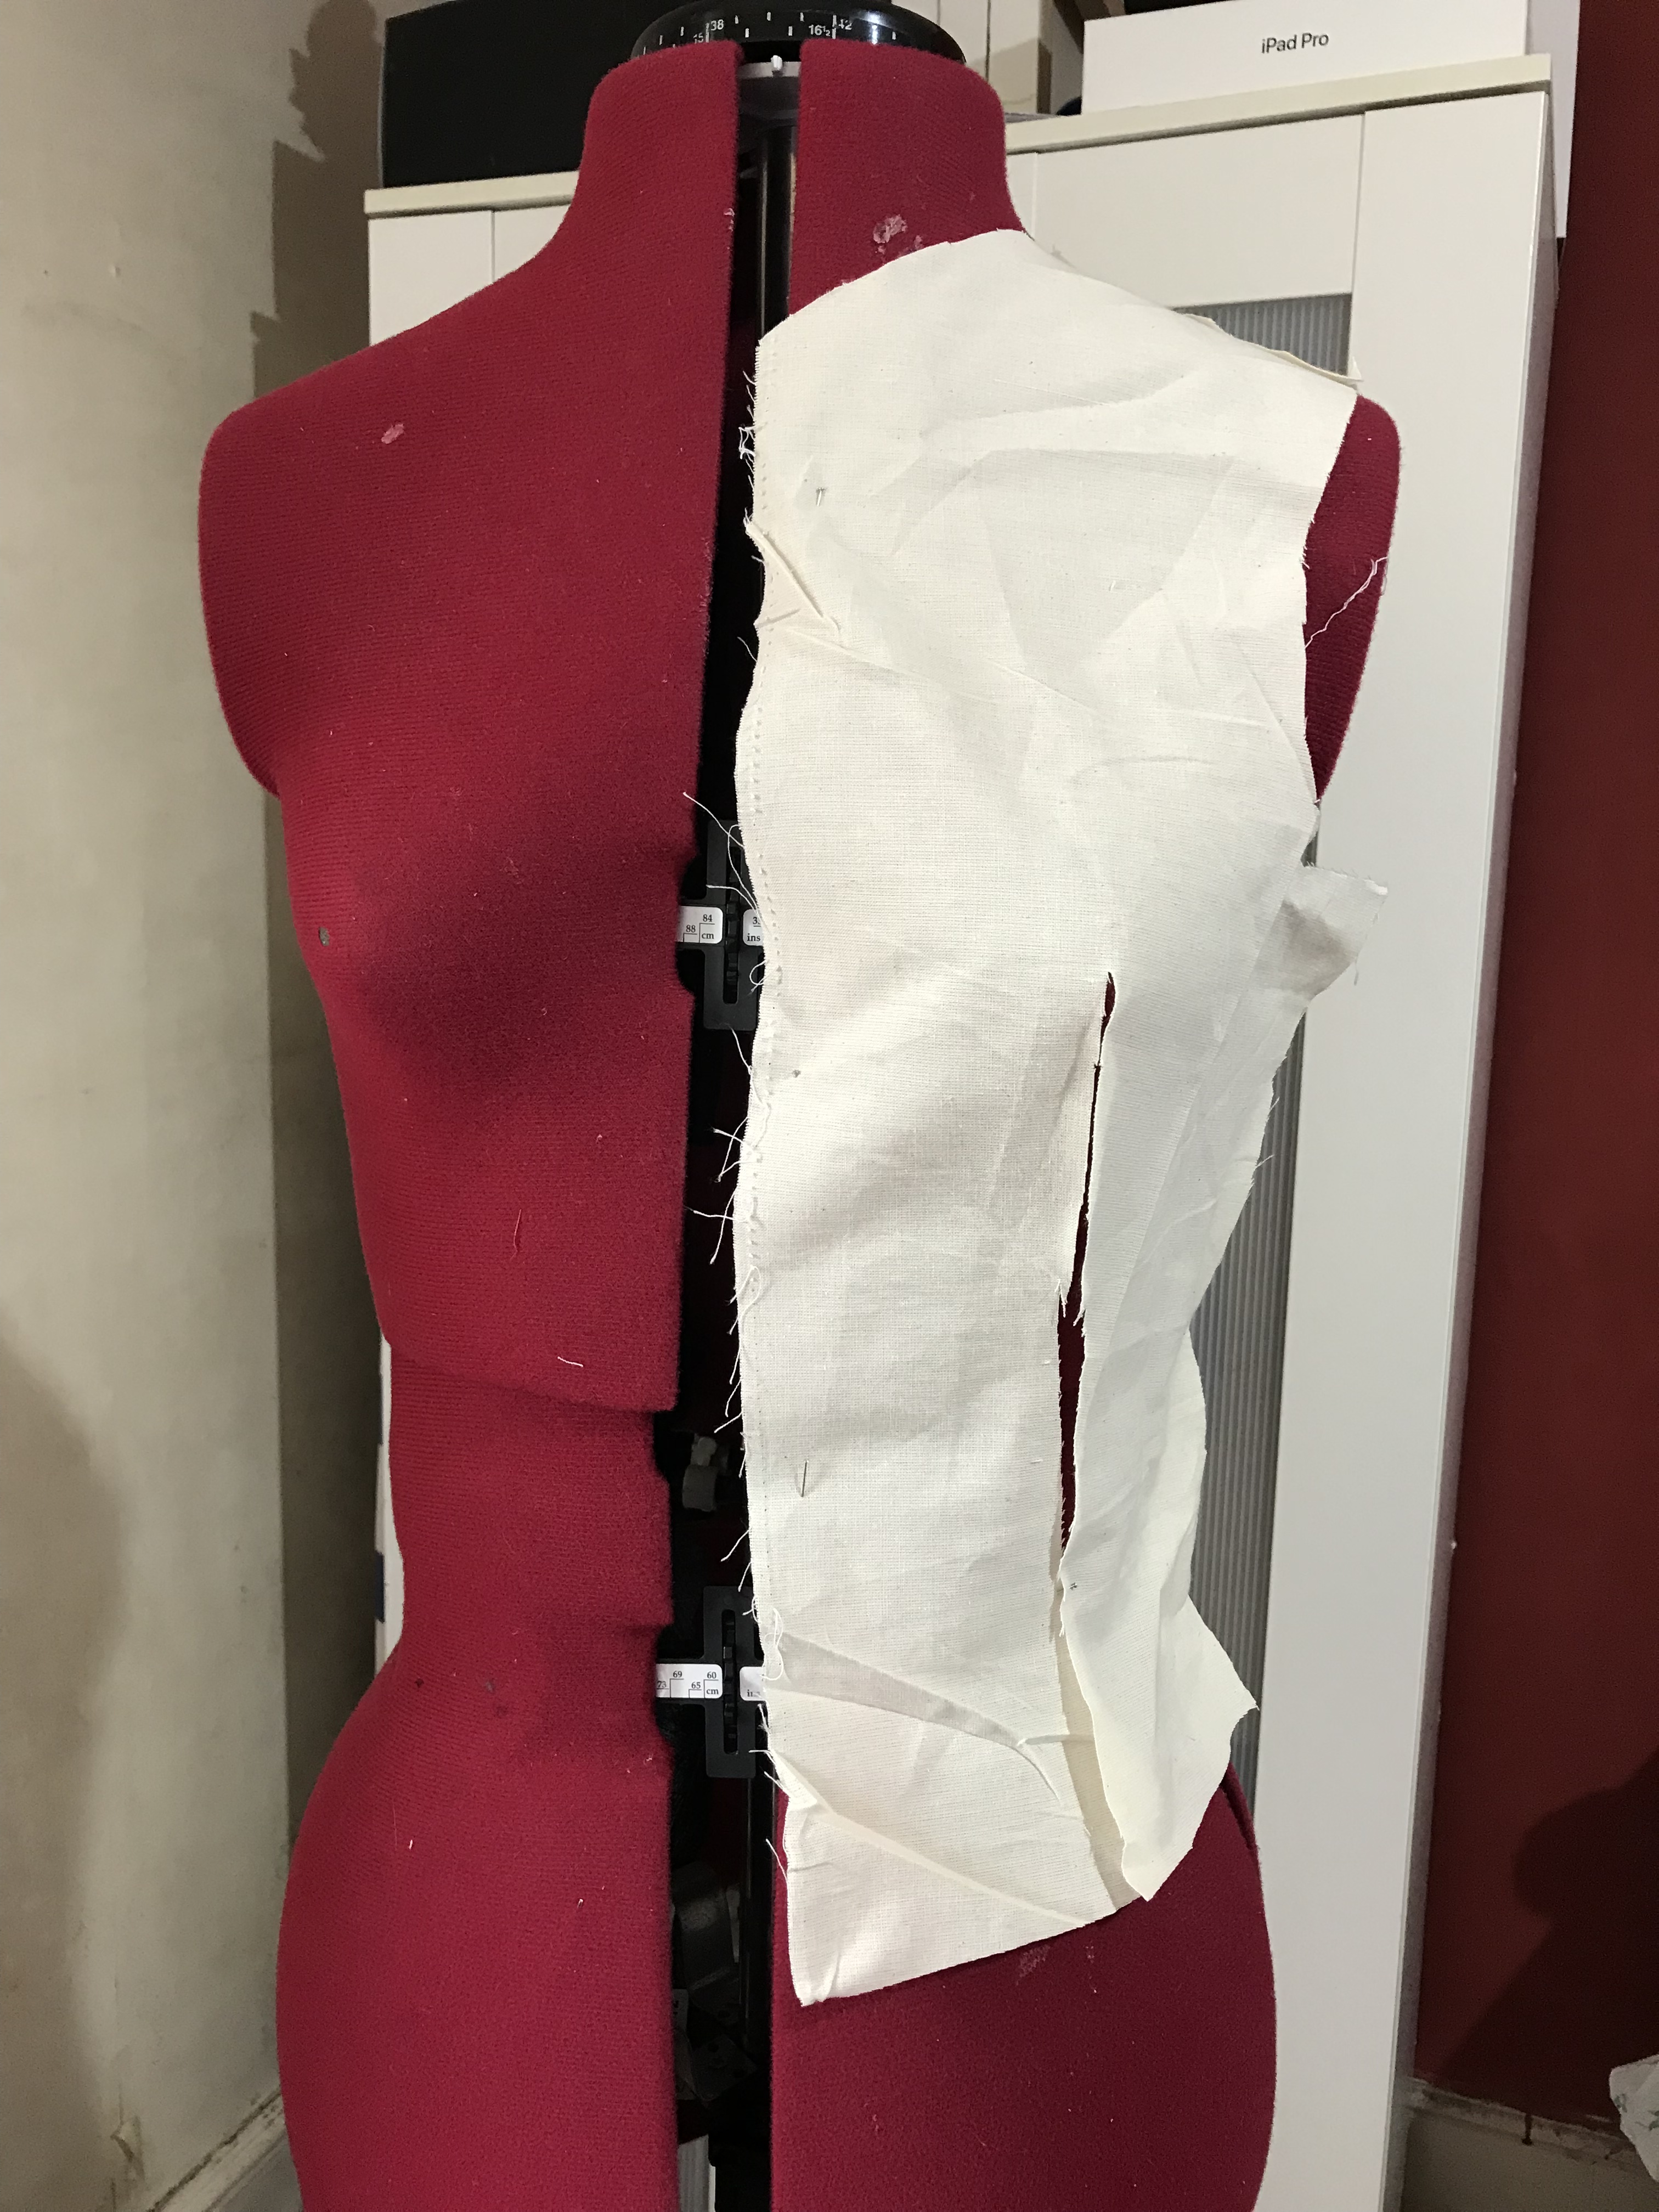
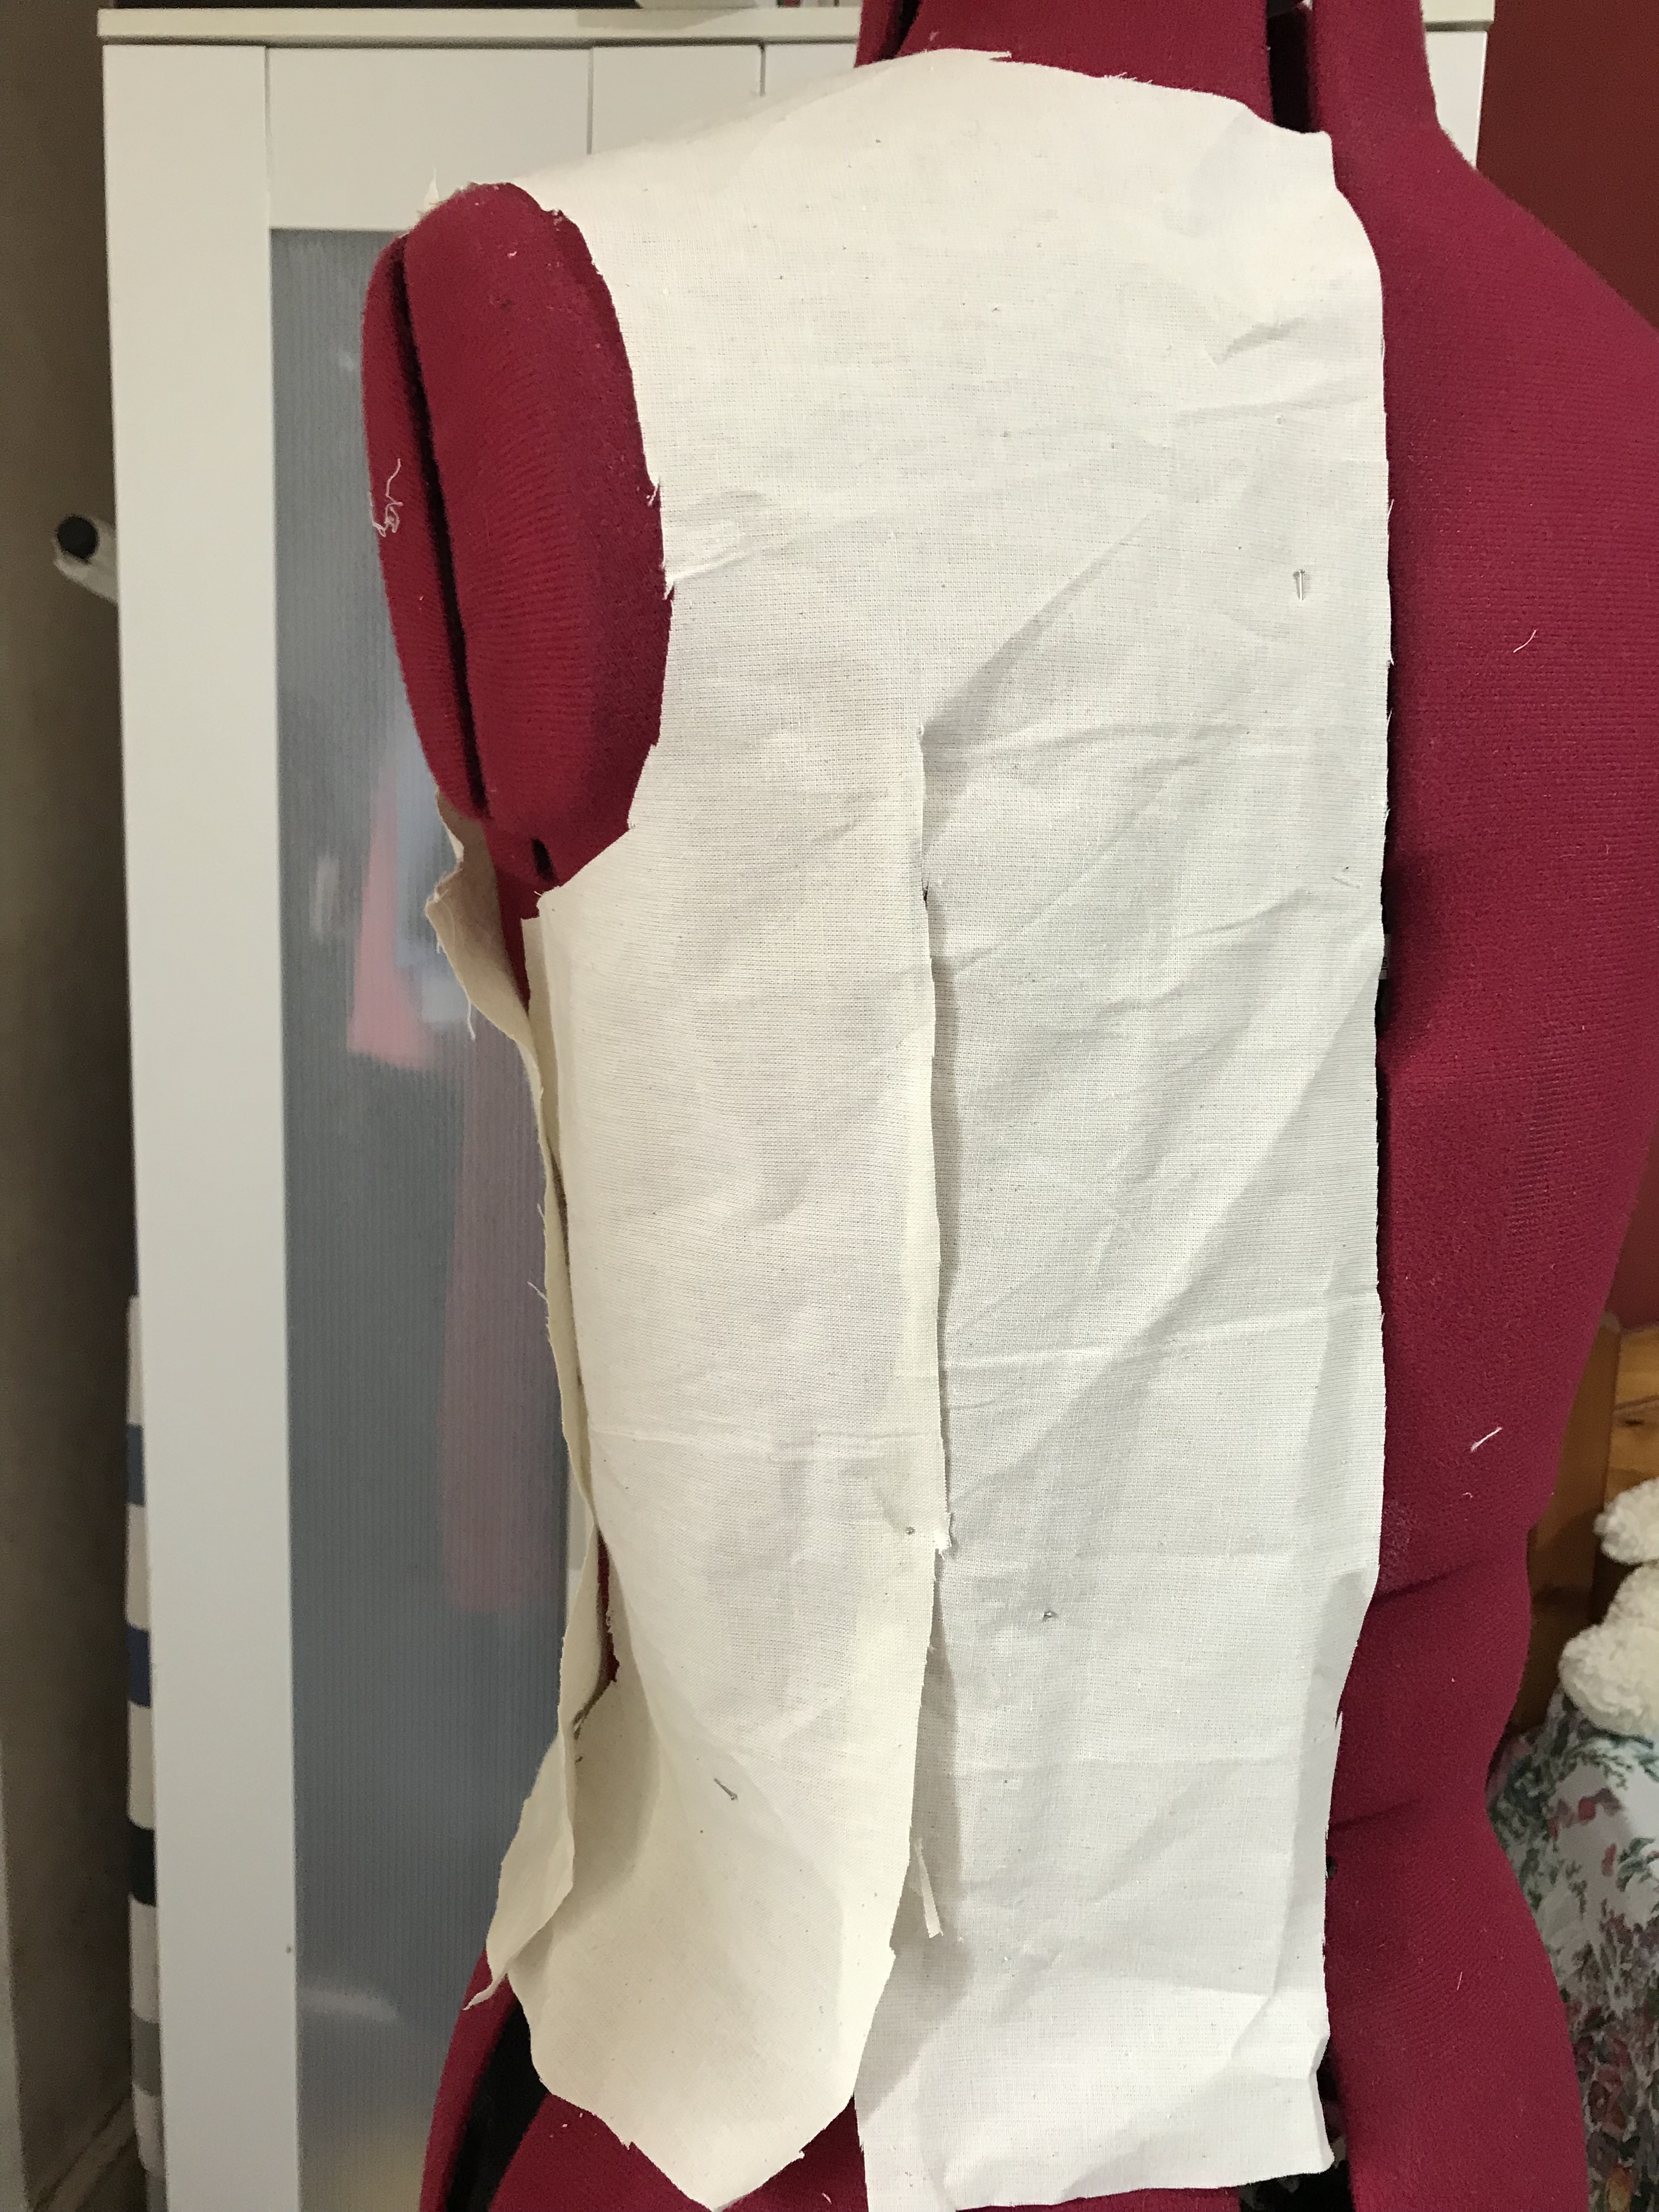
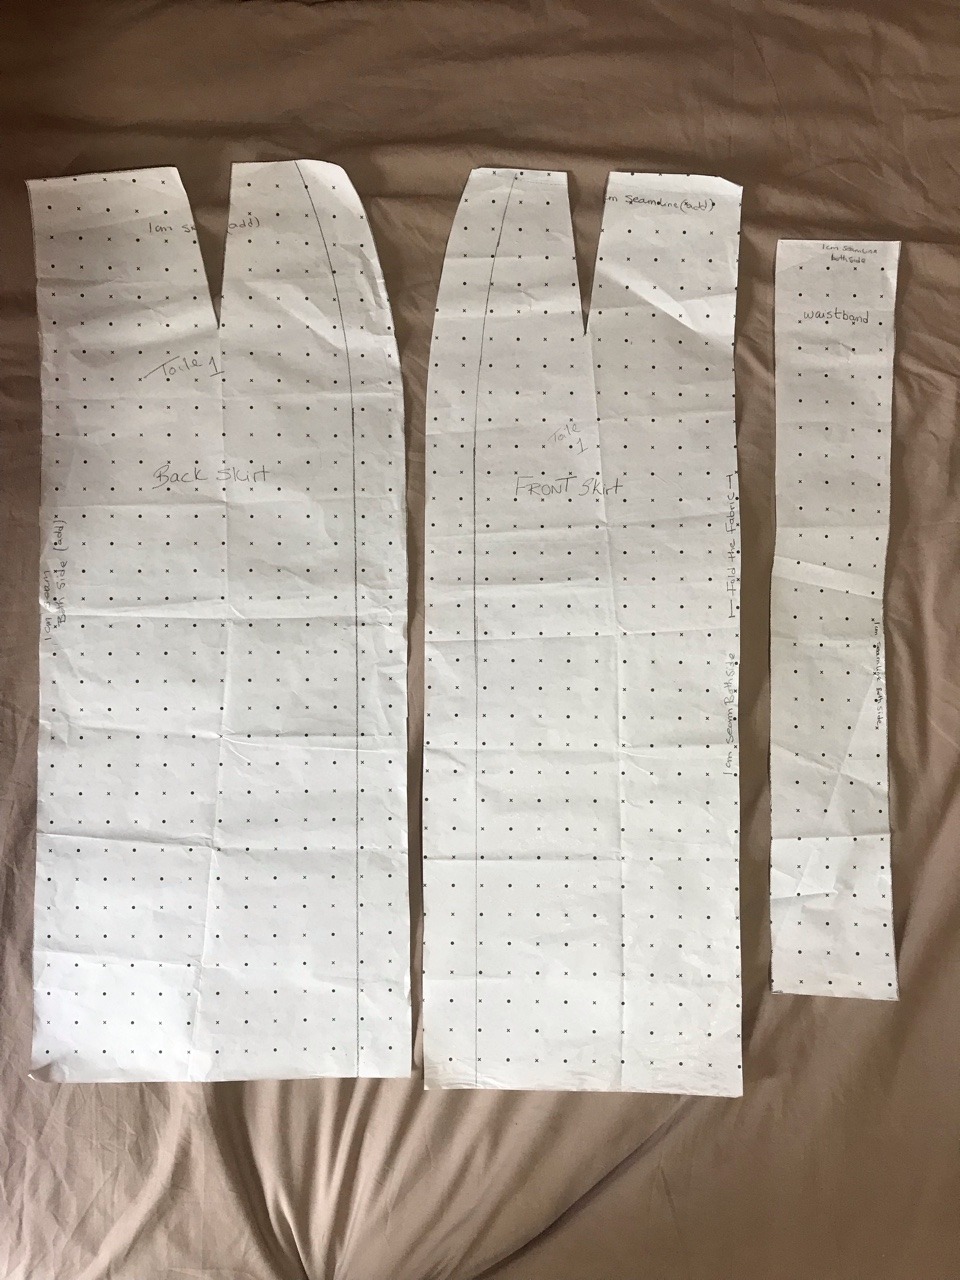
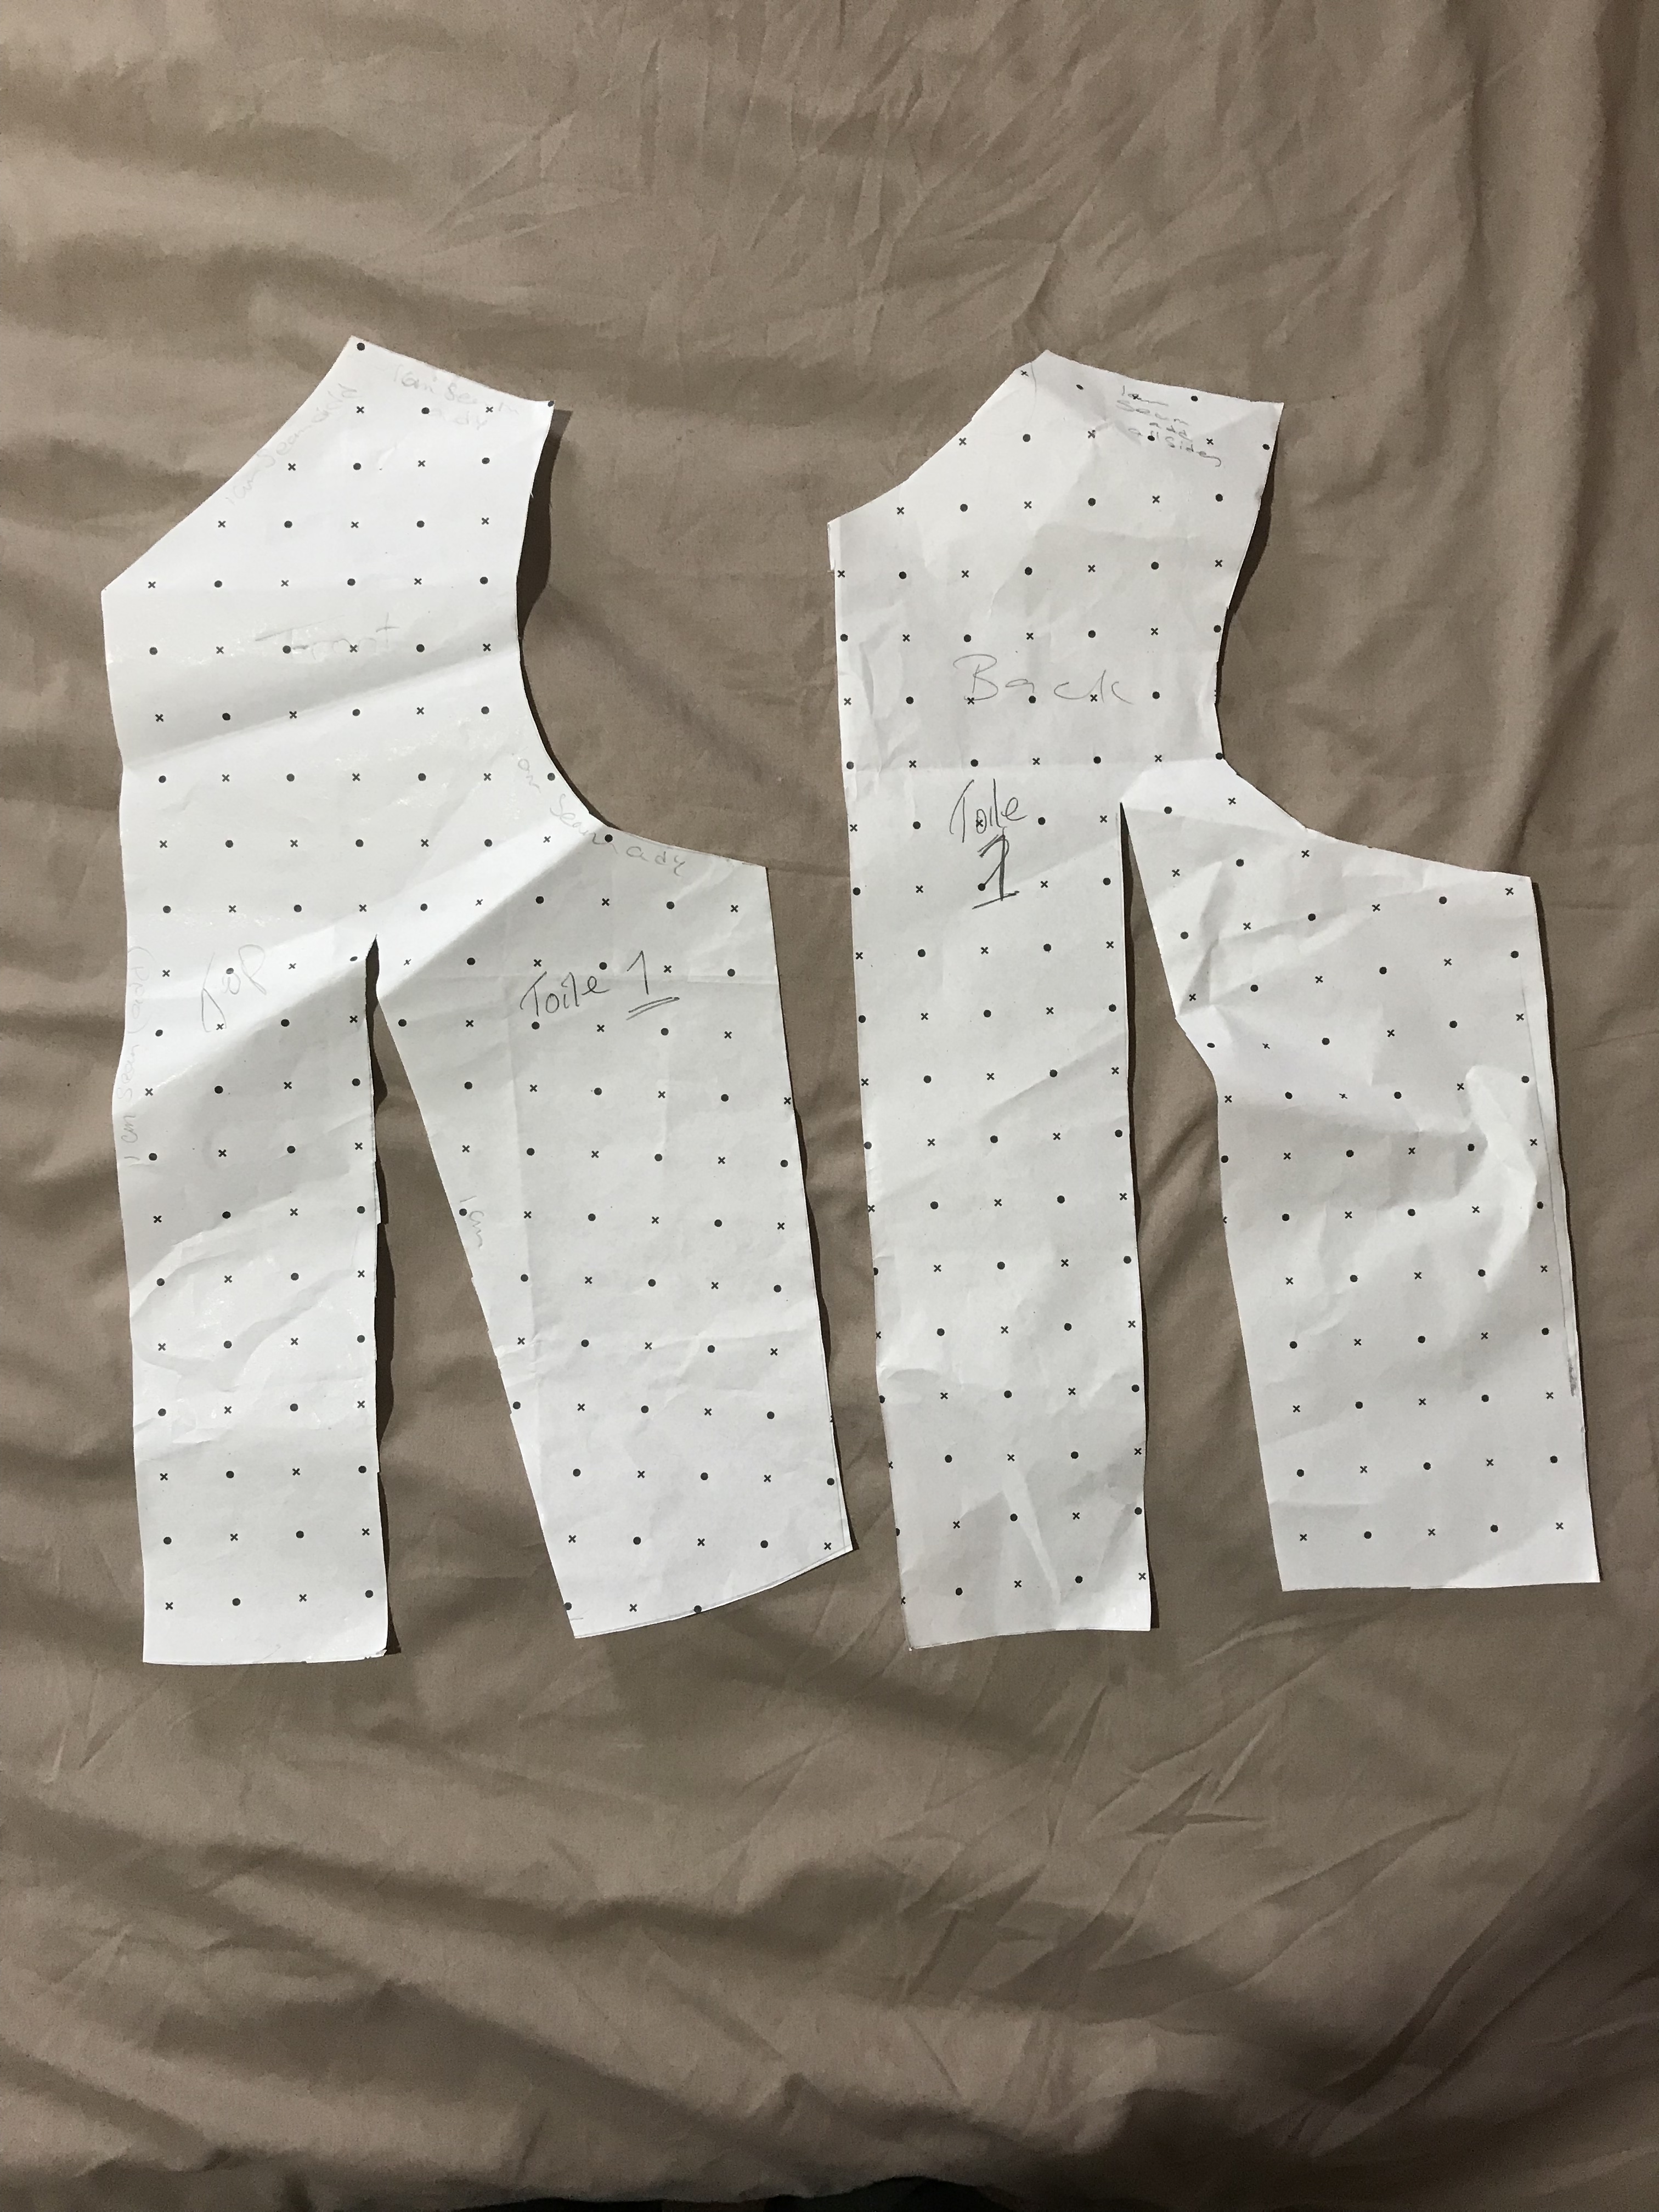
After draping and cutting the front and back pattern I marked and cut out the darts for the top and moved onto making the first pattern for the first toile out of paper.
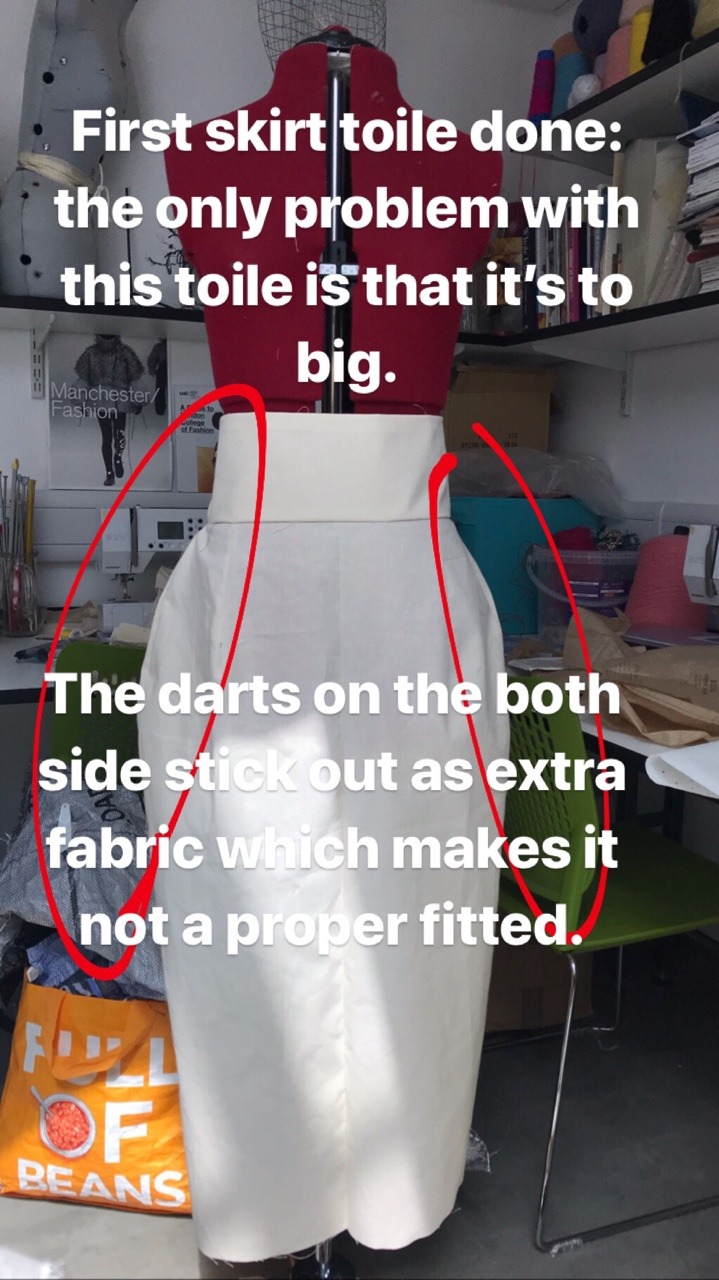
Toile1:
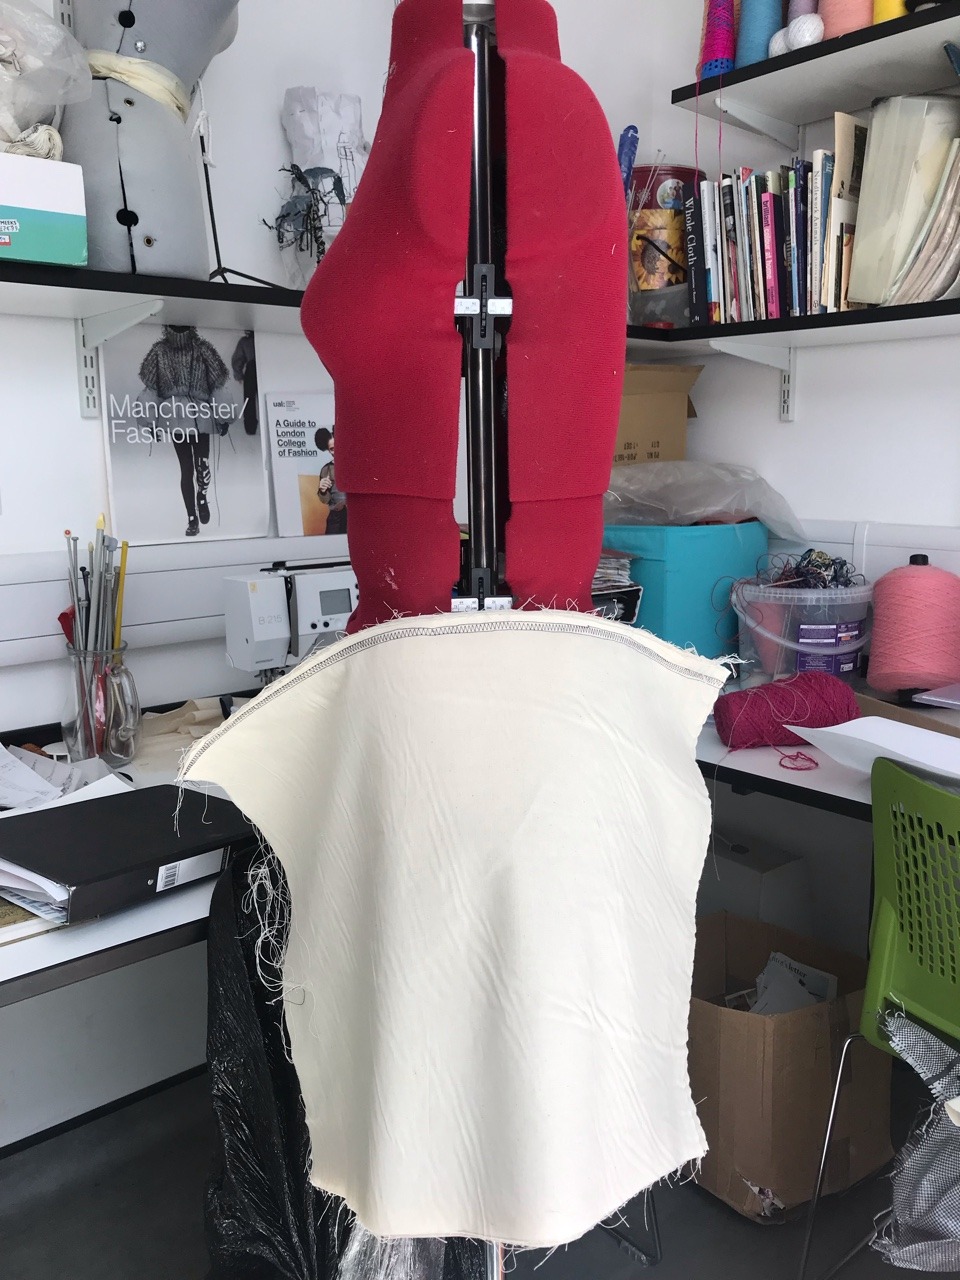
The toile was not perfect as it was to big on both sides, so to improve it I folded, pined and adjusted the toile to a perfect fit to create the second toile pattern.
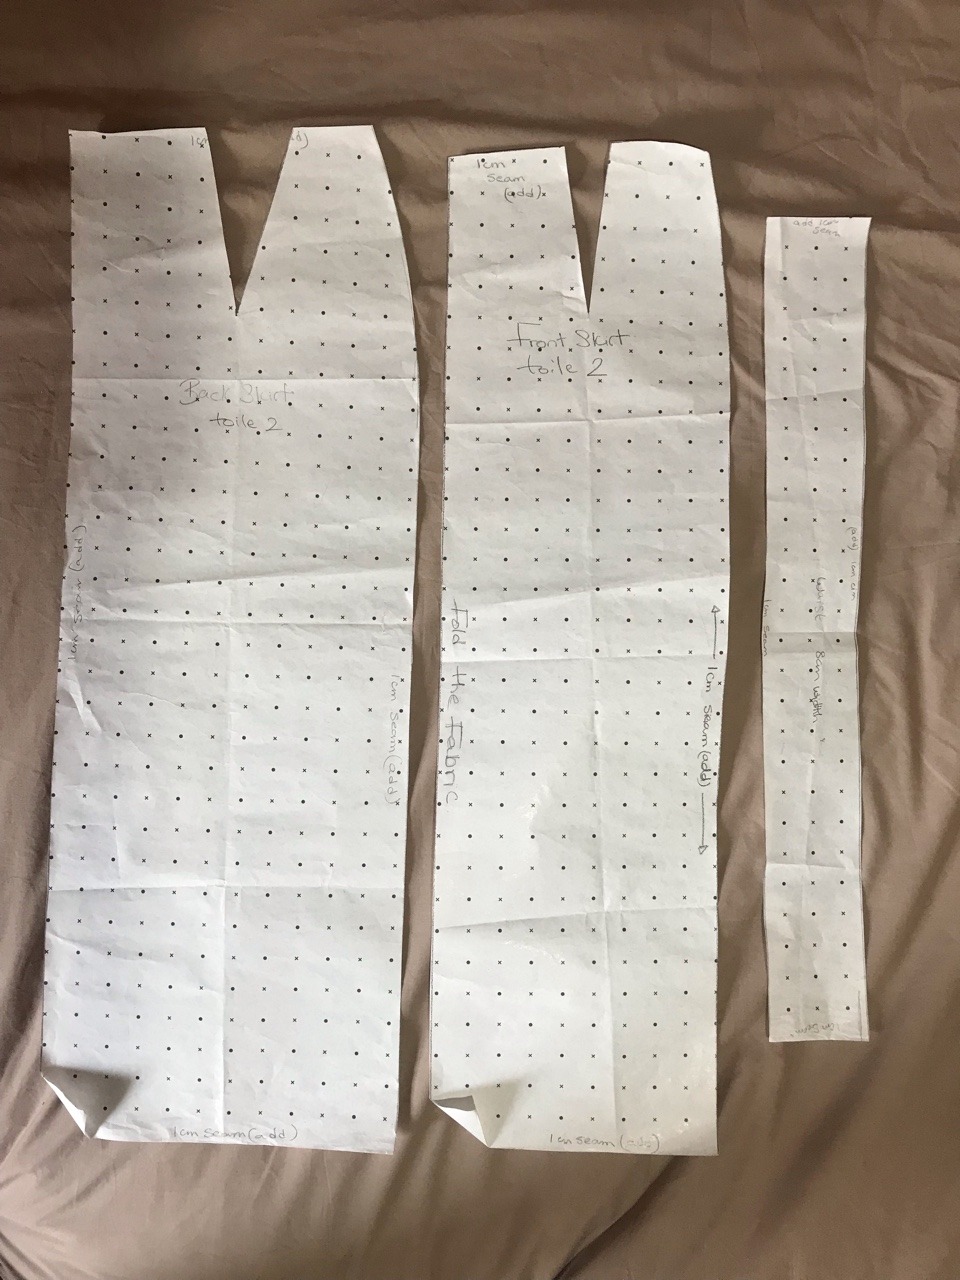
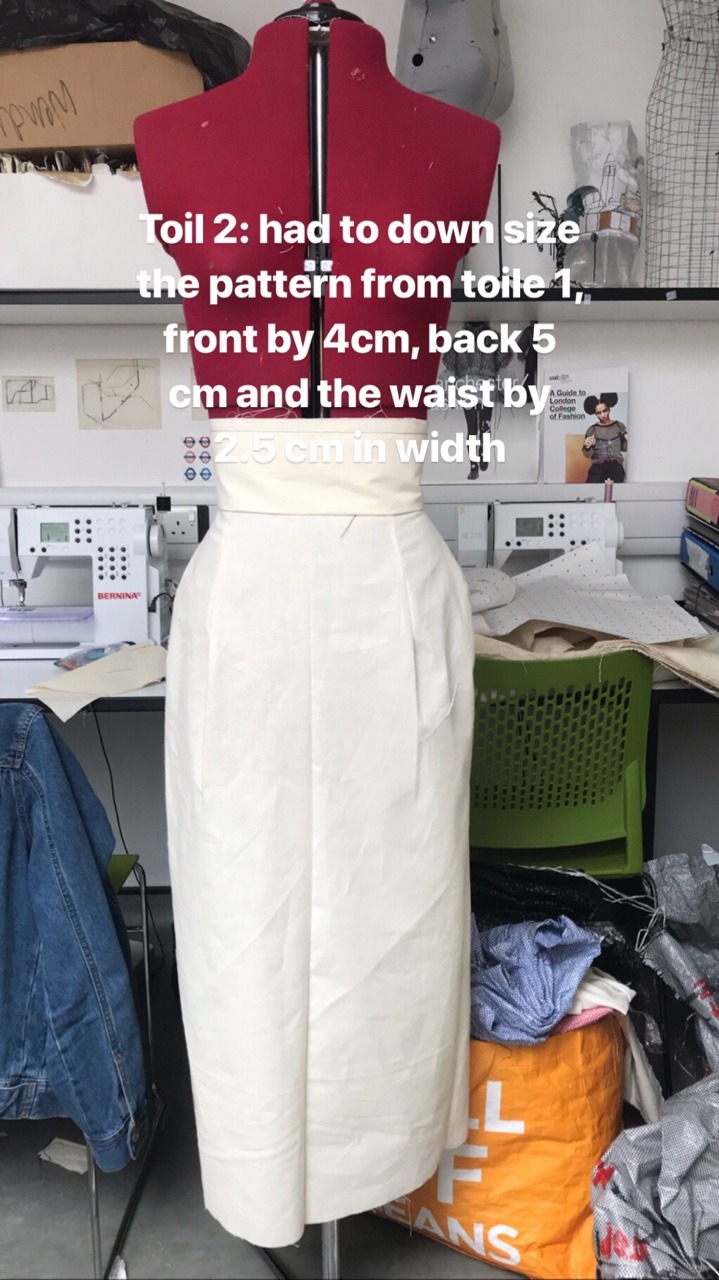
Toile 2:
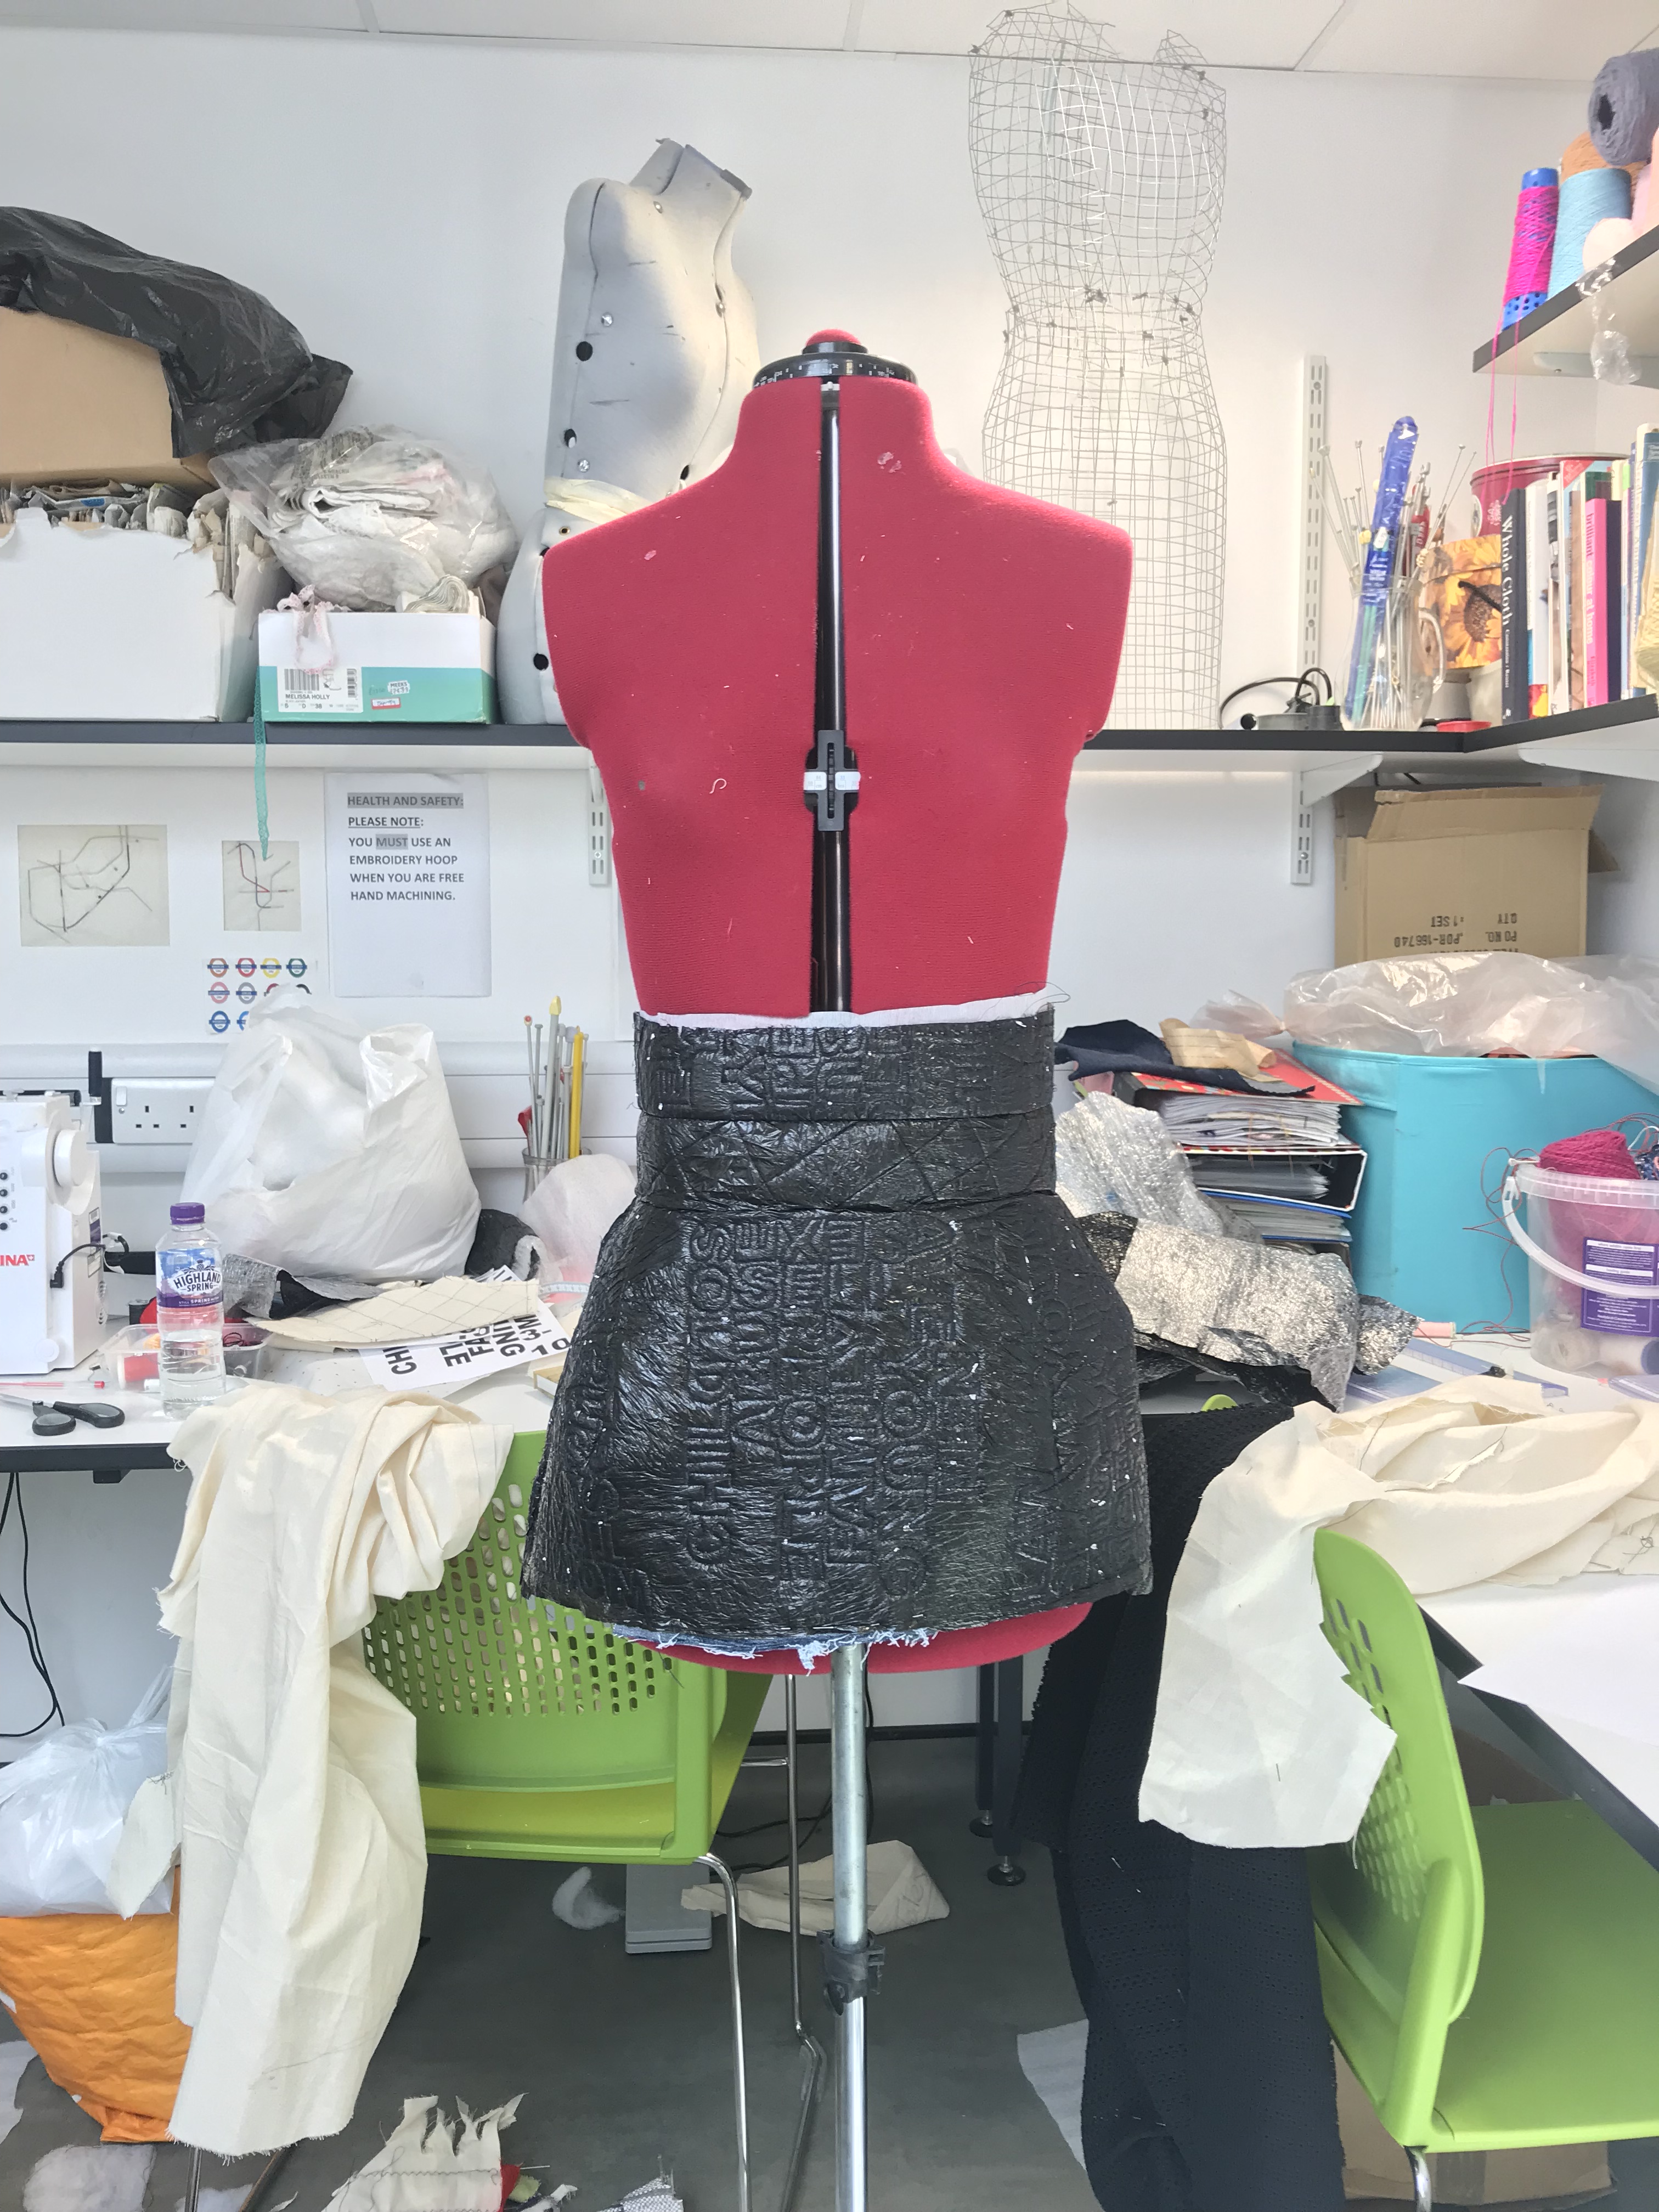
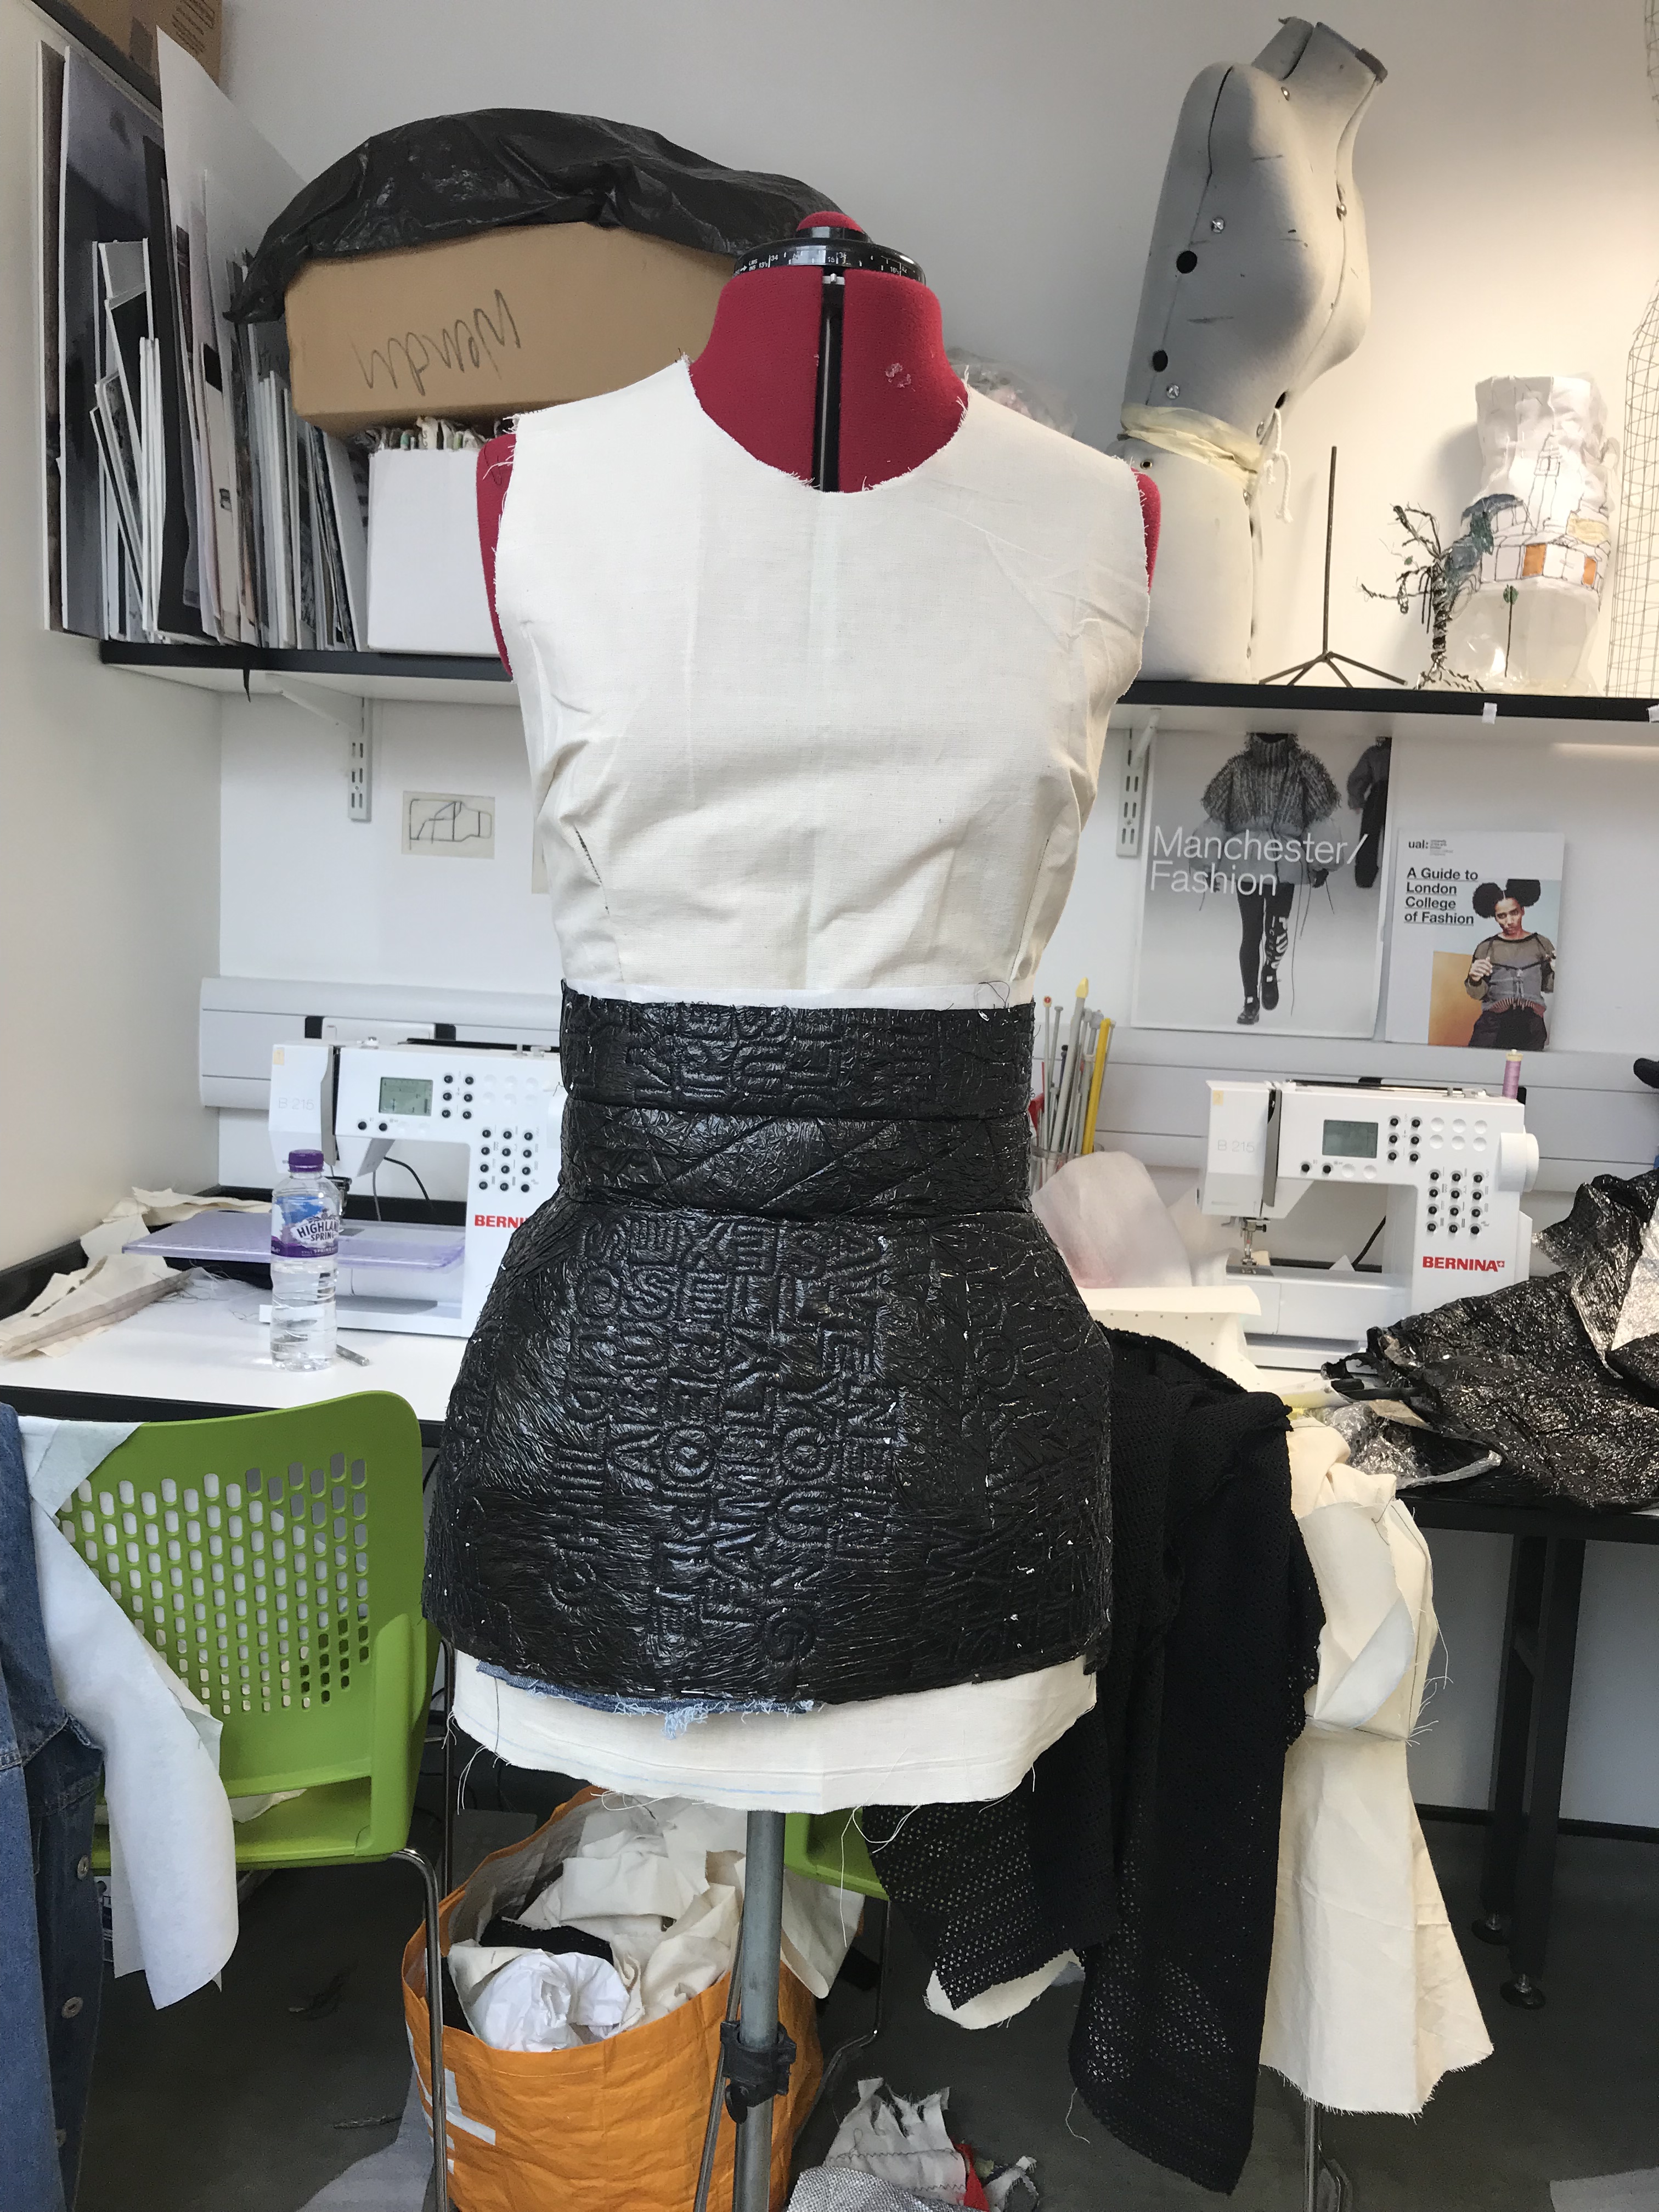
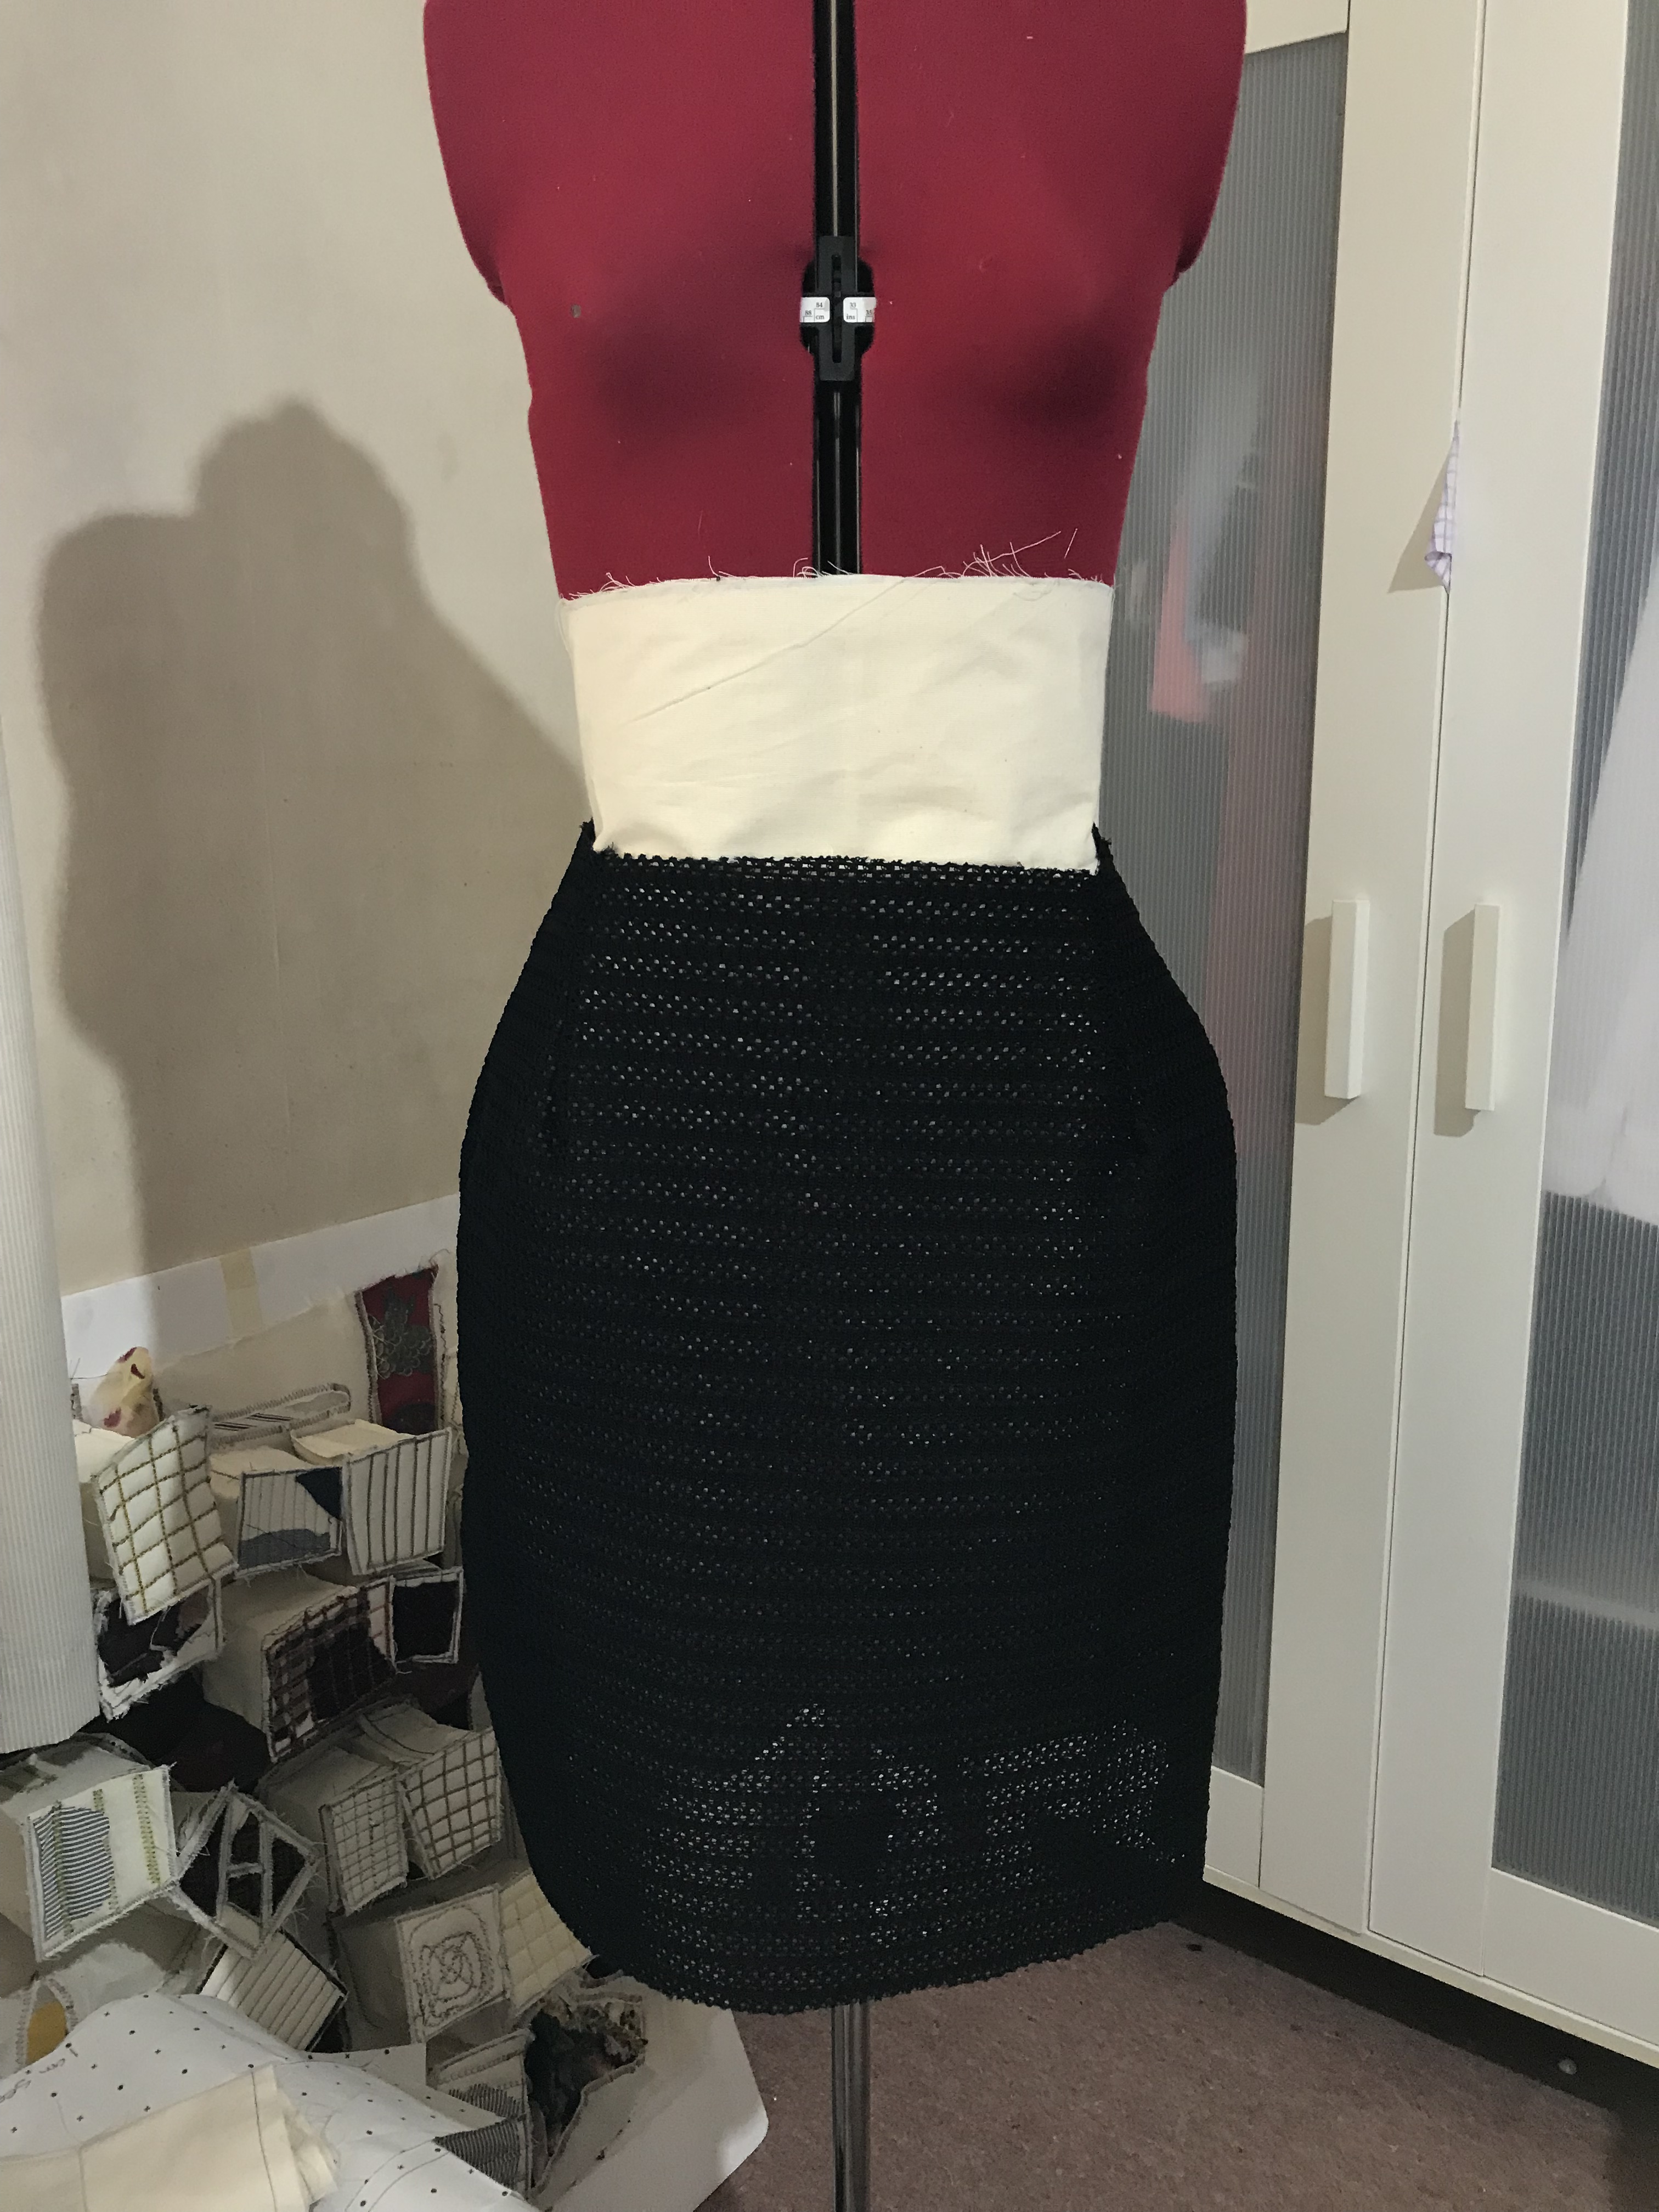
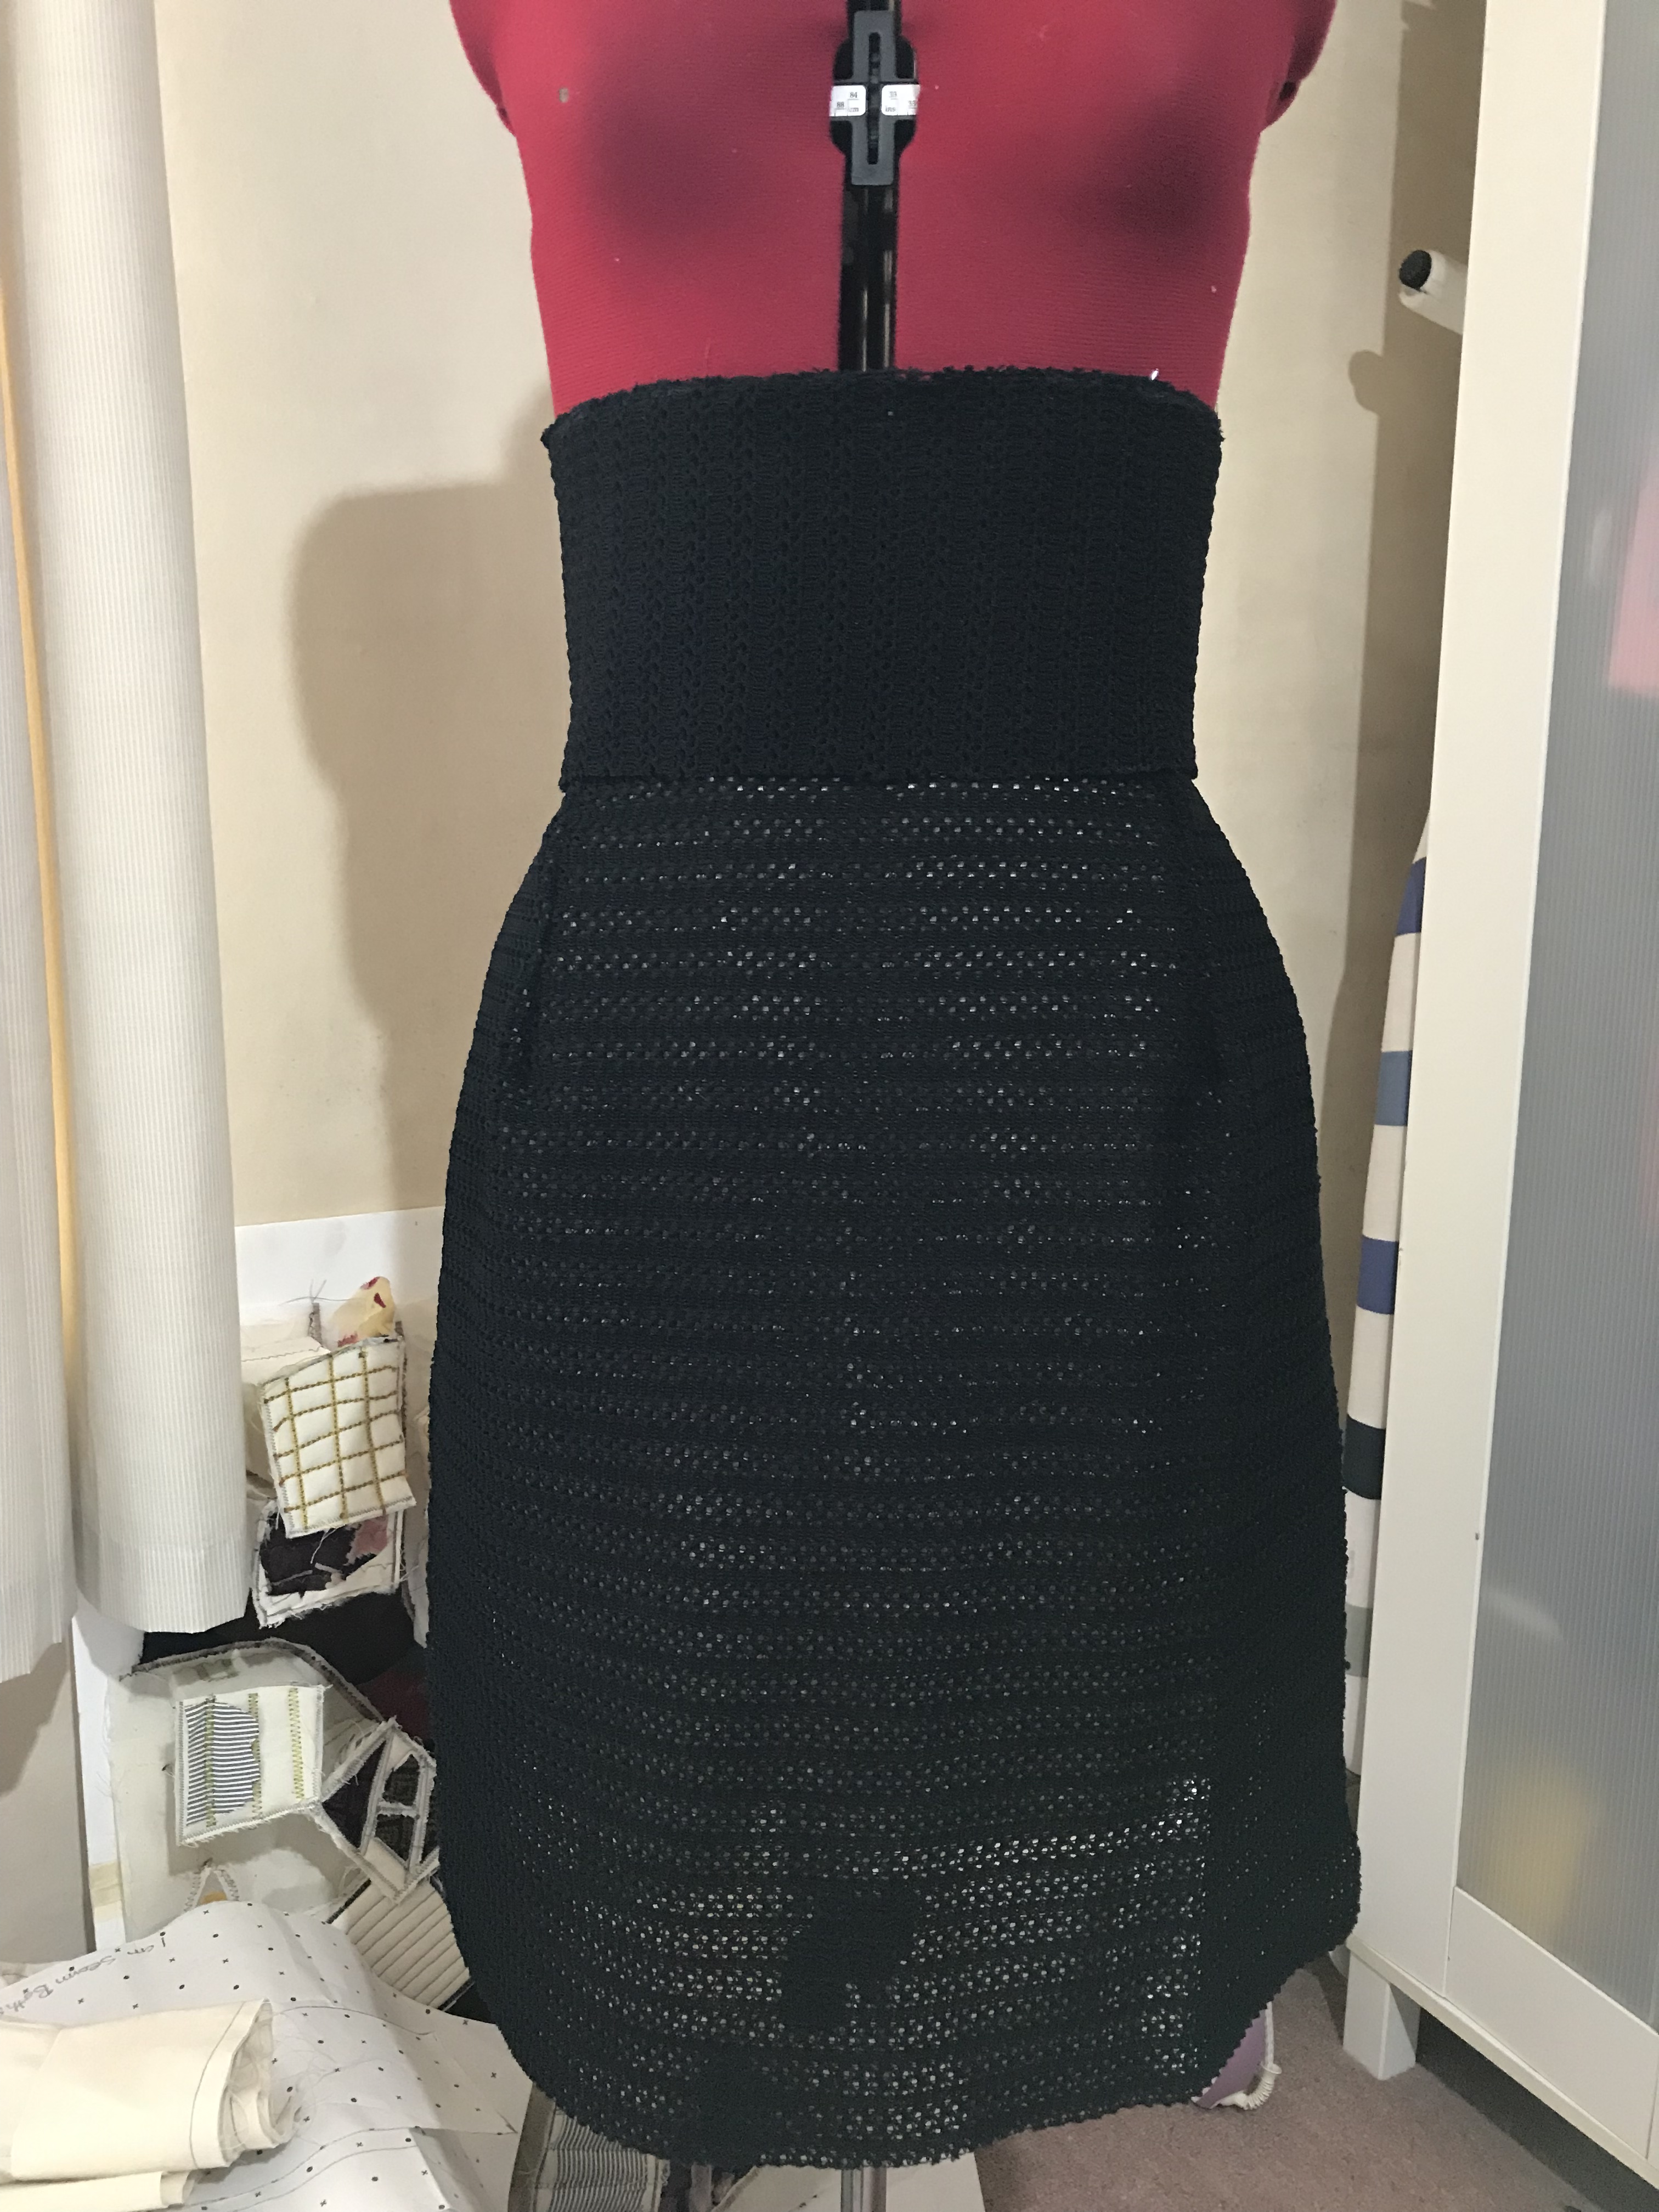
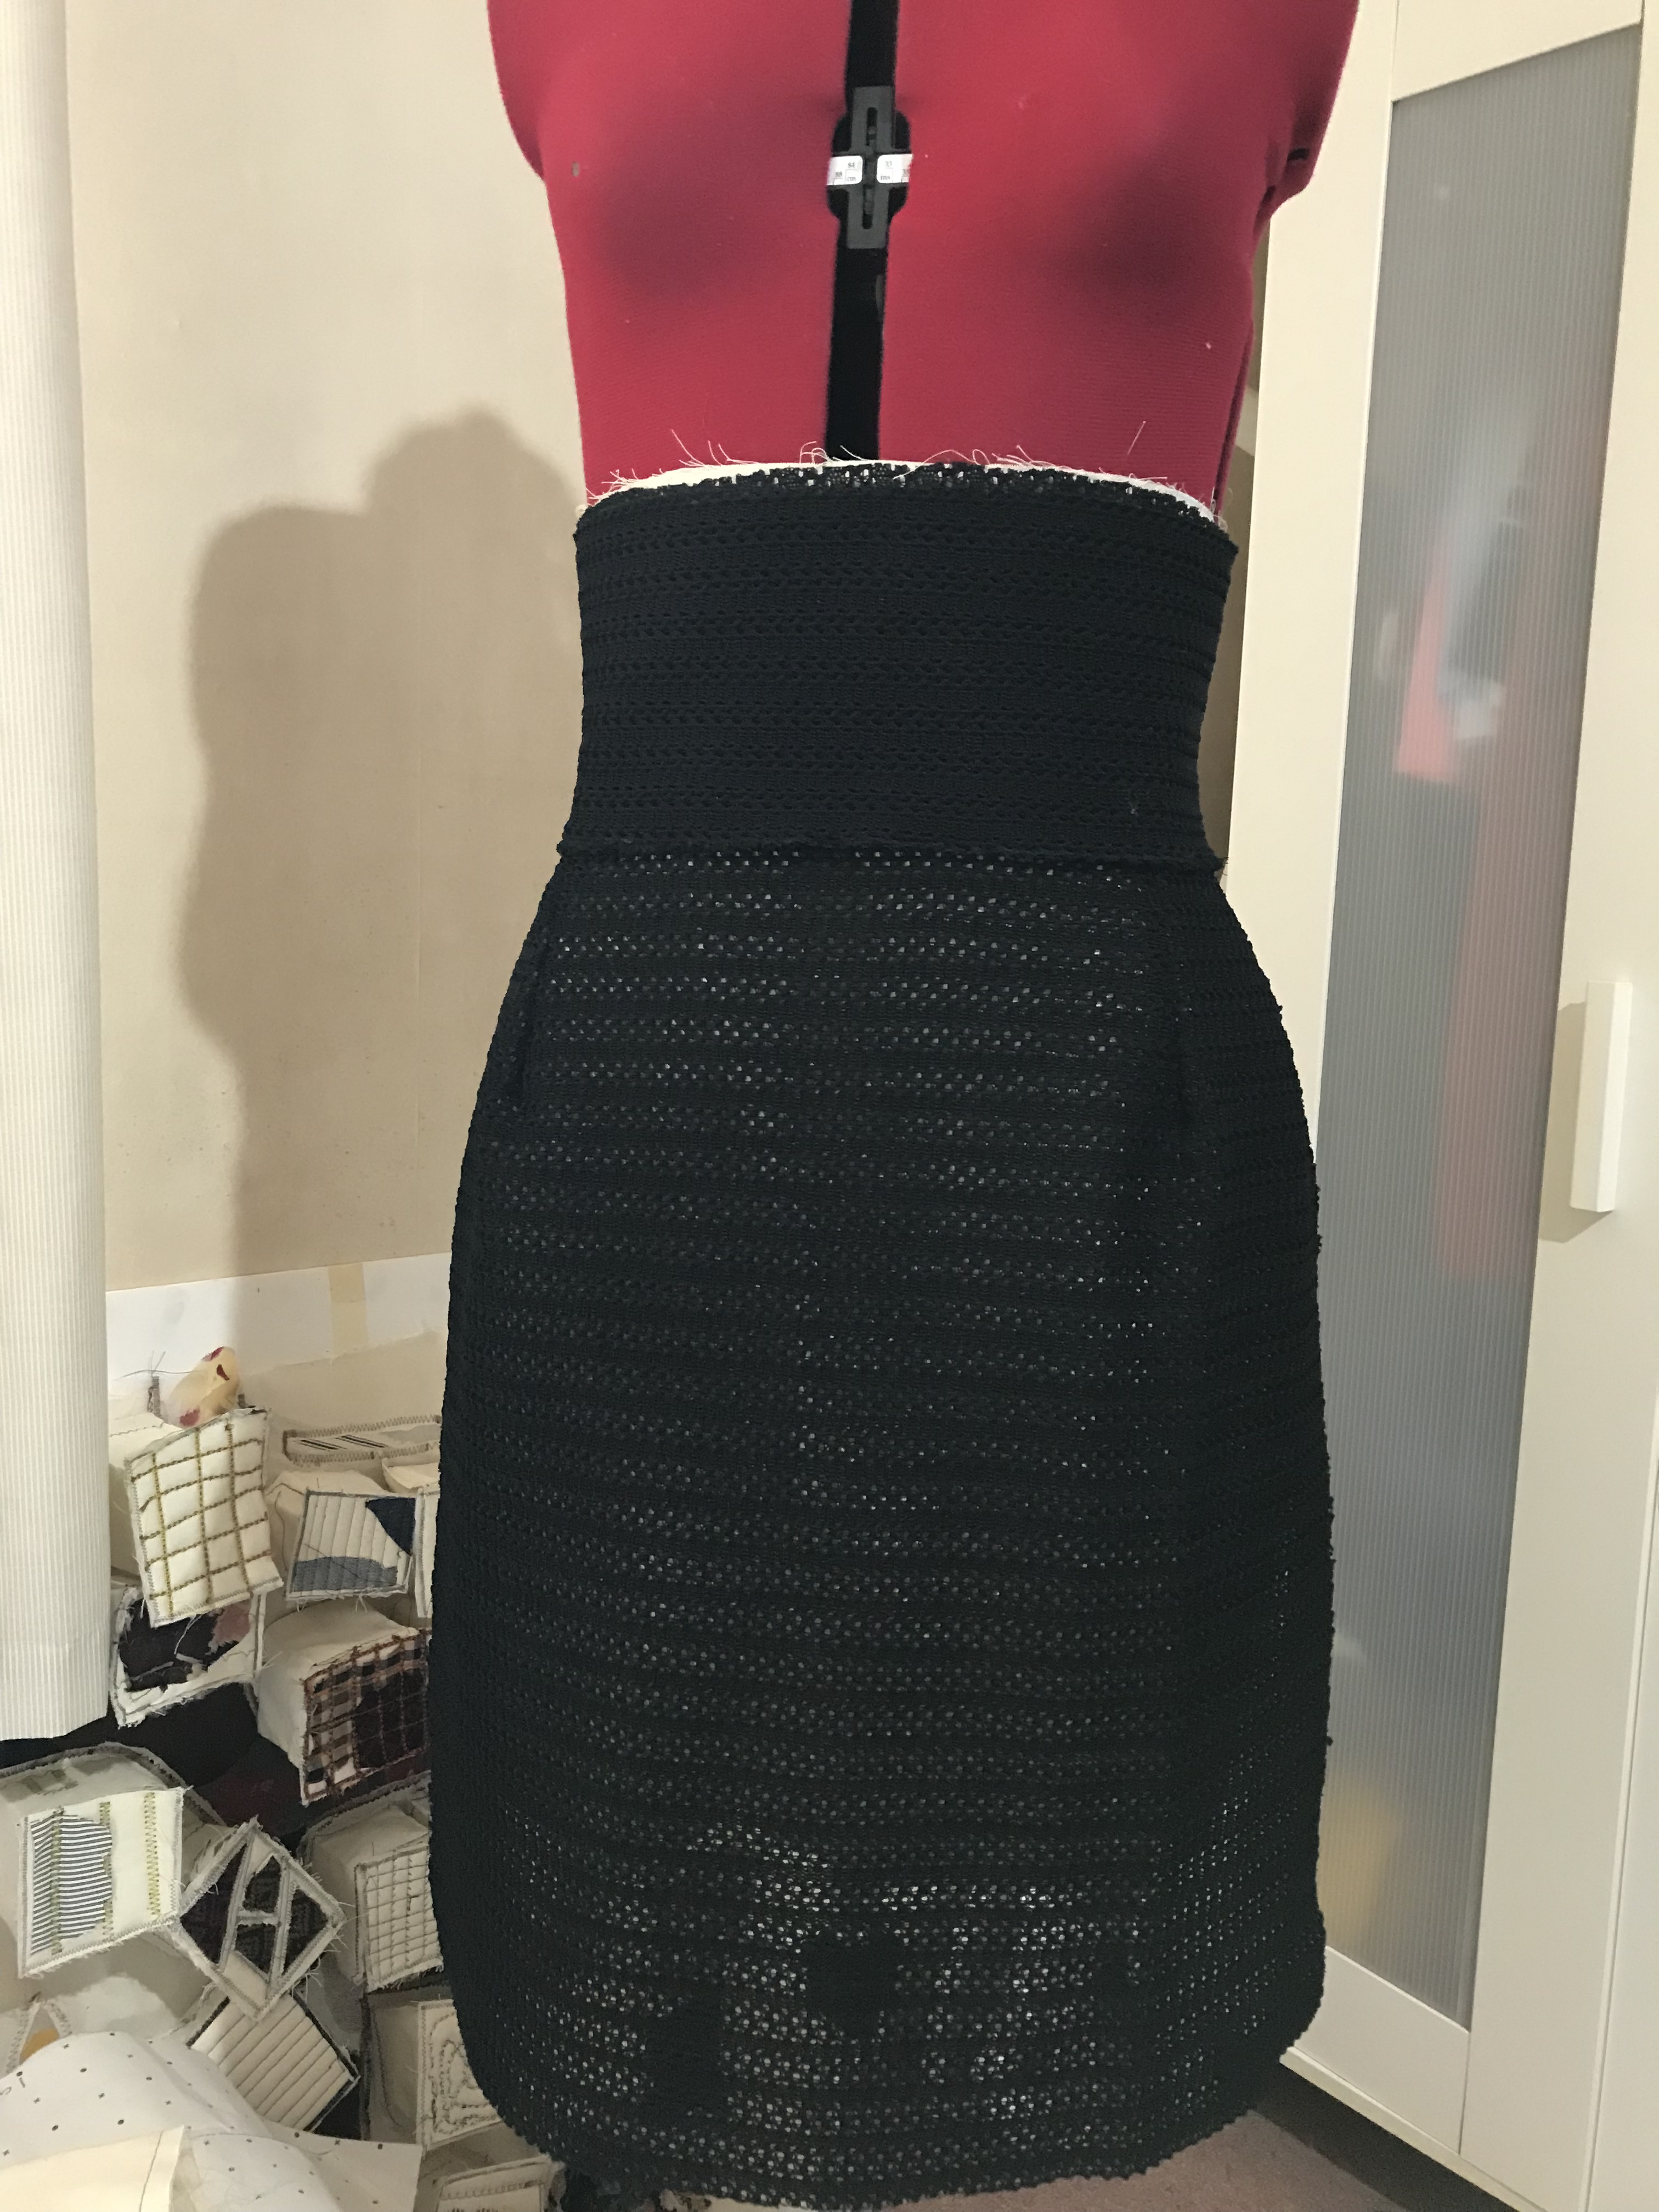
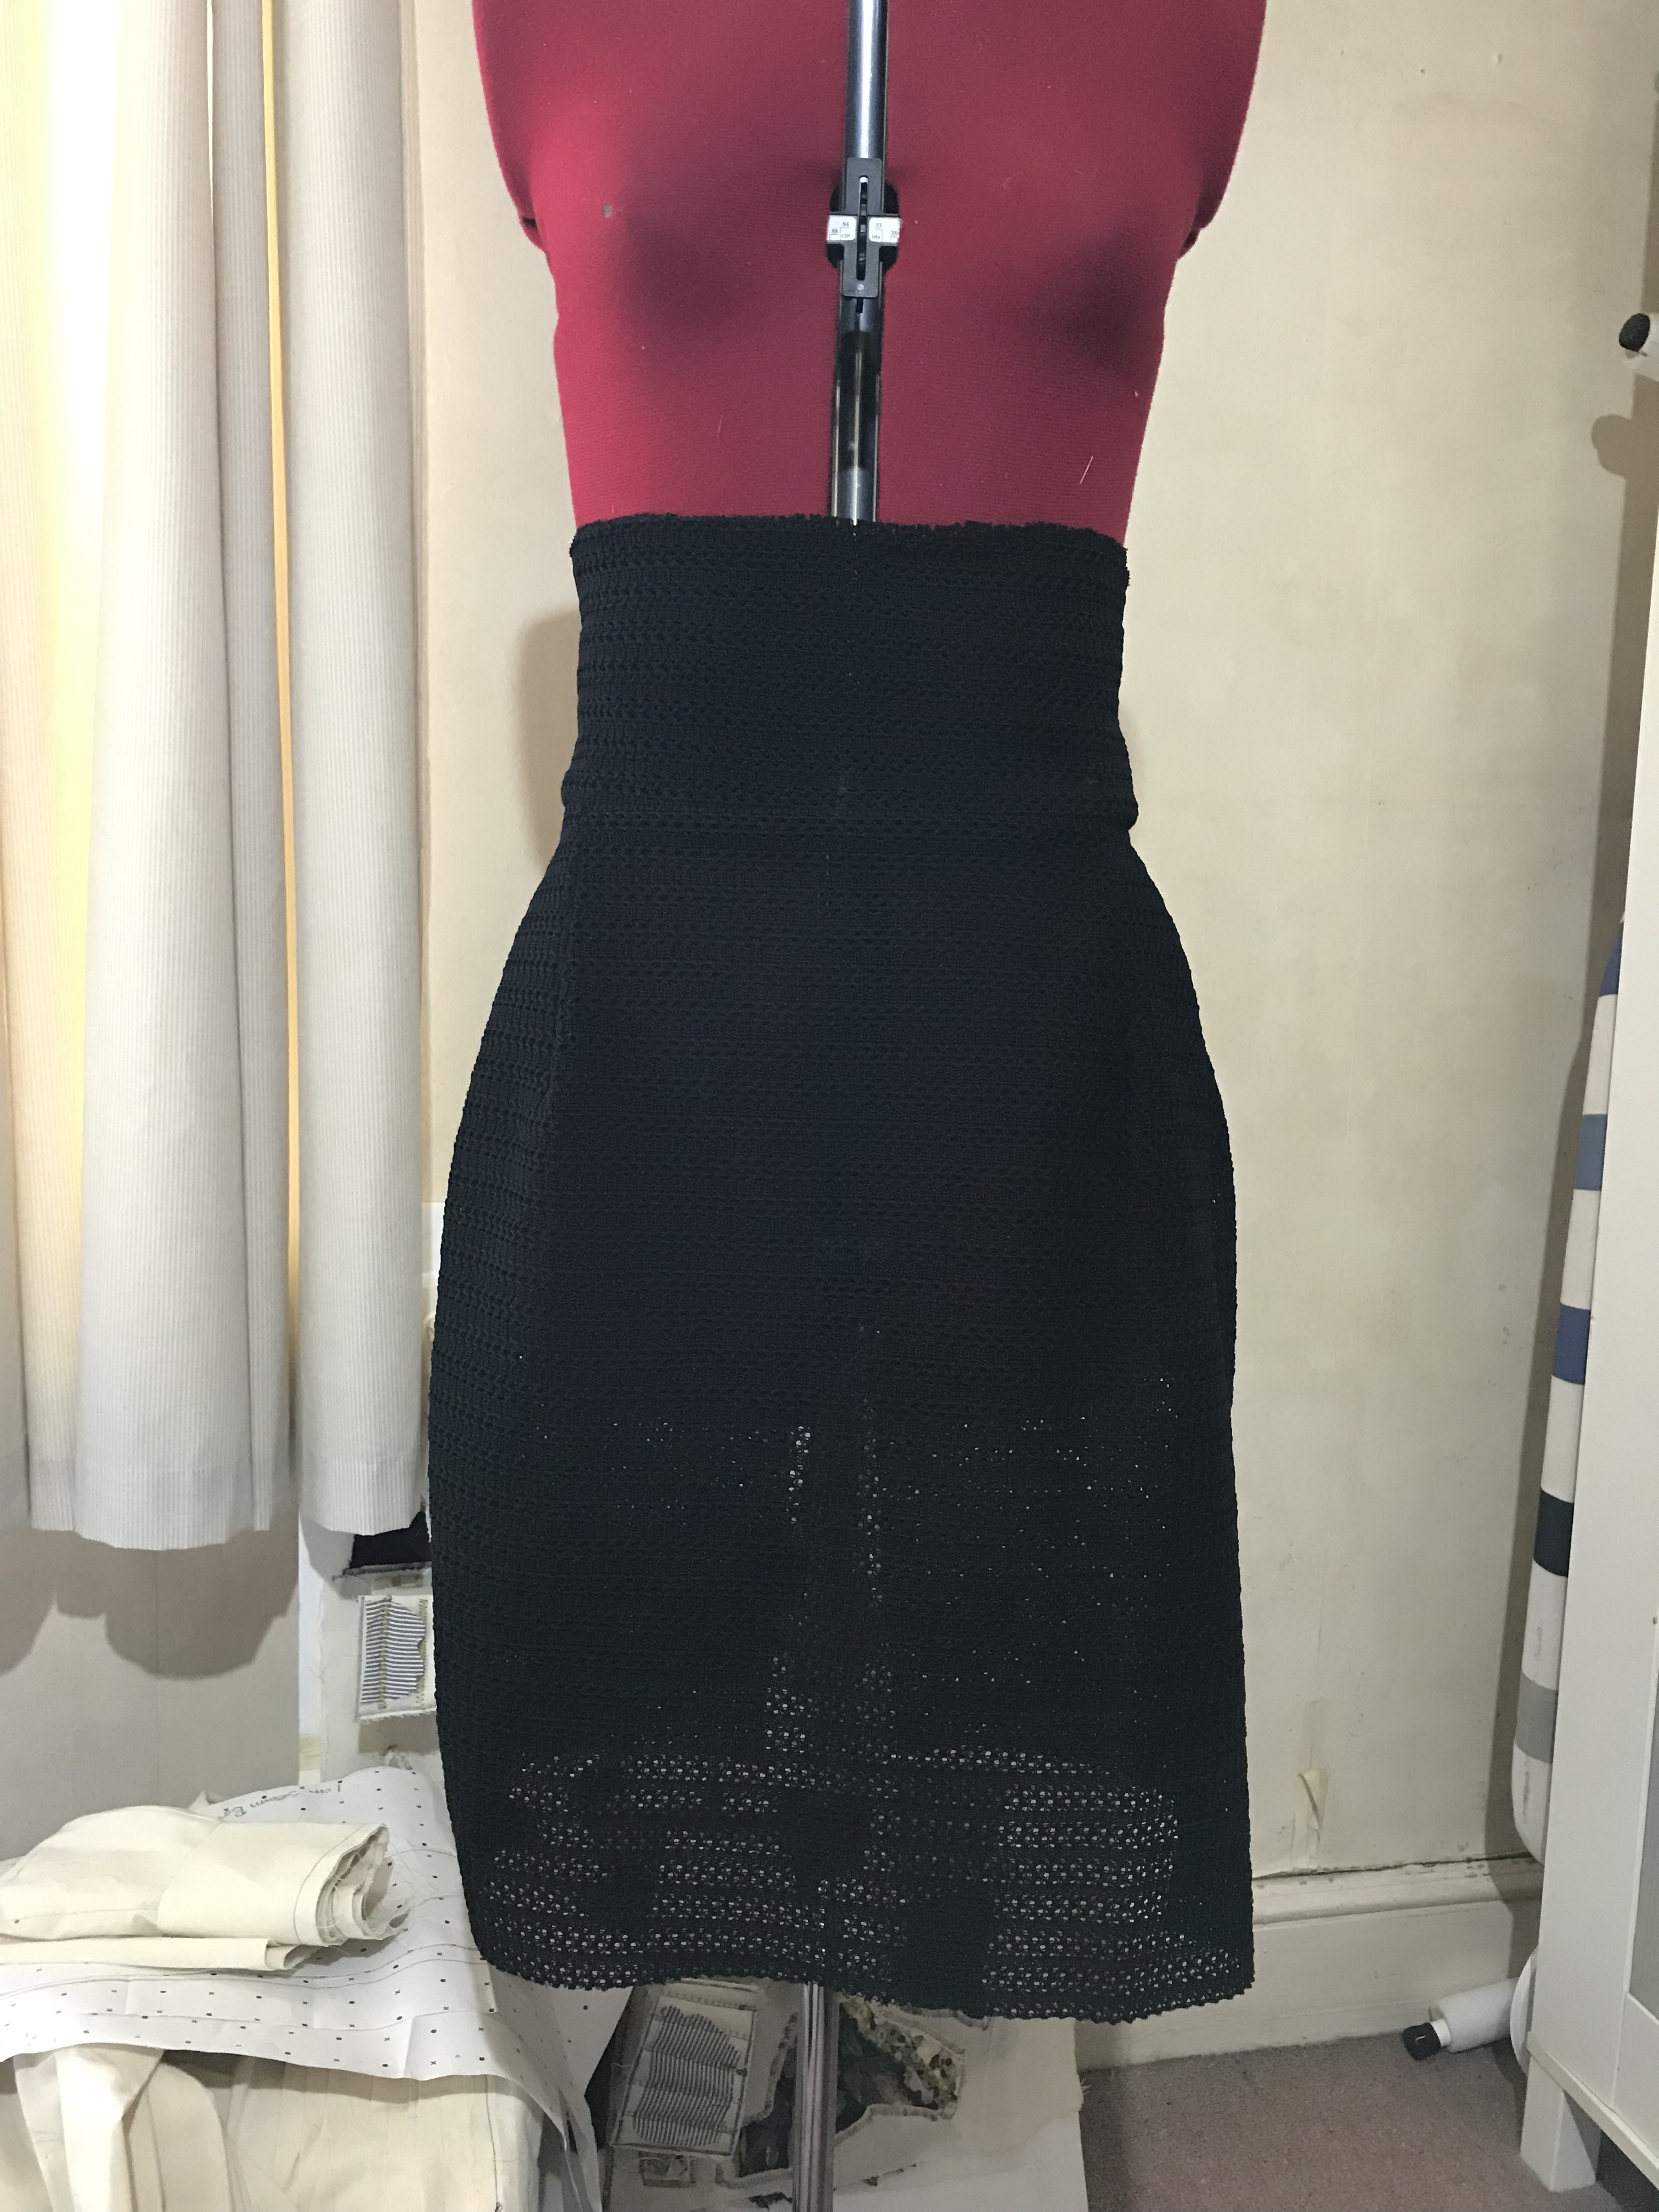
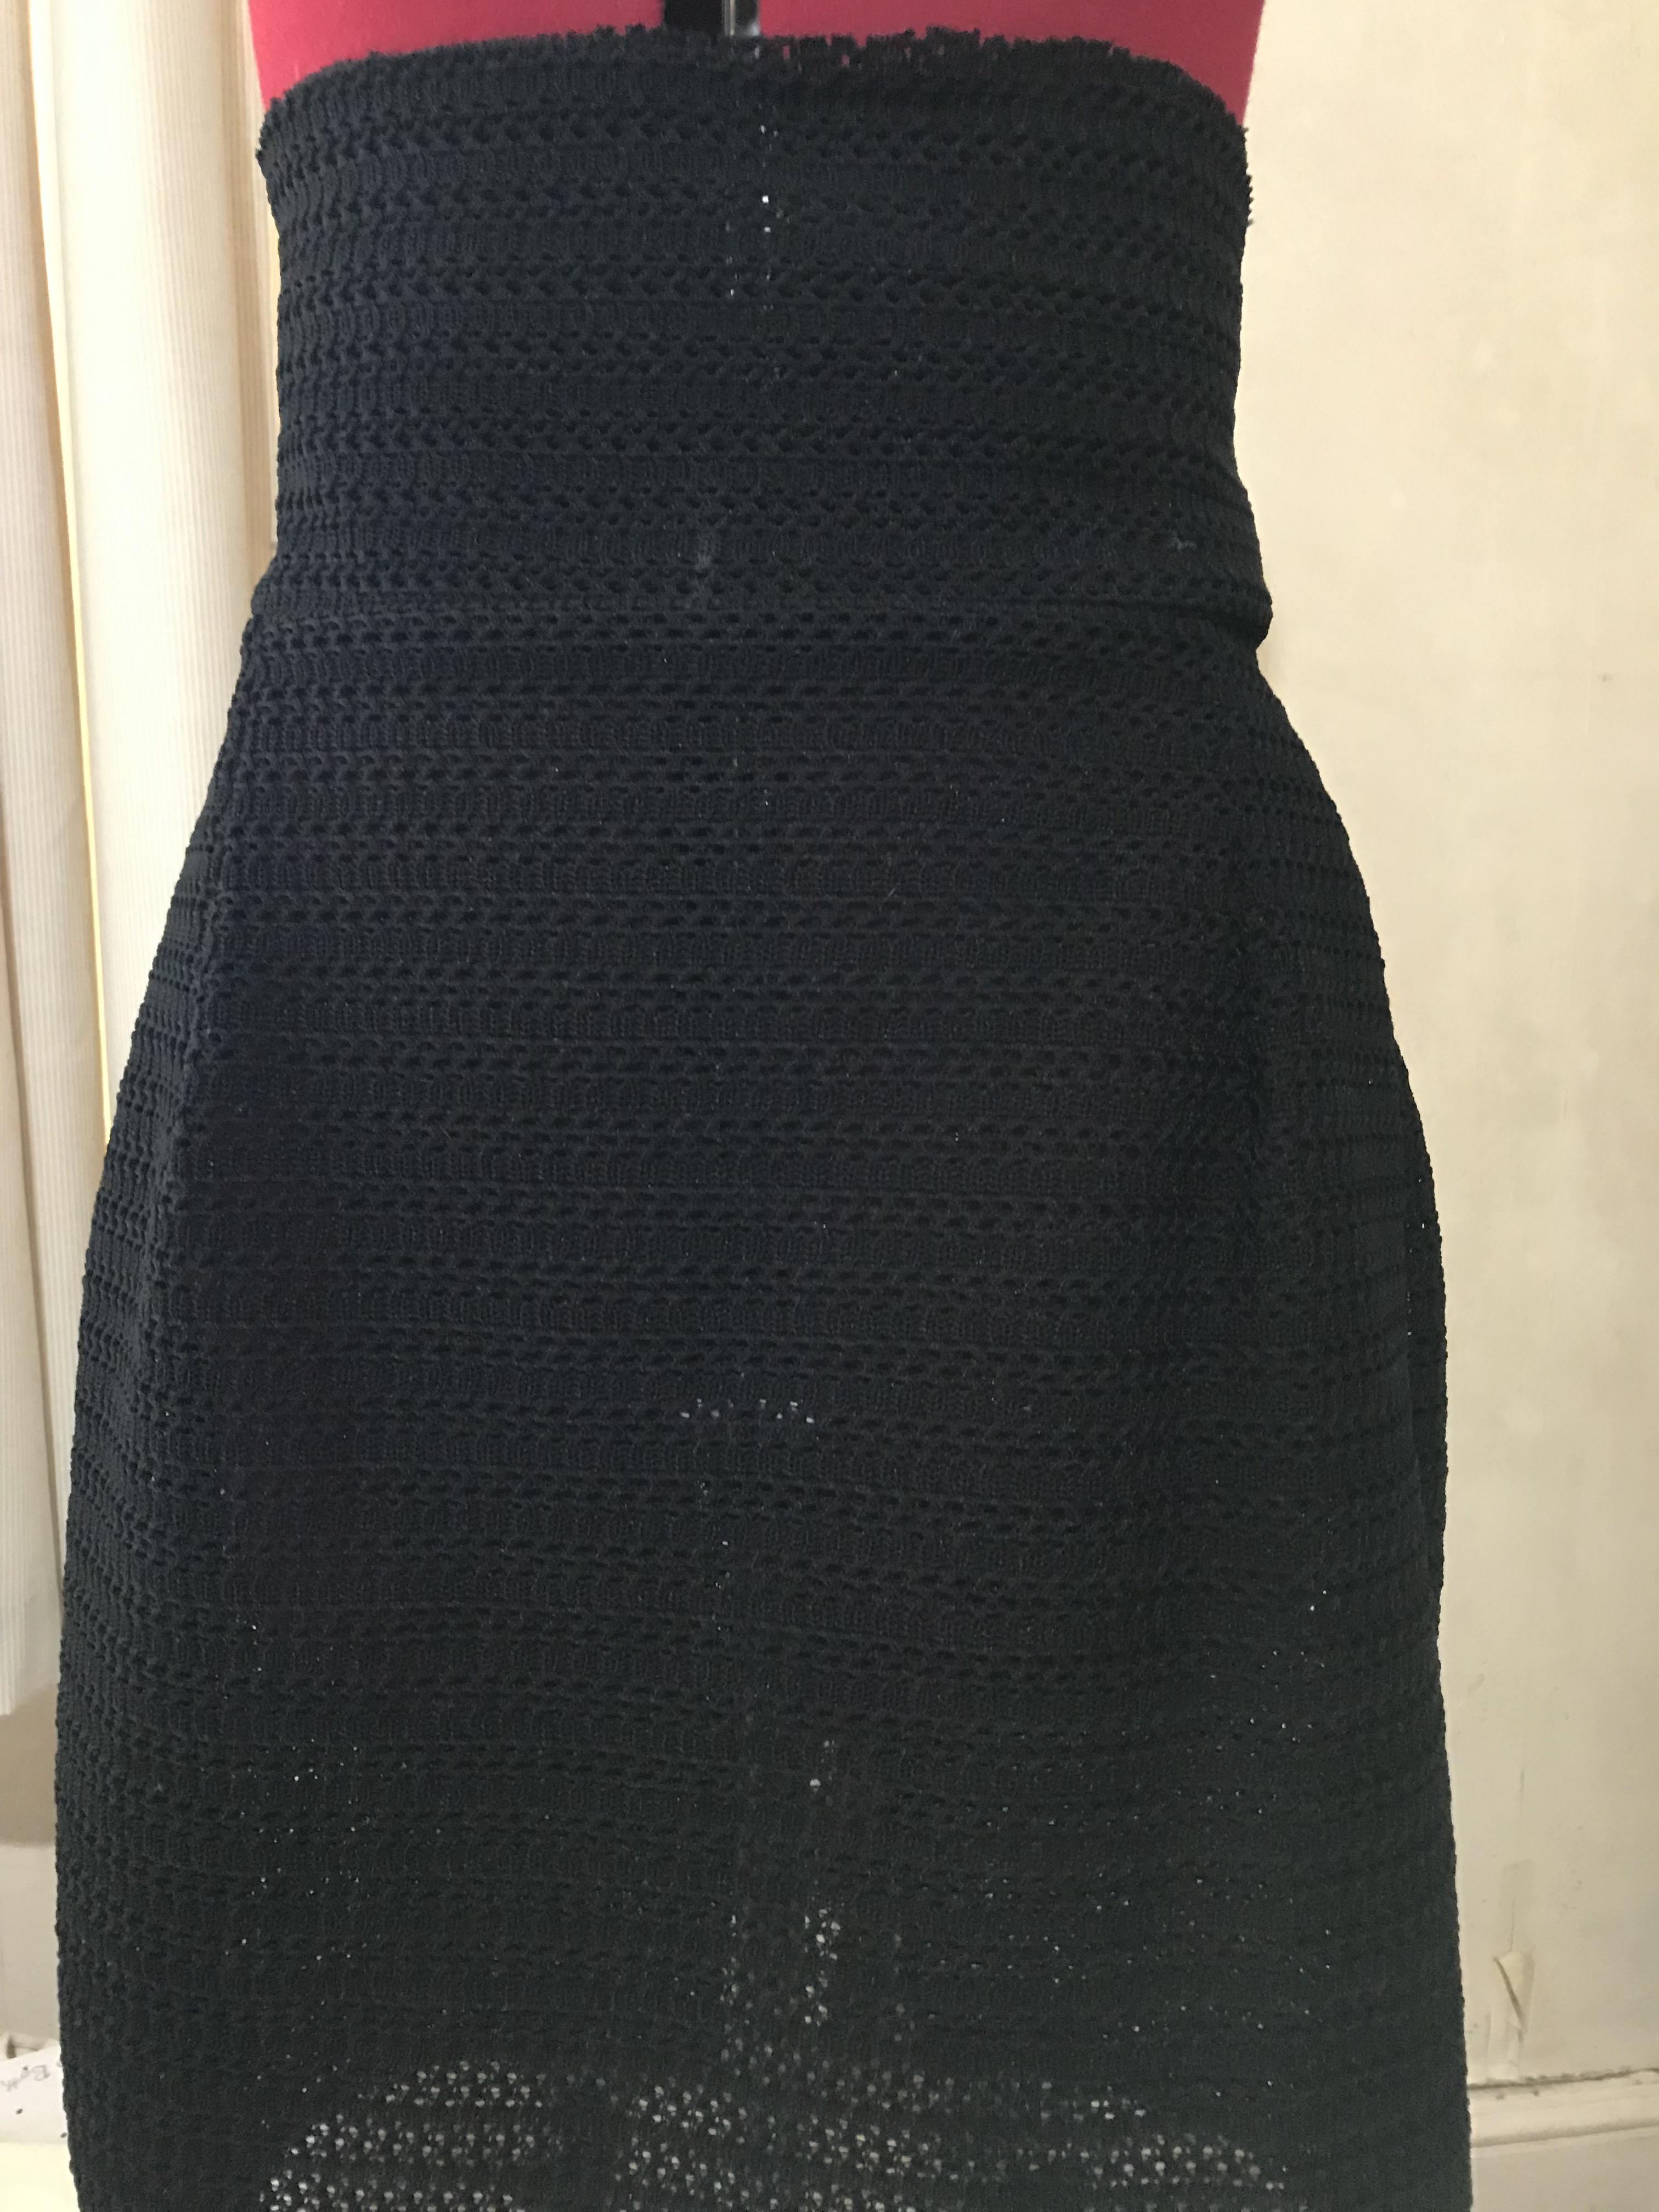
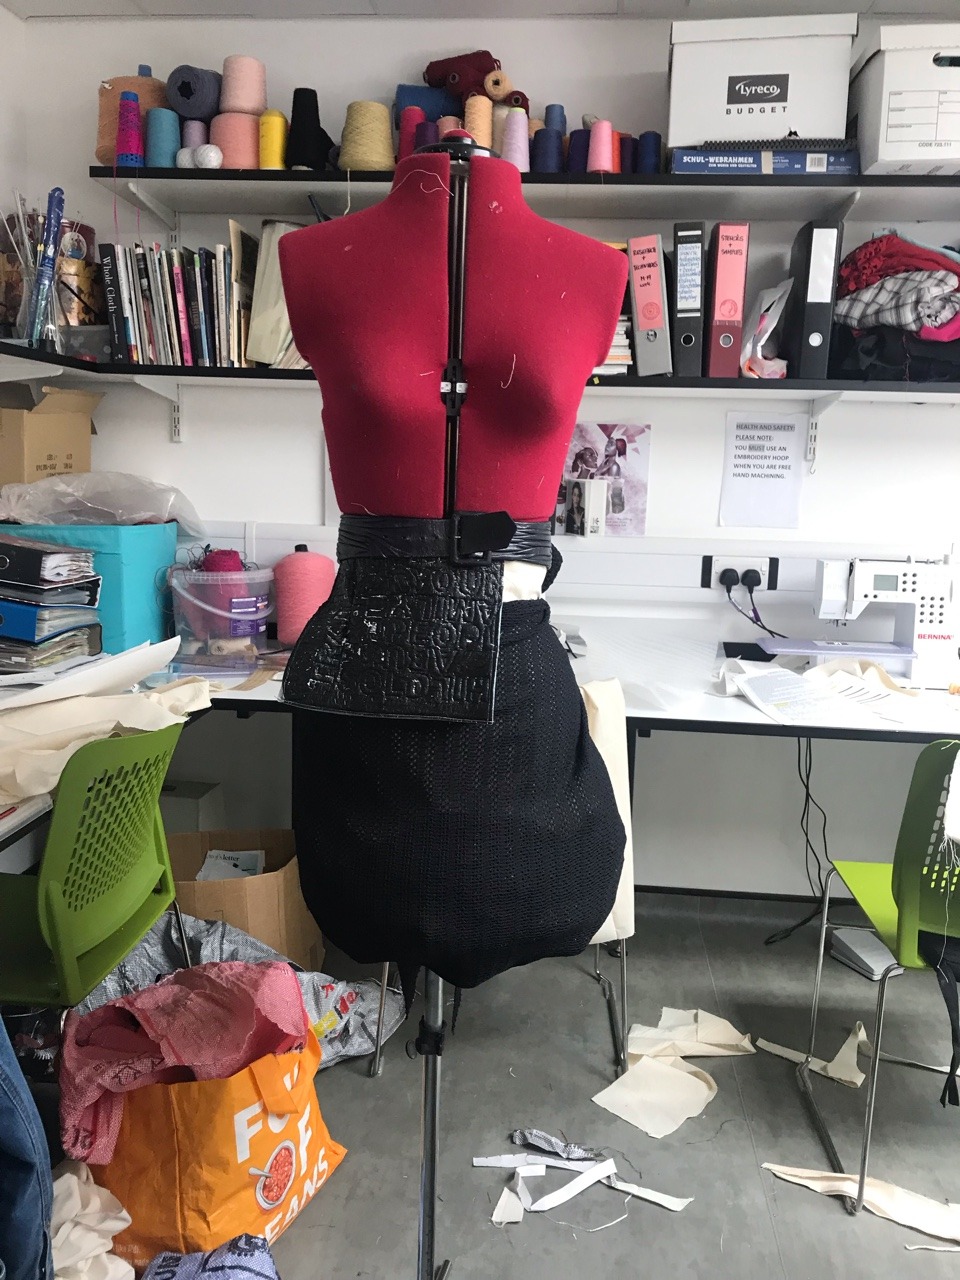
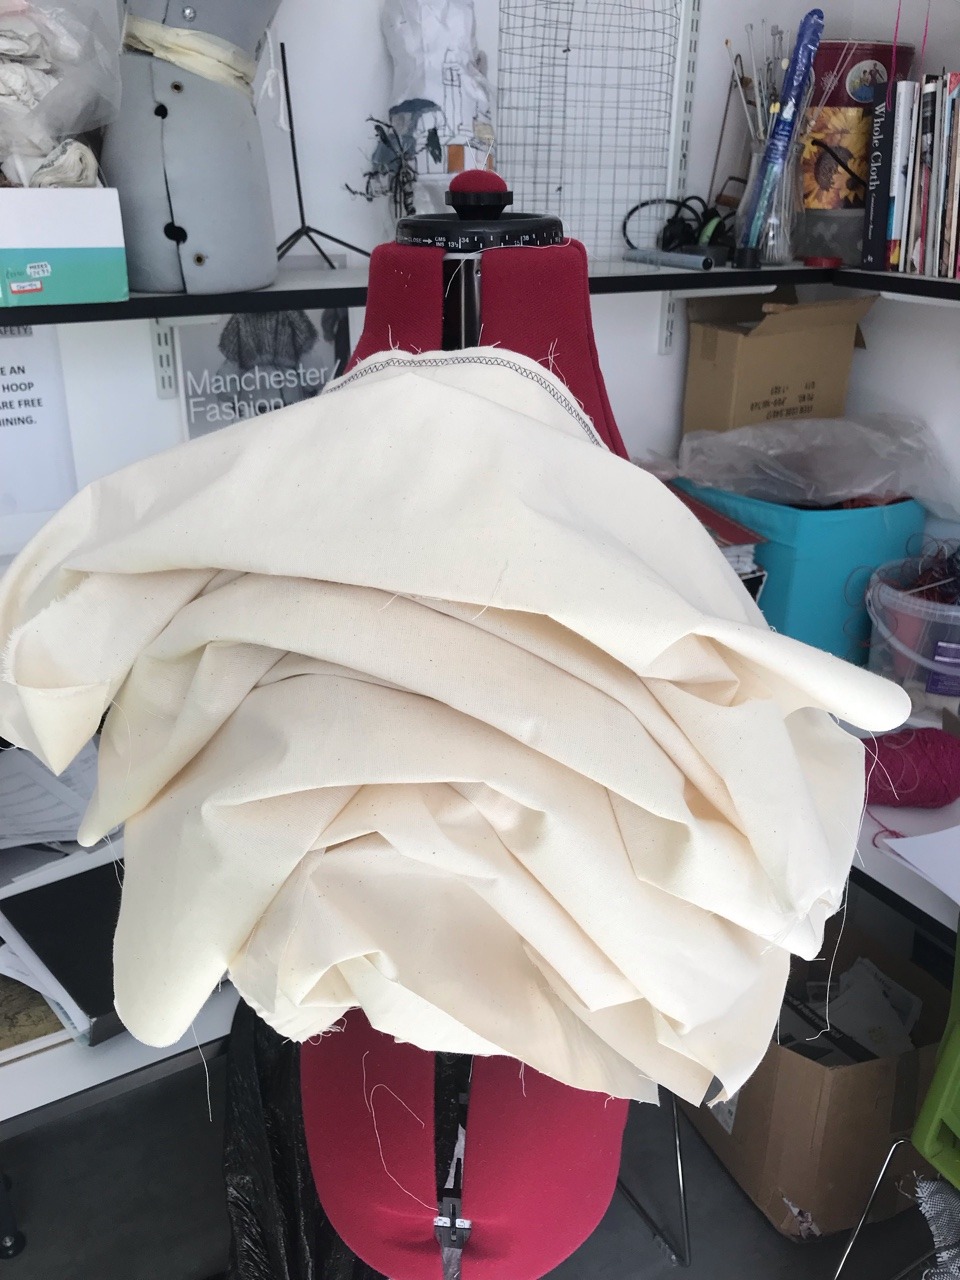
While creating the second toile for the top I got an idea to extend the top in a mini dress Of which the half could act as an under layer under the translucent textured material skirt. In like the darts cut from the ends of toile 1 for toile 2 I got advice form Wendy (lecturer) to create the darts in the middle as narrow ovals and not to start from the bottom ends to the bust. Which worked well.
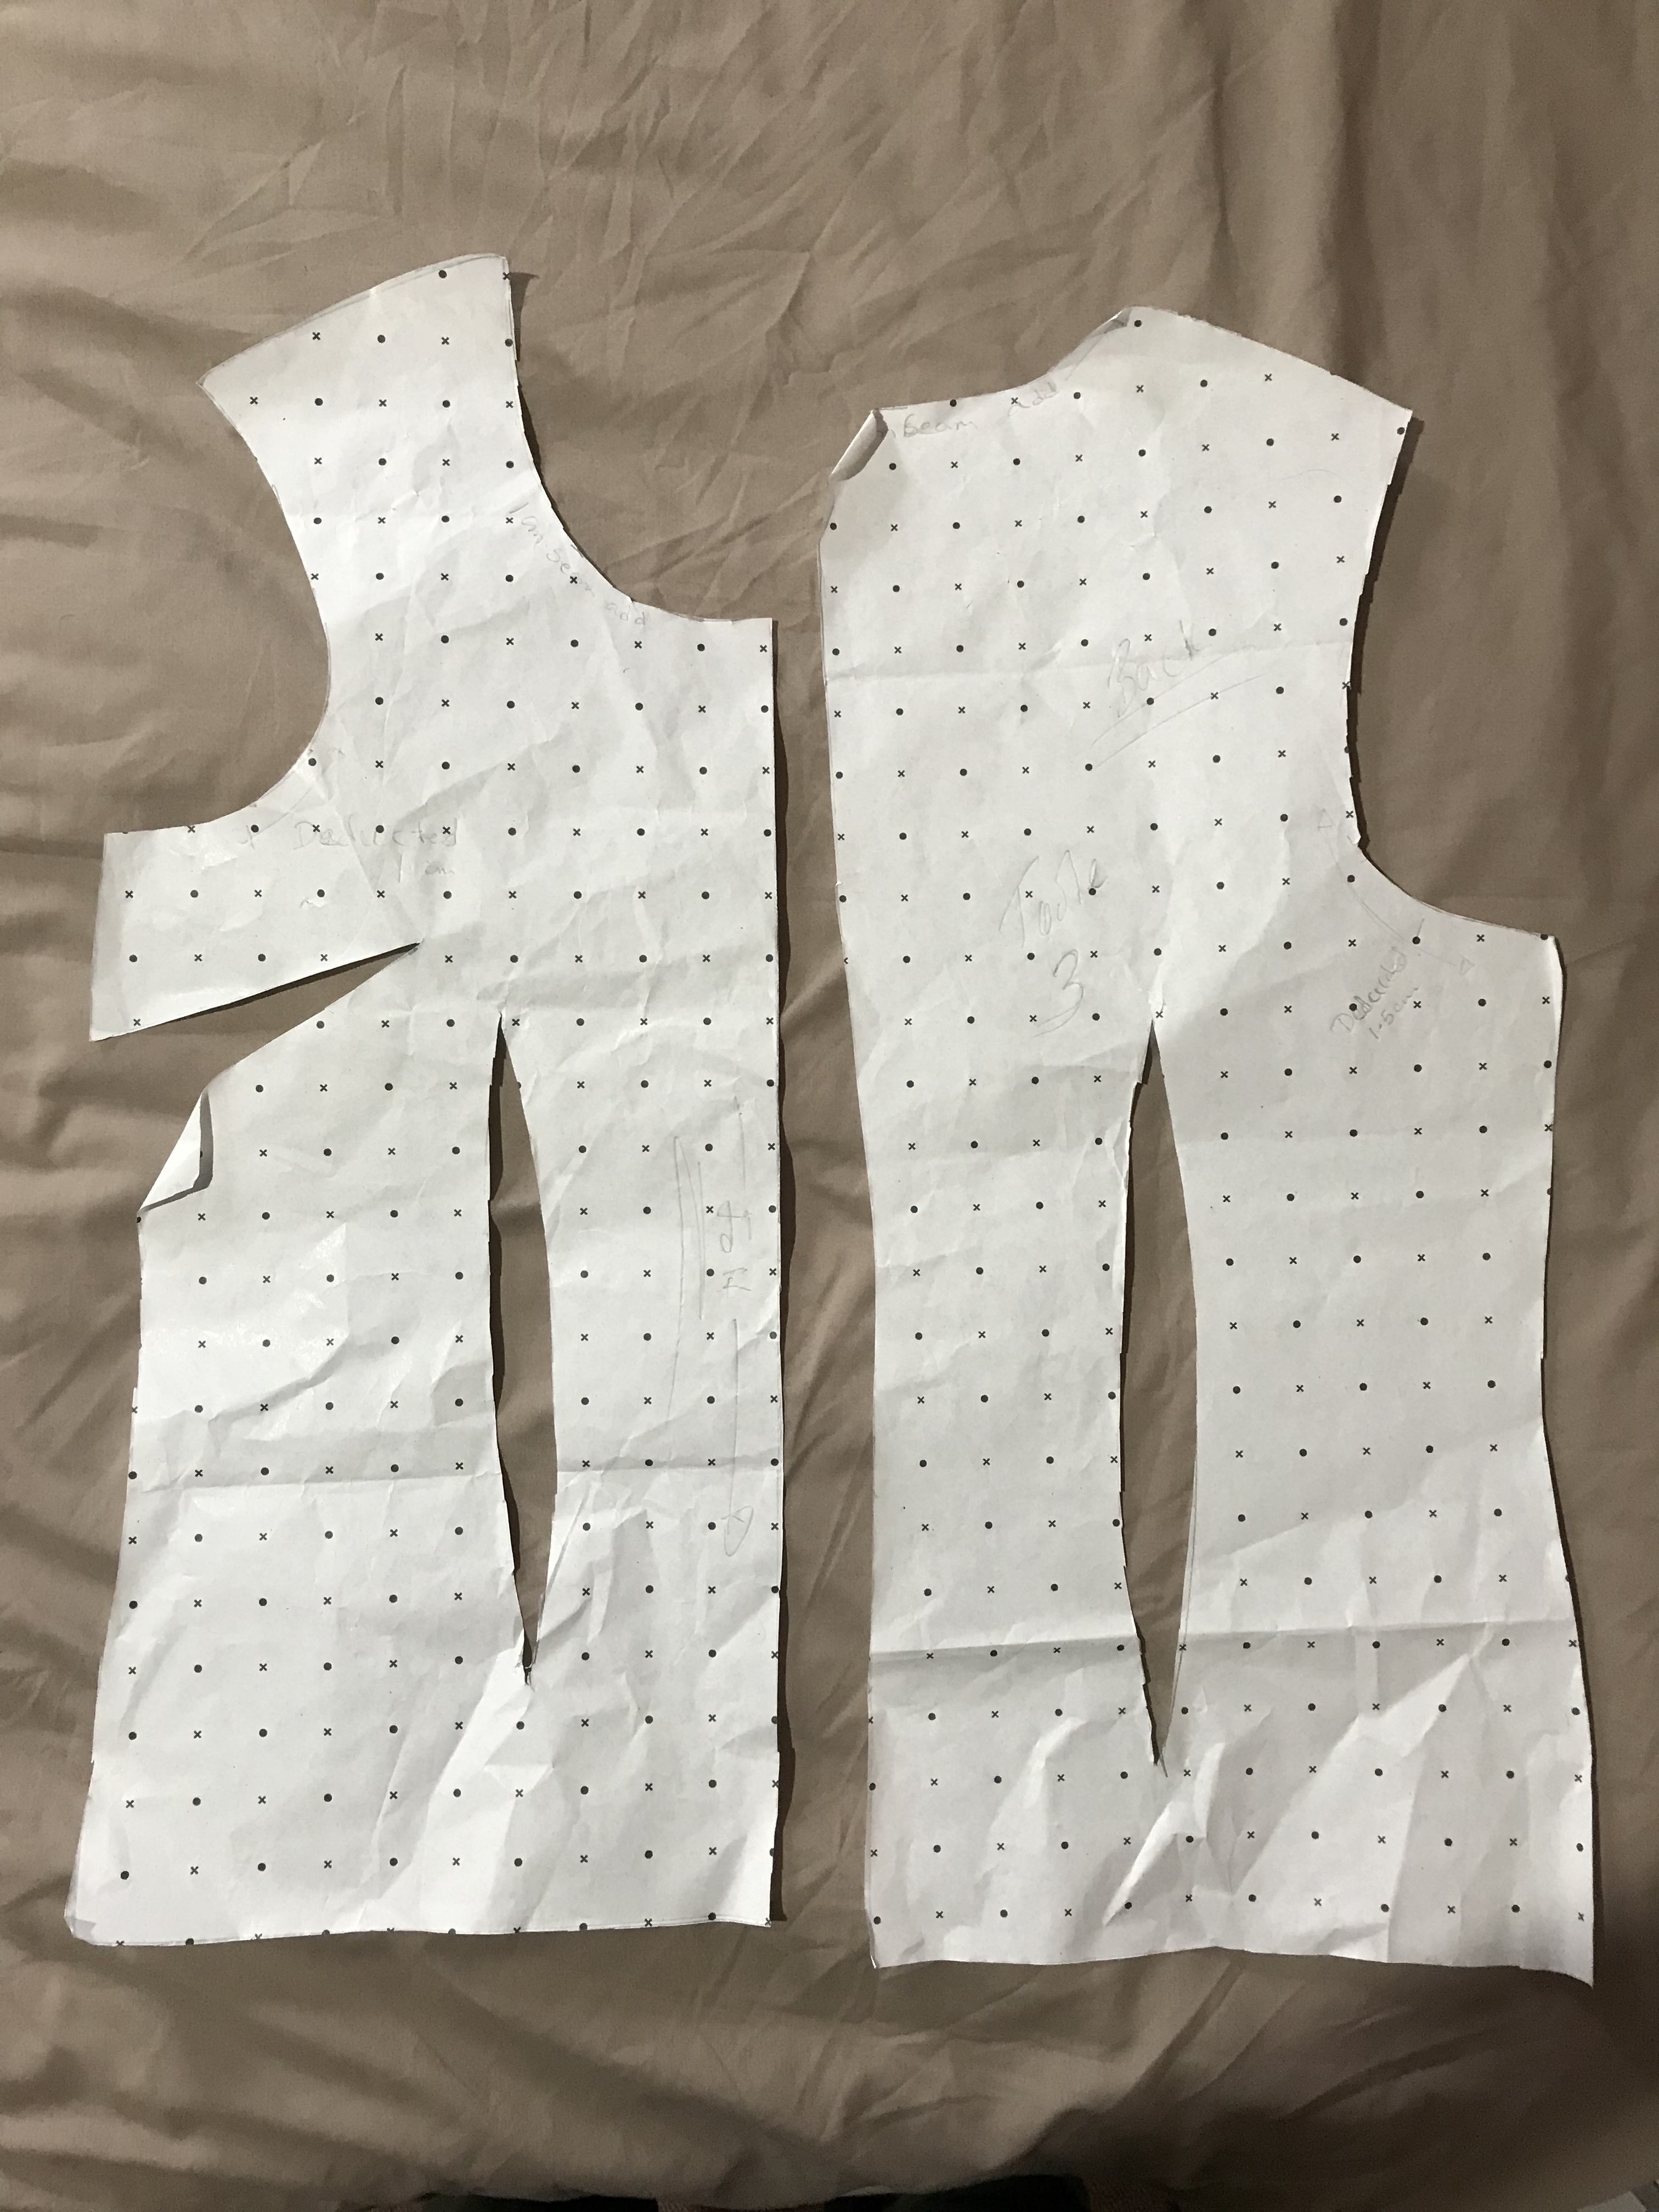
Toile 3:

I deducted I cm from the sleeve as they did not Aline perfectly.
Toile 4:
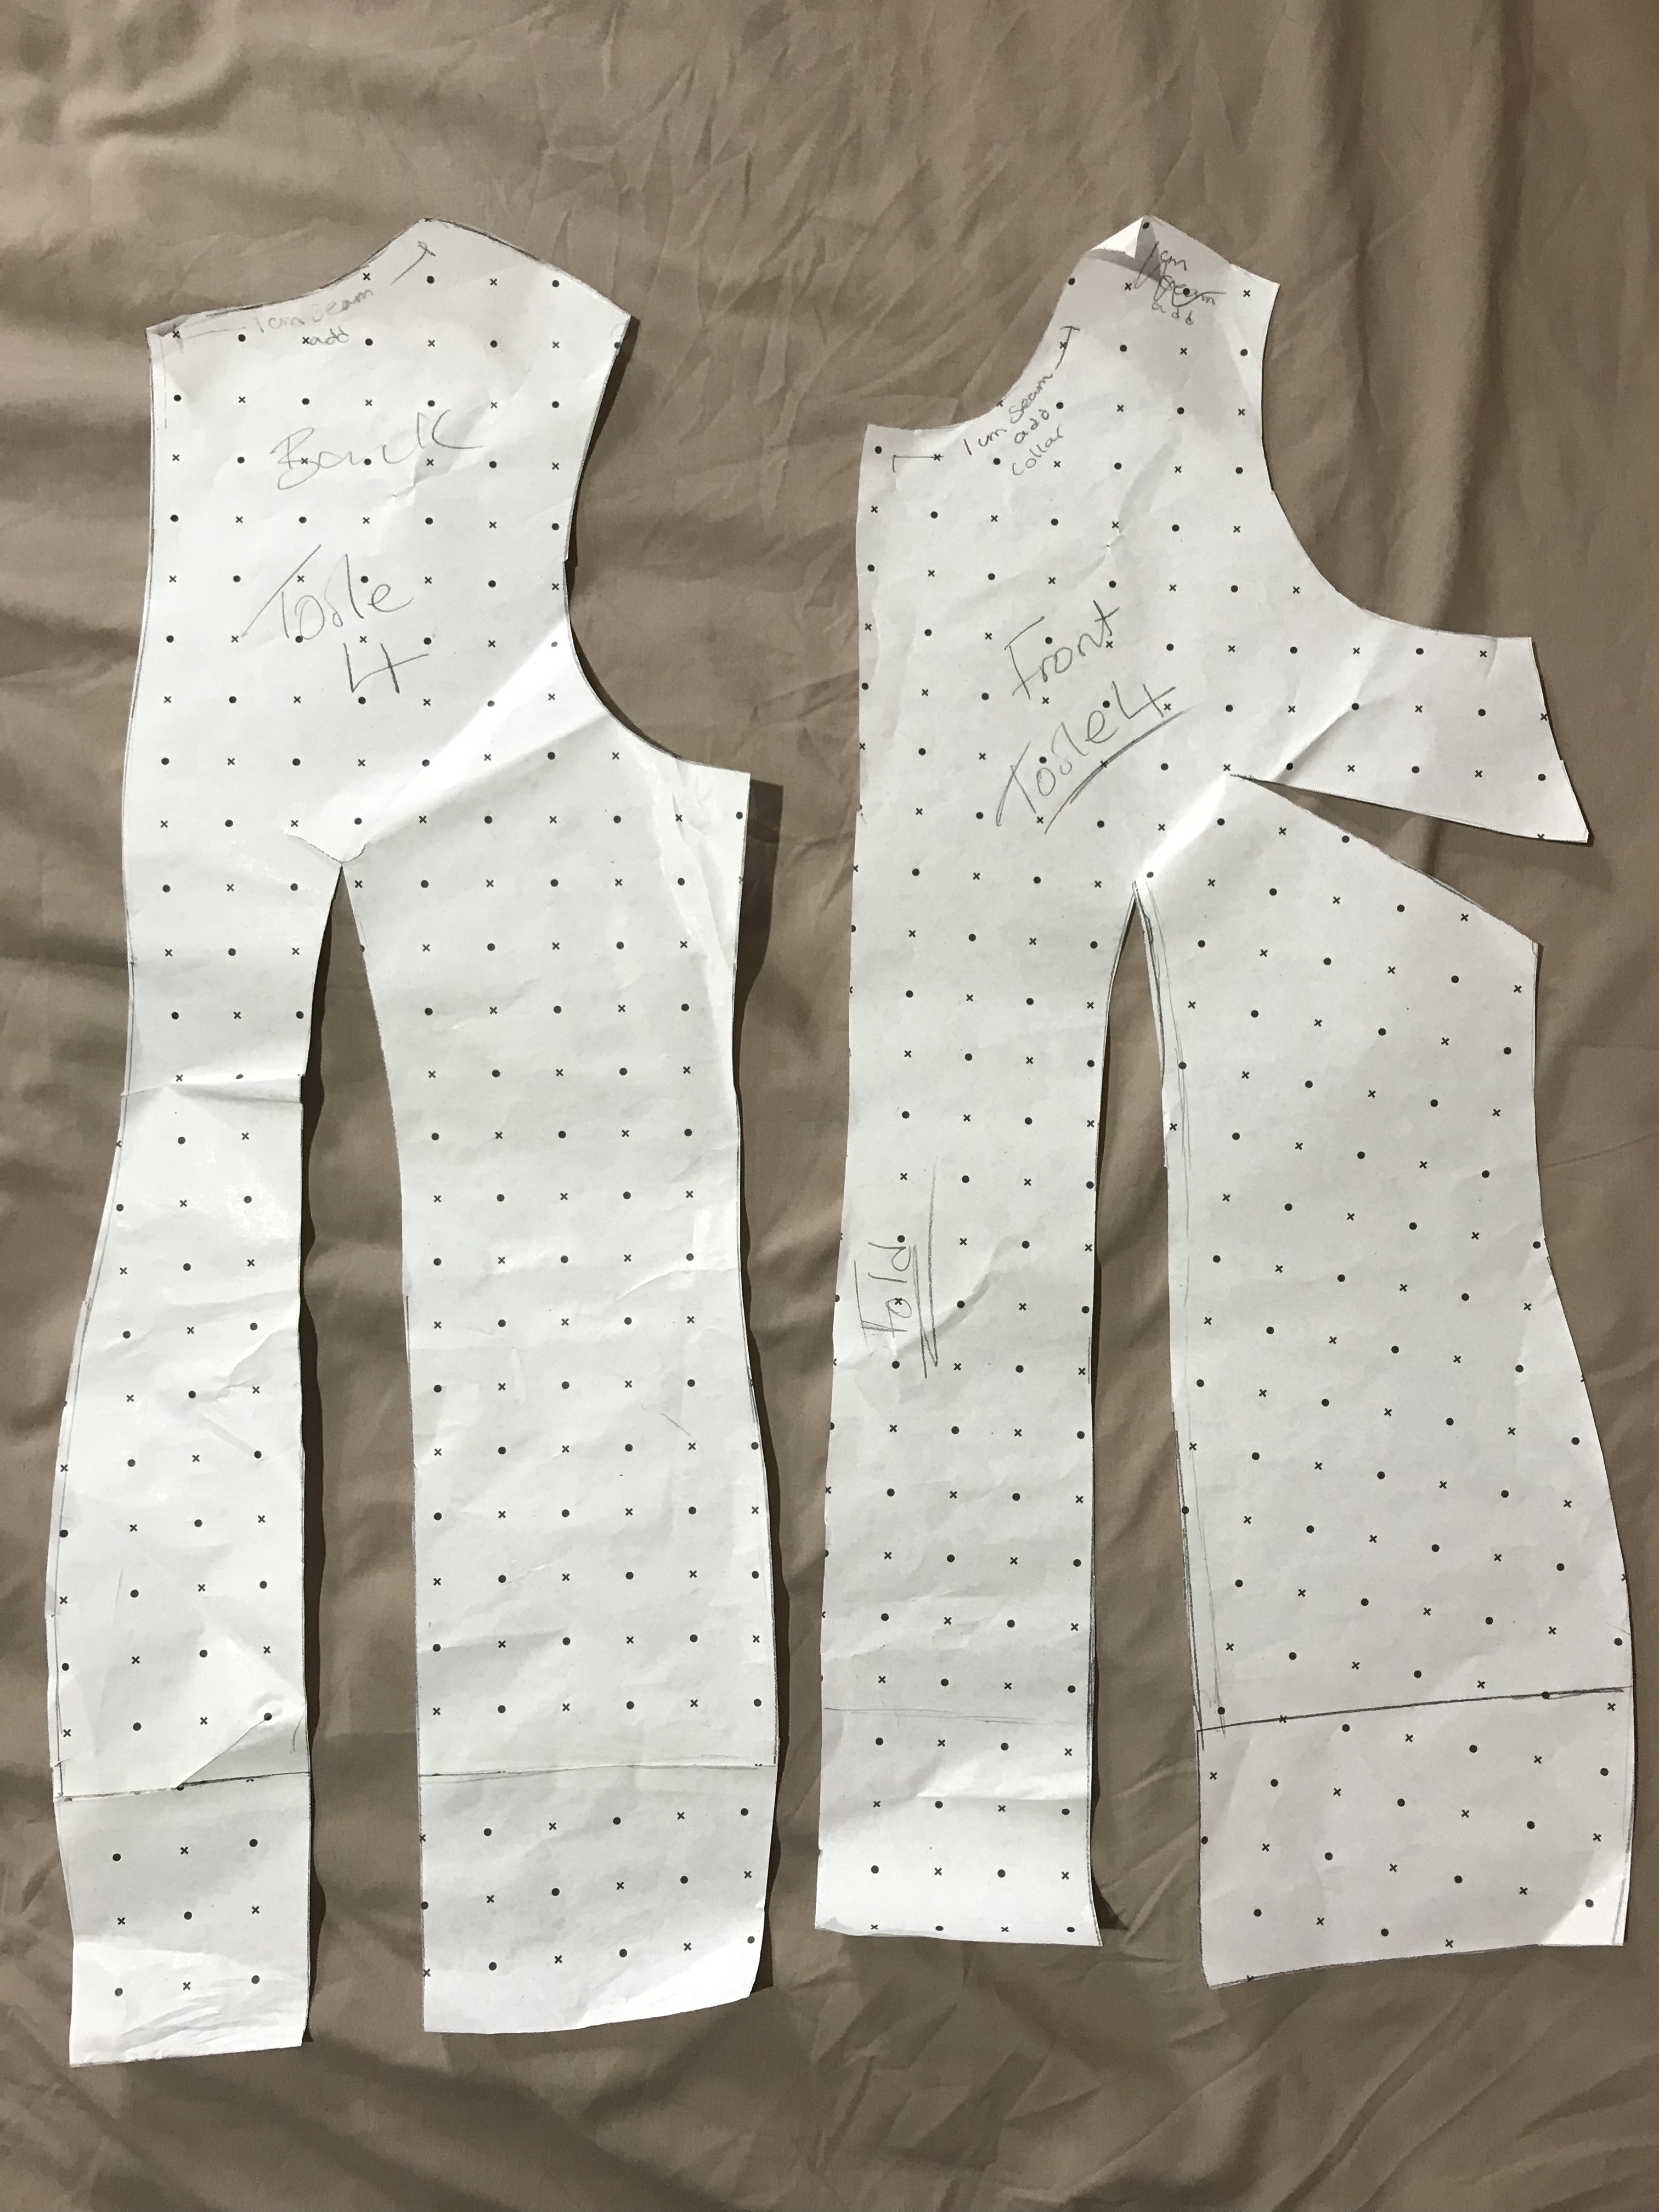
Toile 4 pattern cut was just an experiment with the darts as I used the min over dart cut but extended it to the end of the pattern, as an experiment to see if I can perfect the dart. Which I did not like.
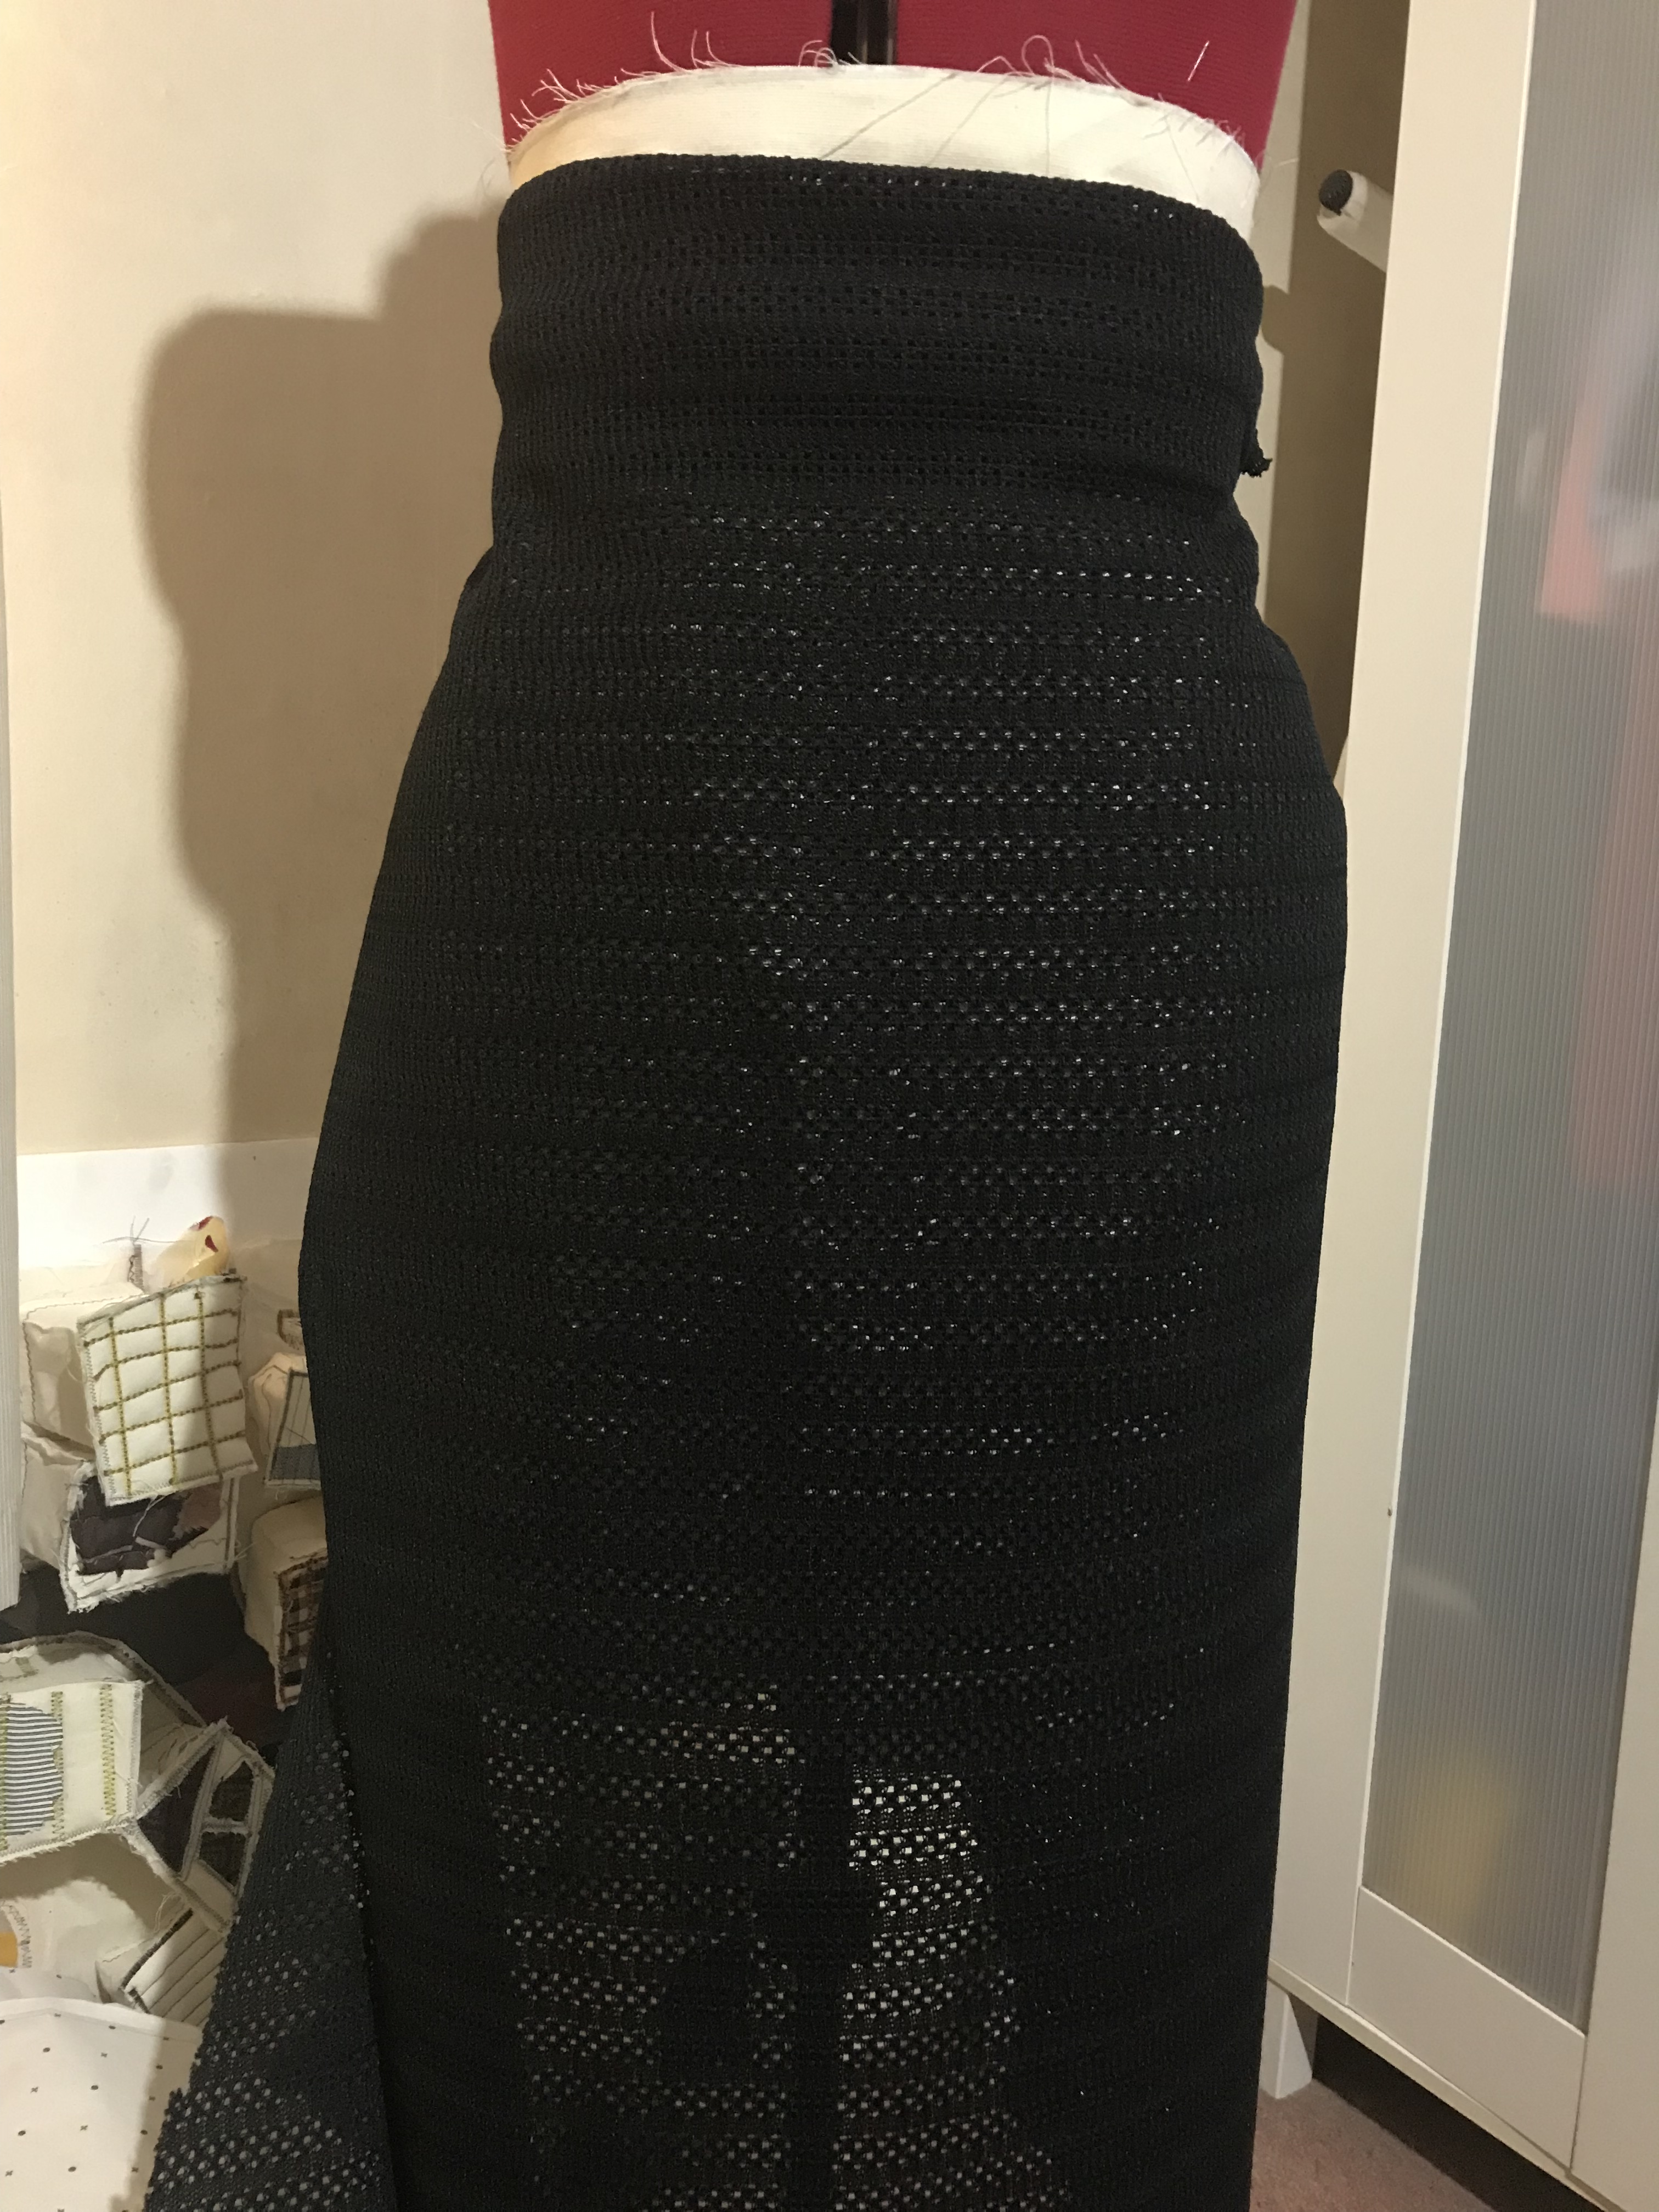
Toile 5:

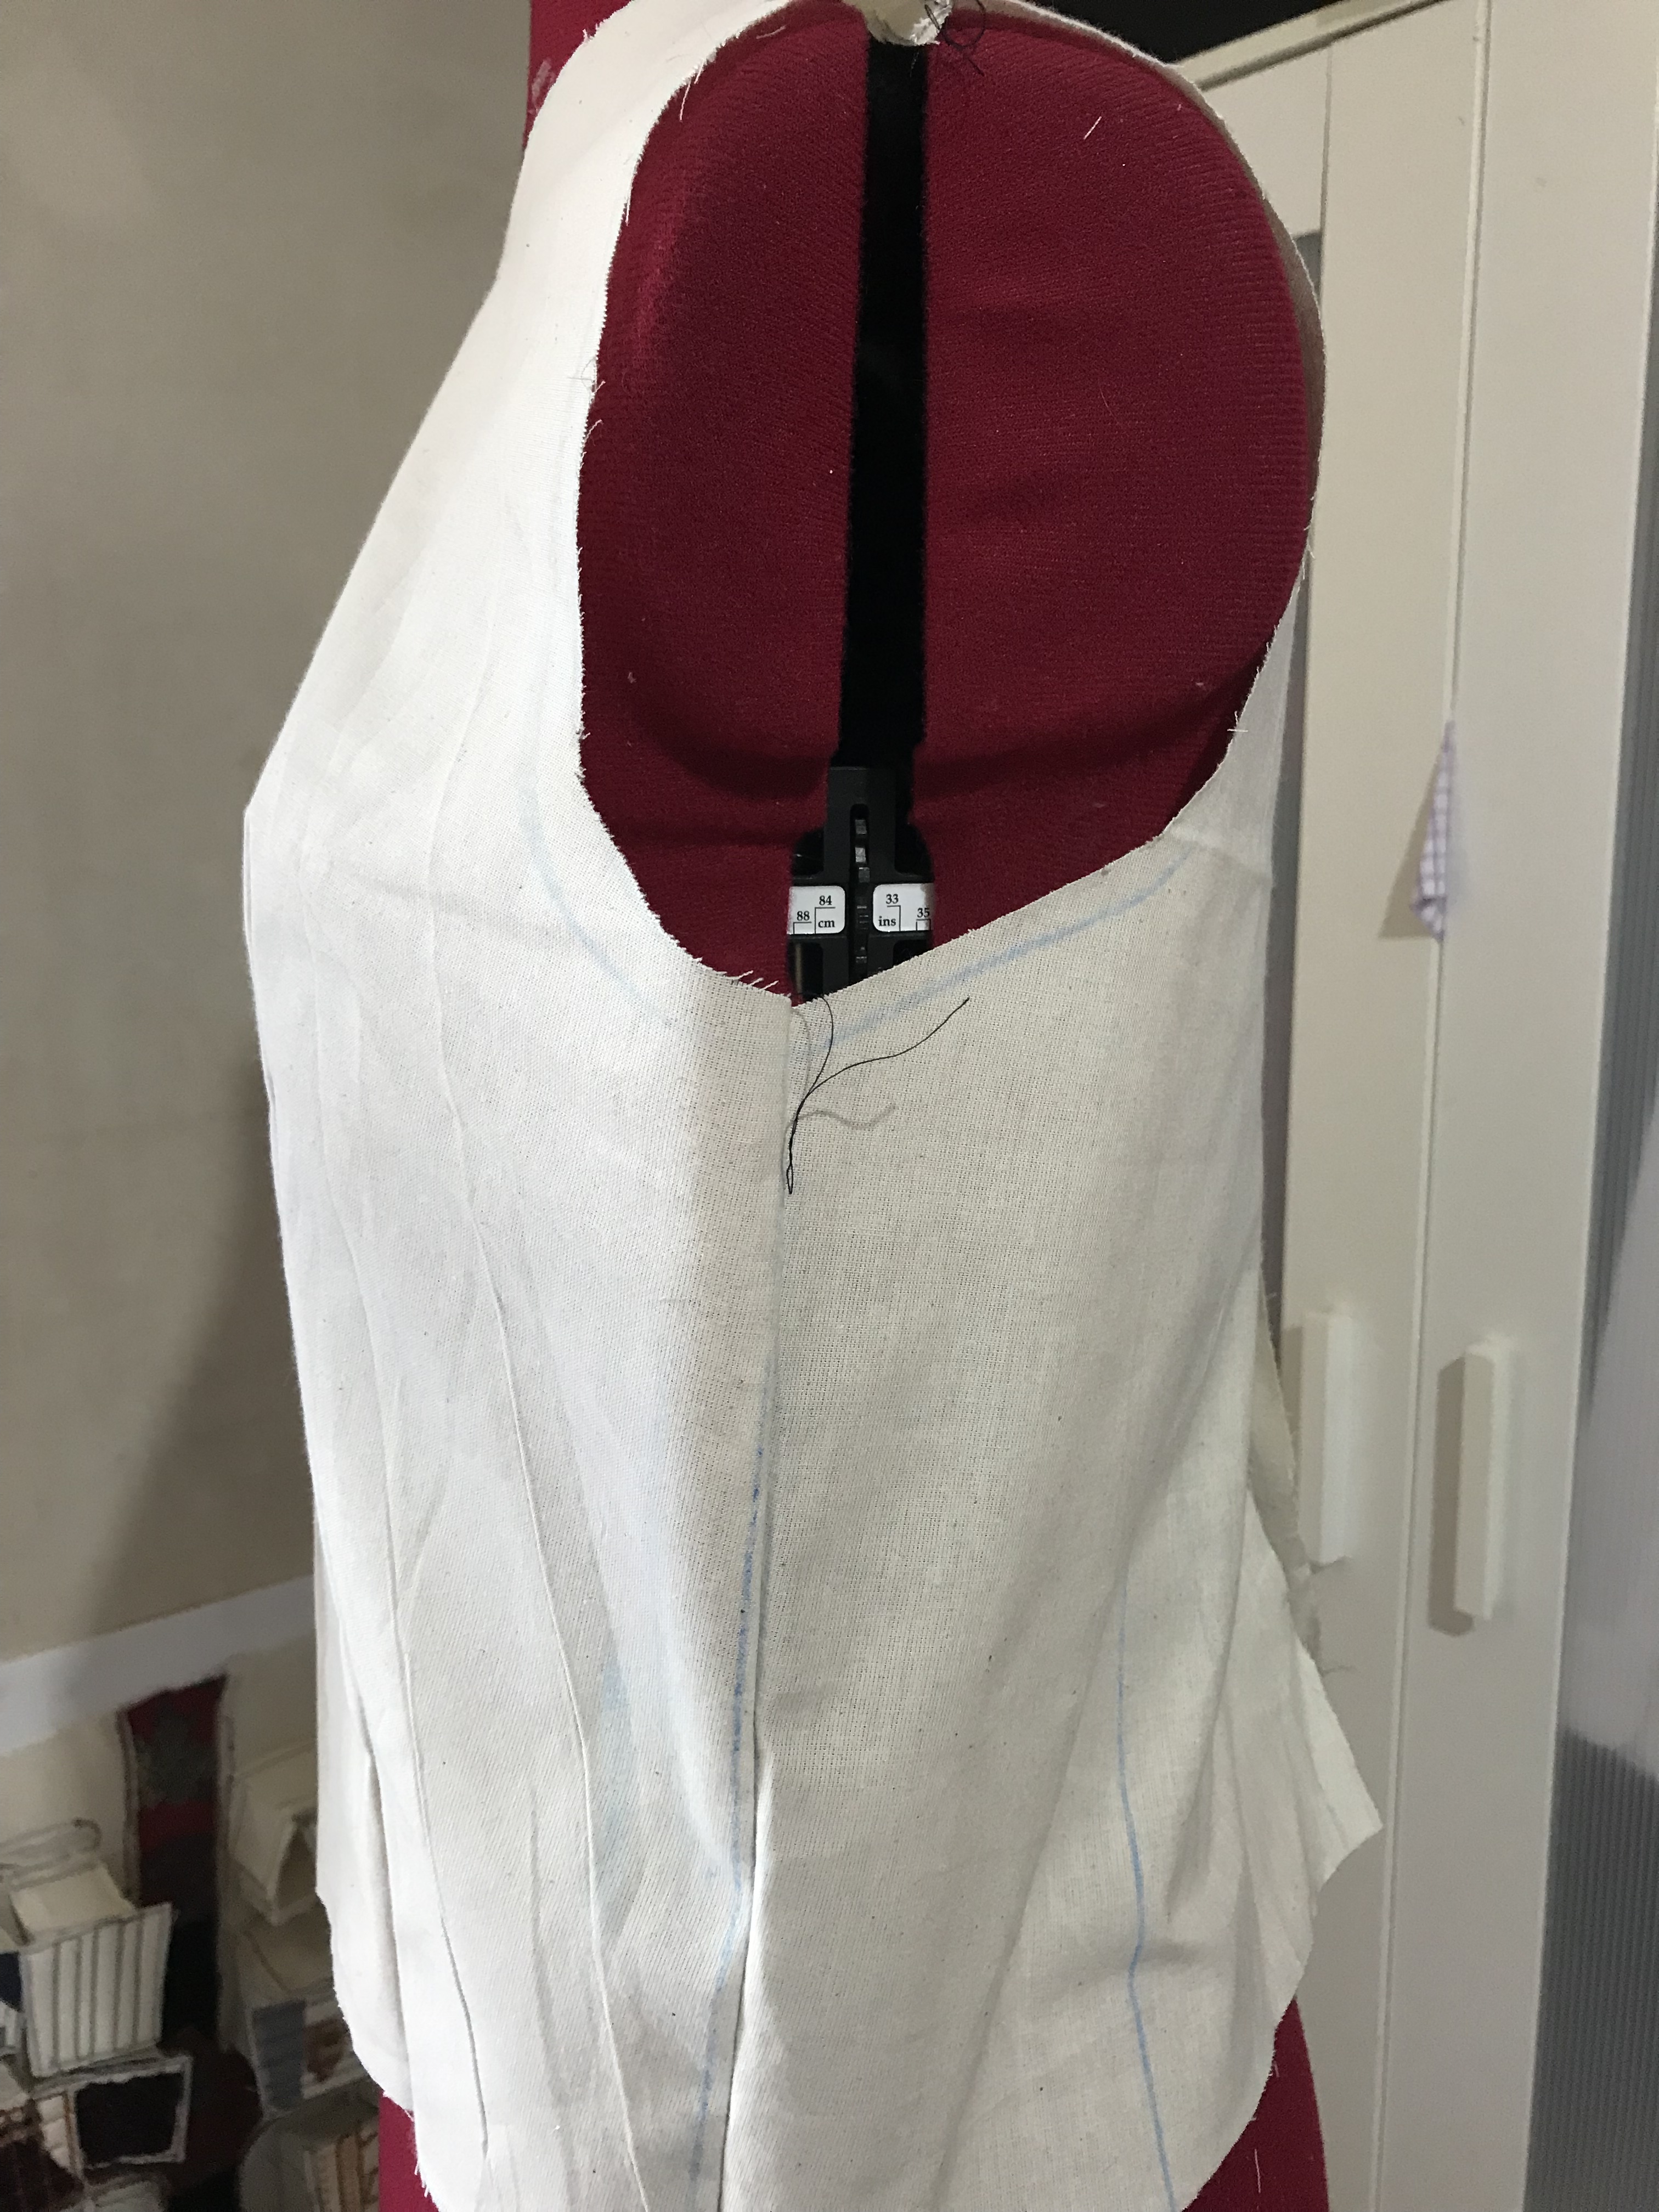
This was the final toile but when fitted on the stand the front of the toile was to big as the side seams extended over where there nor all need to lay. So I abducted some fratricidal form the front pattern of the toile and create a new front pattern cutout.
Toile 5: fitting


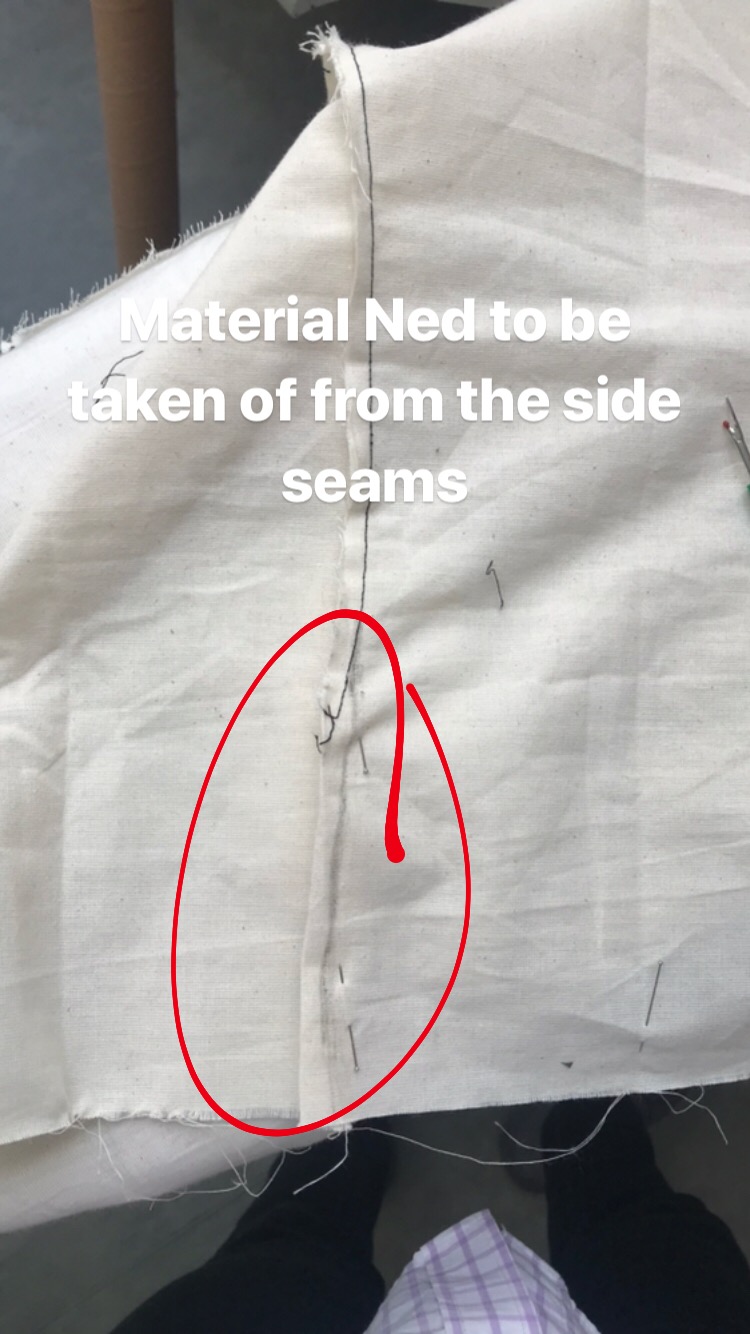
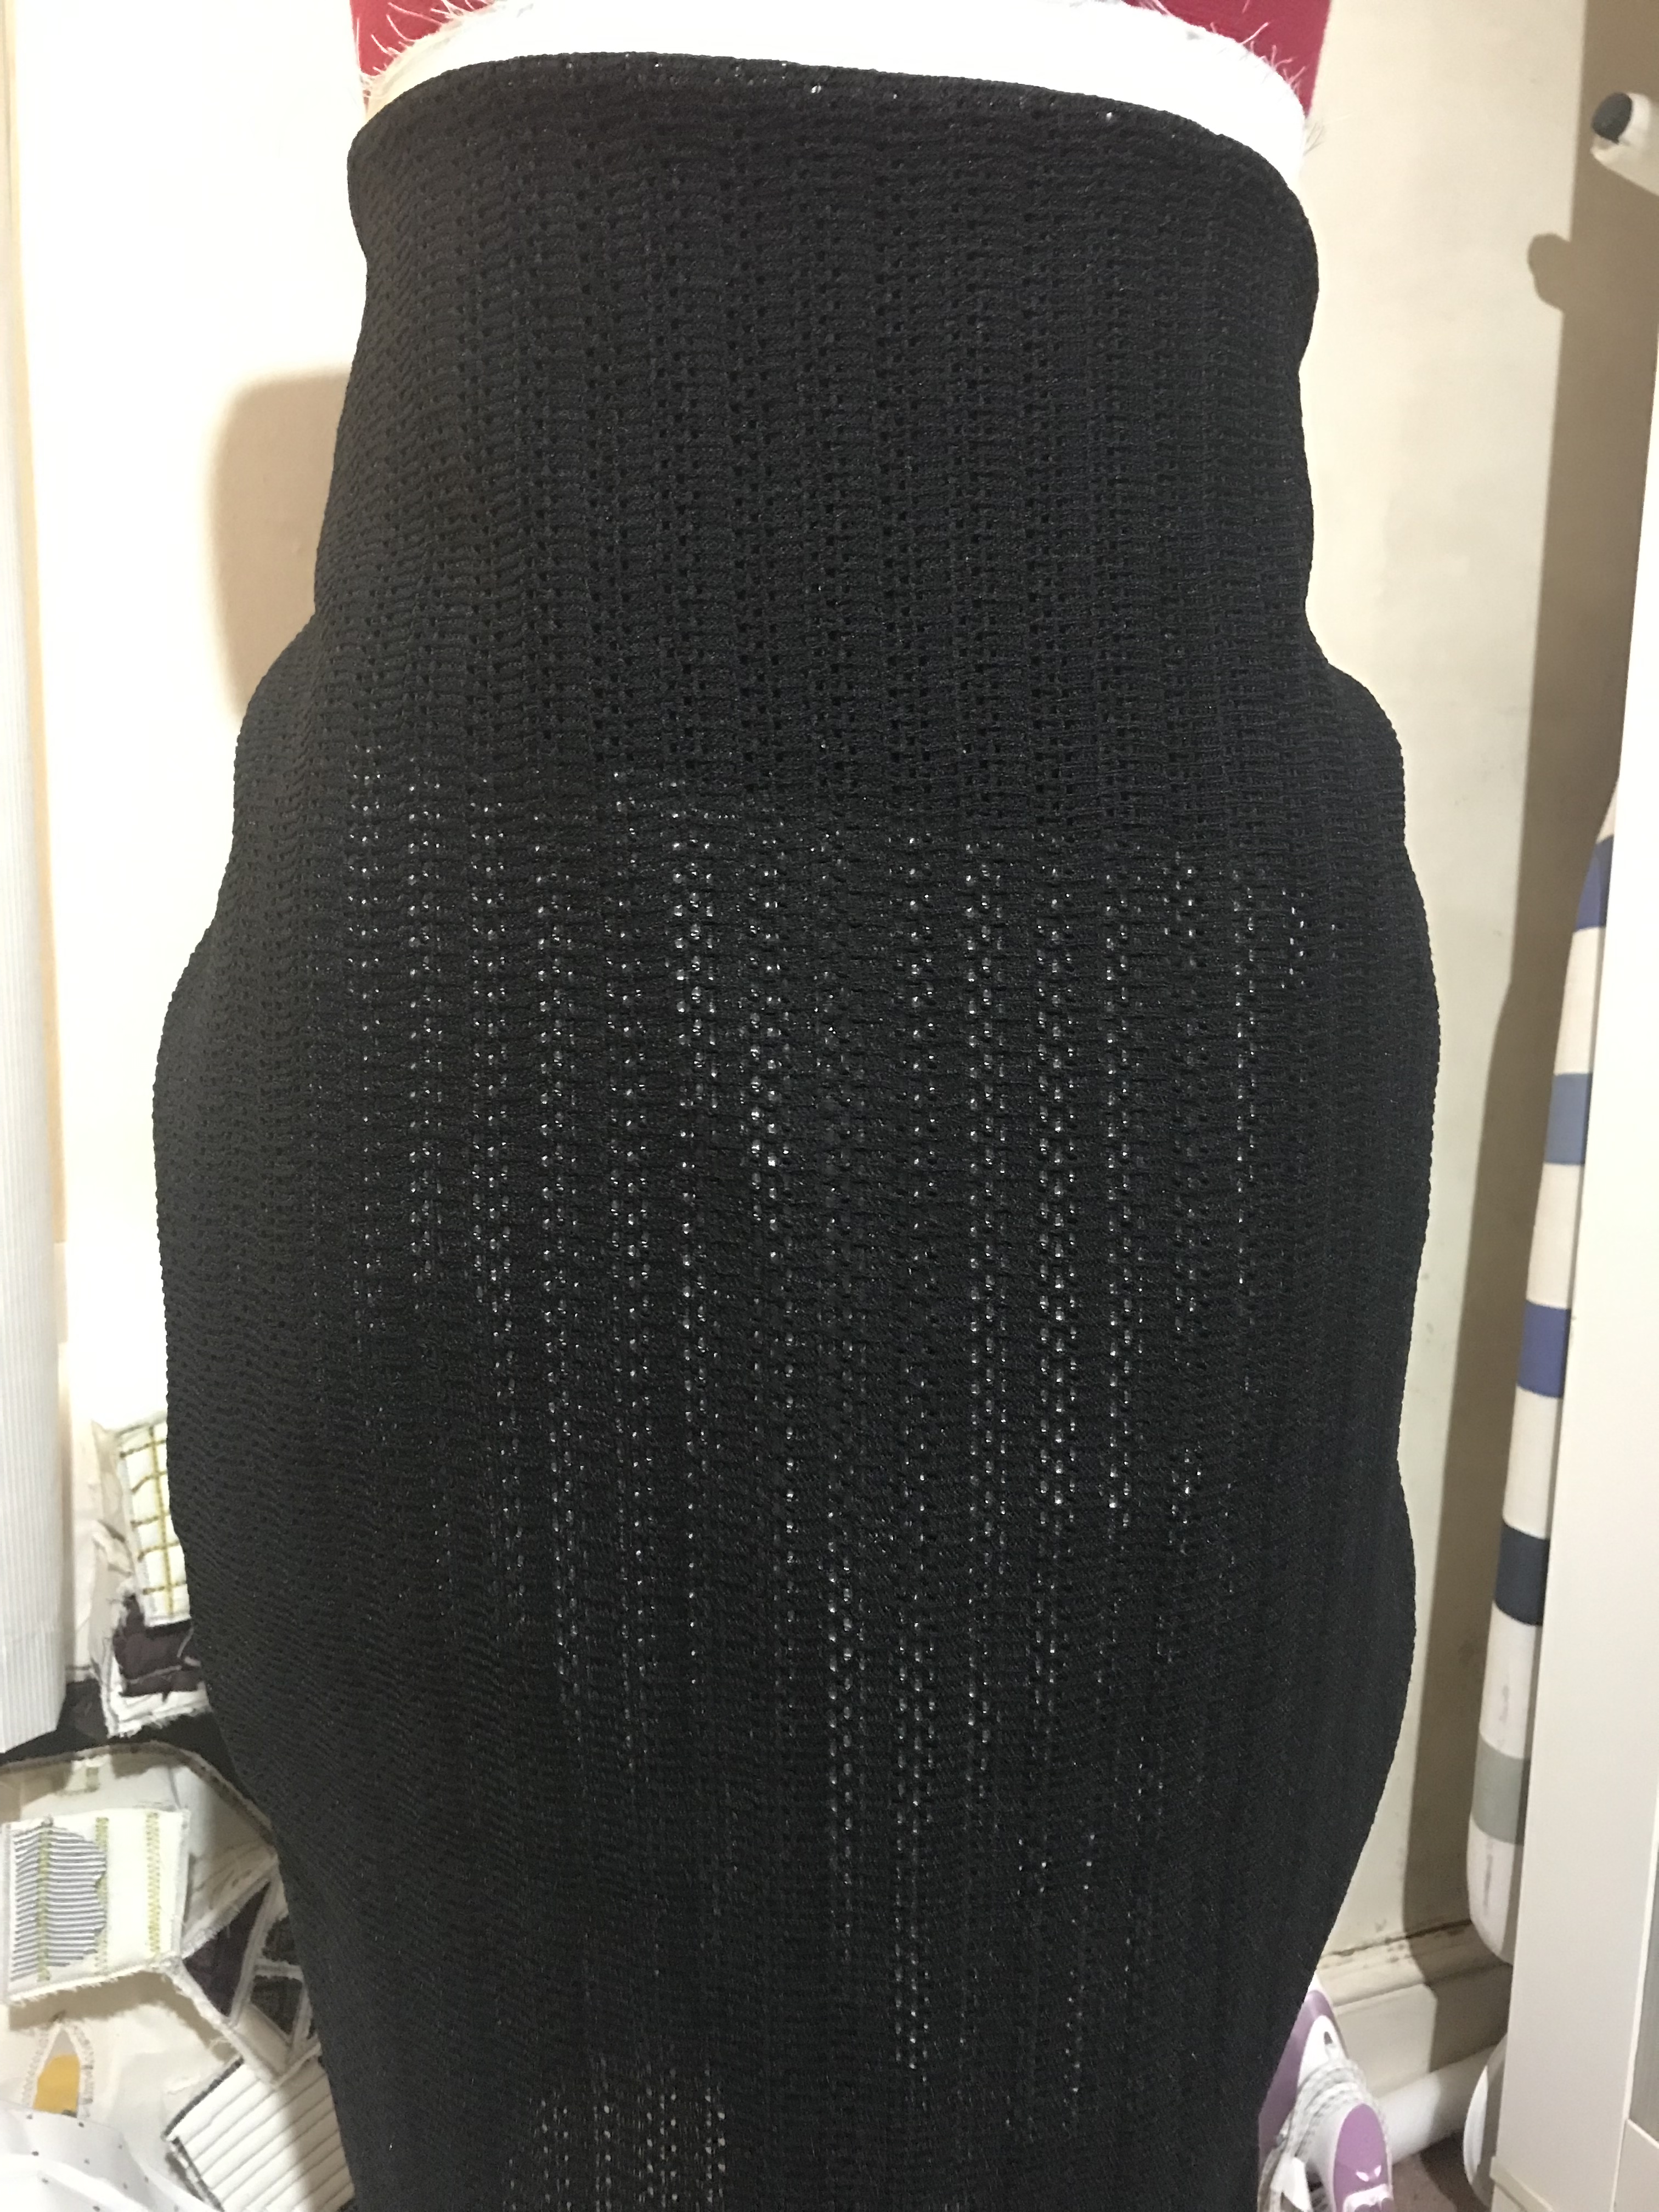
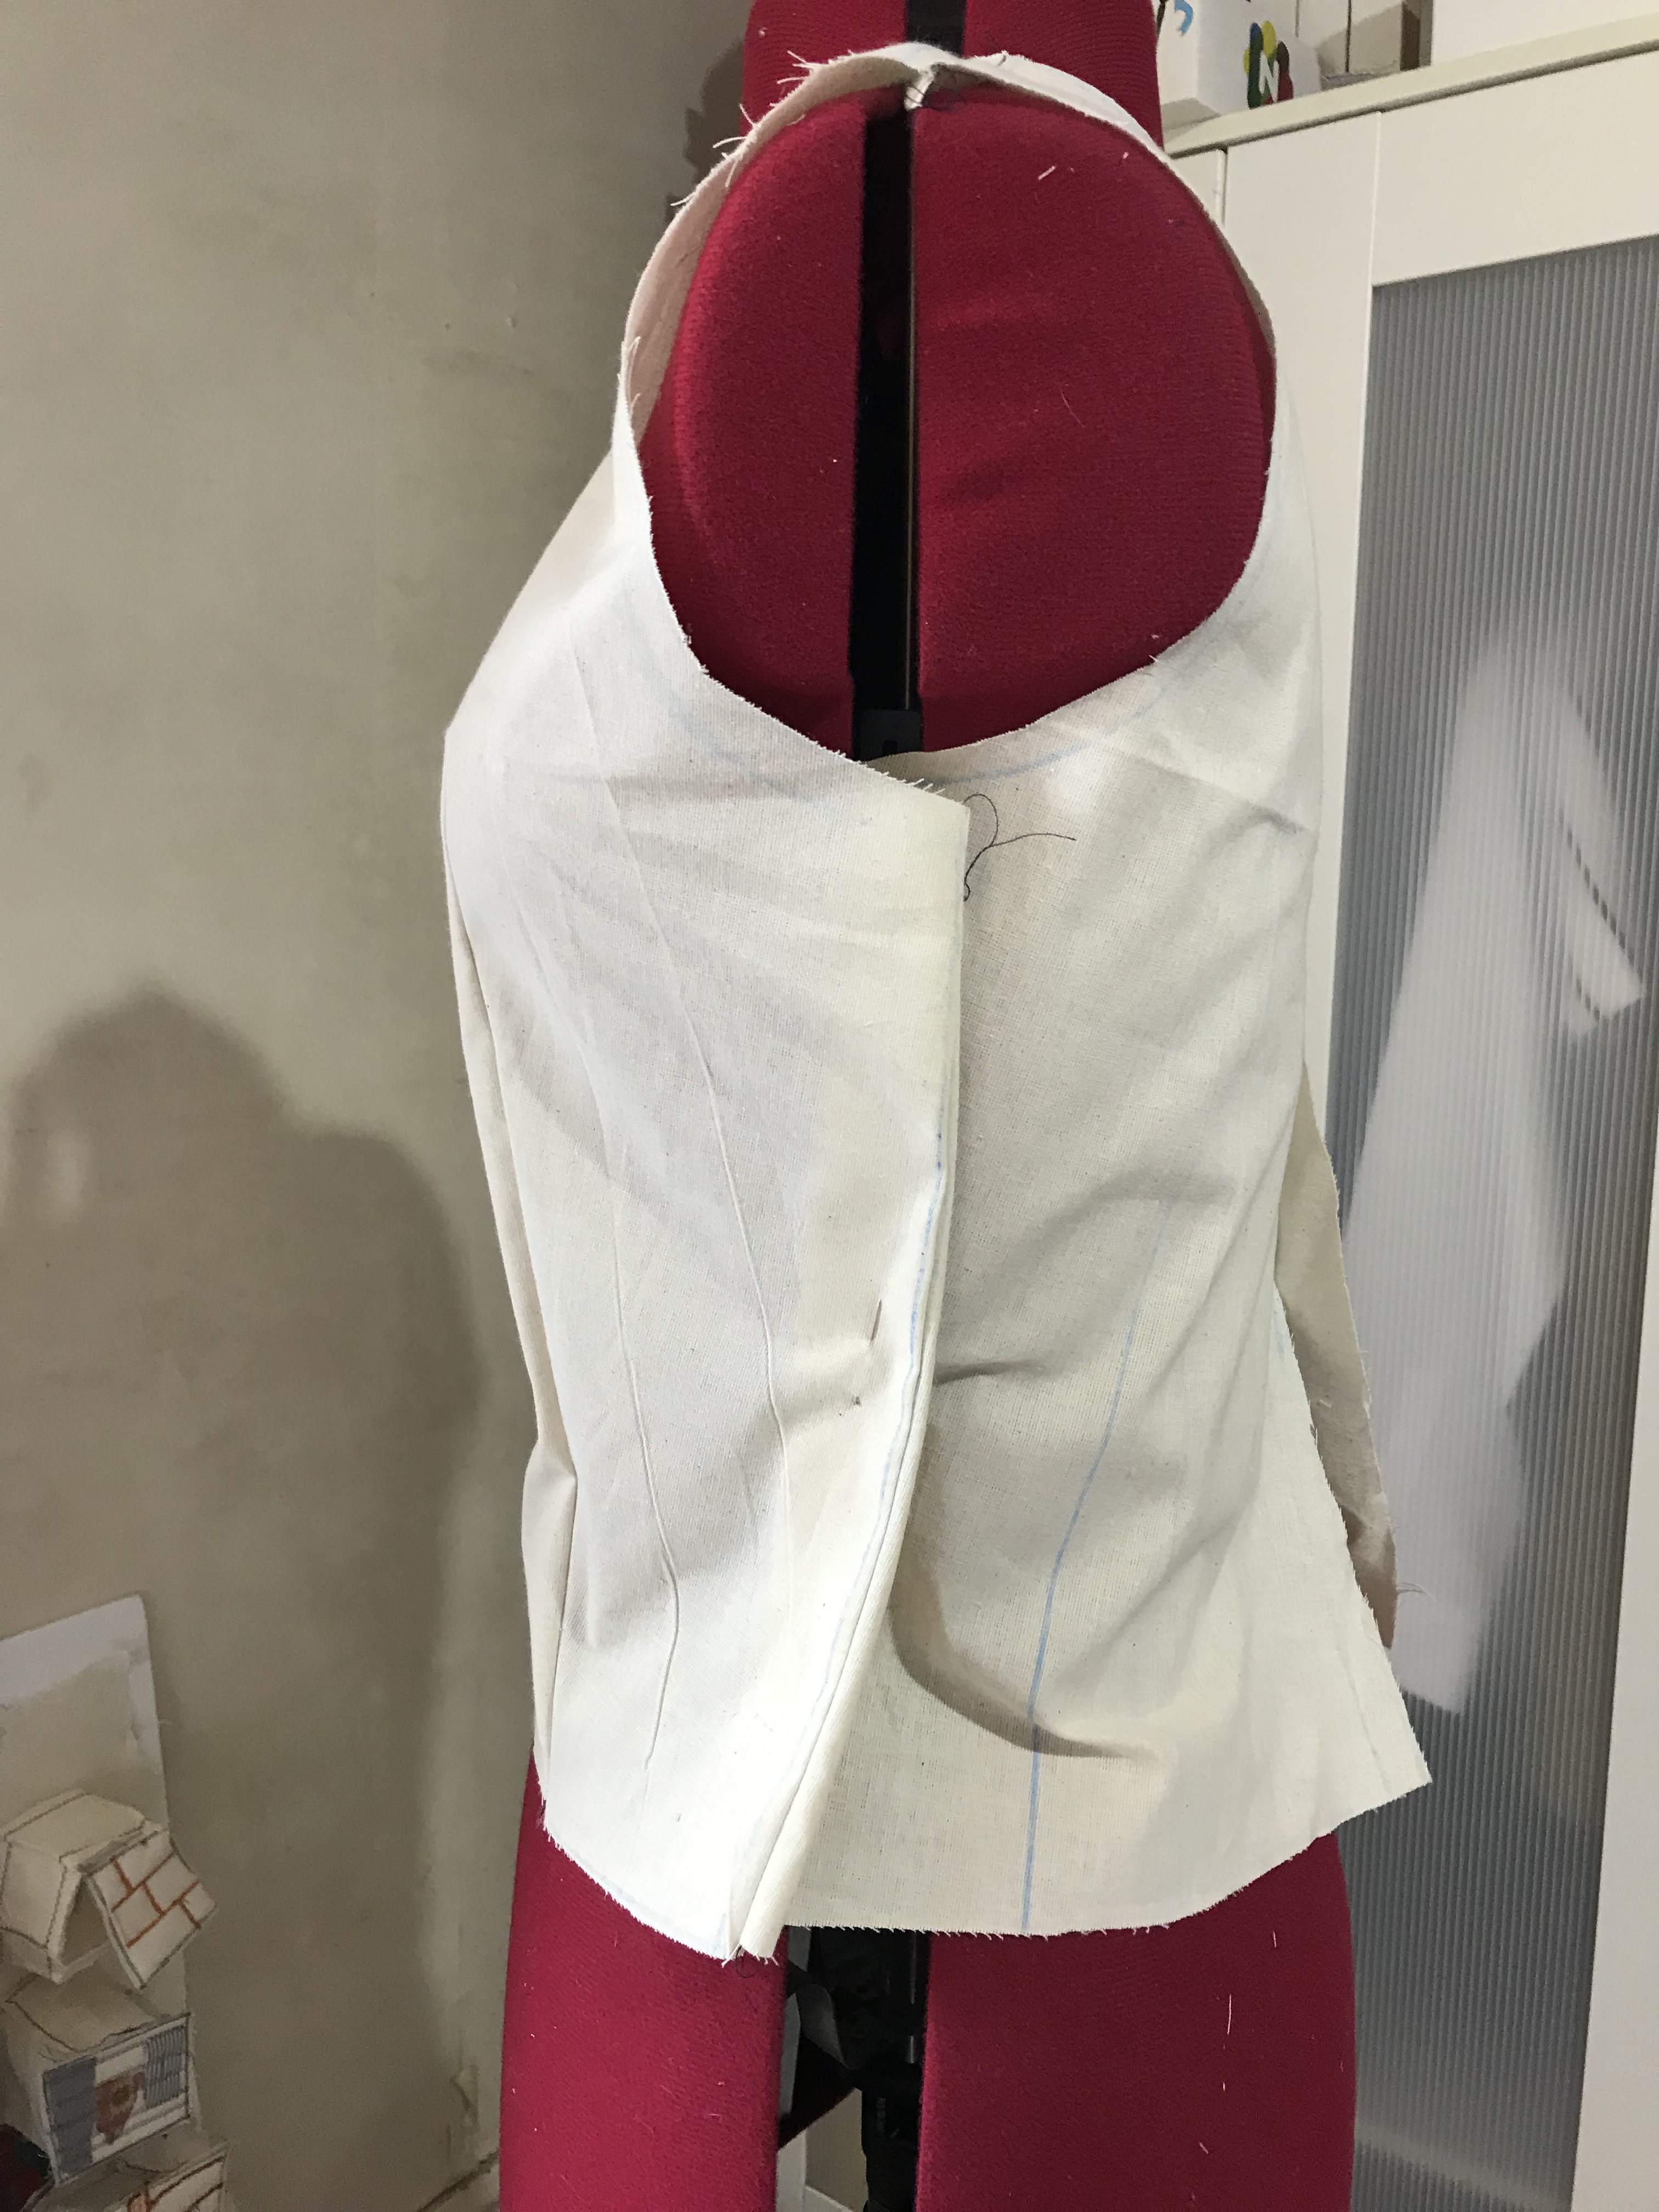
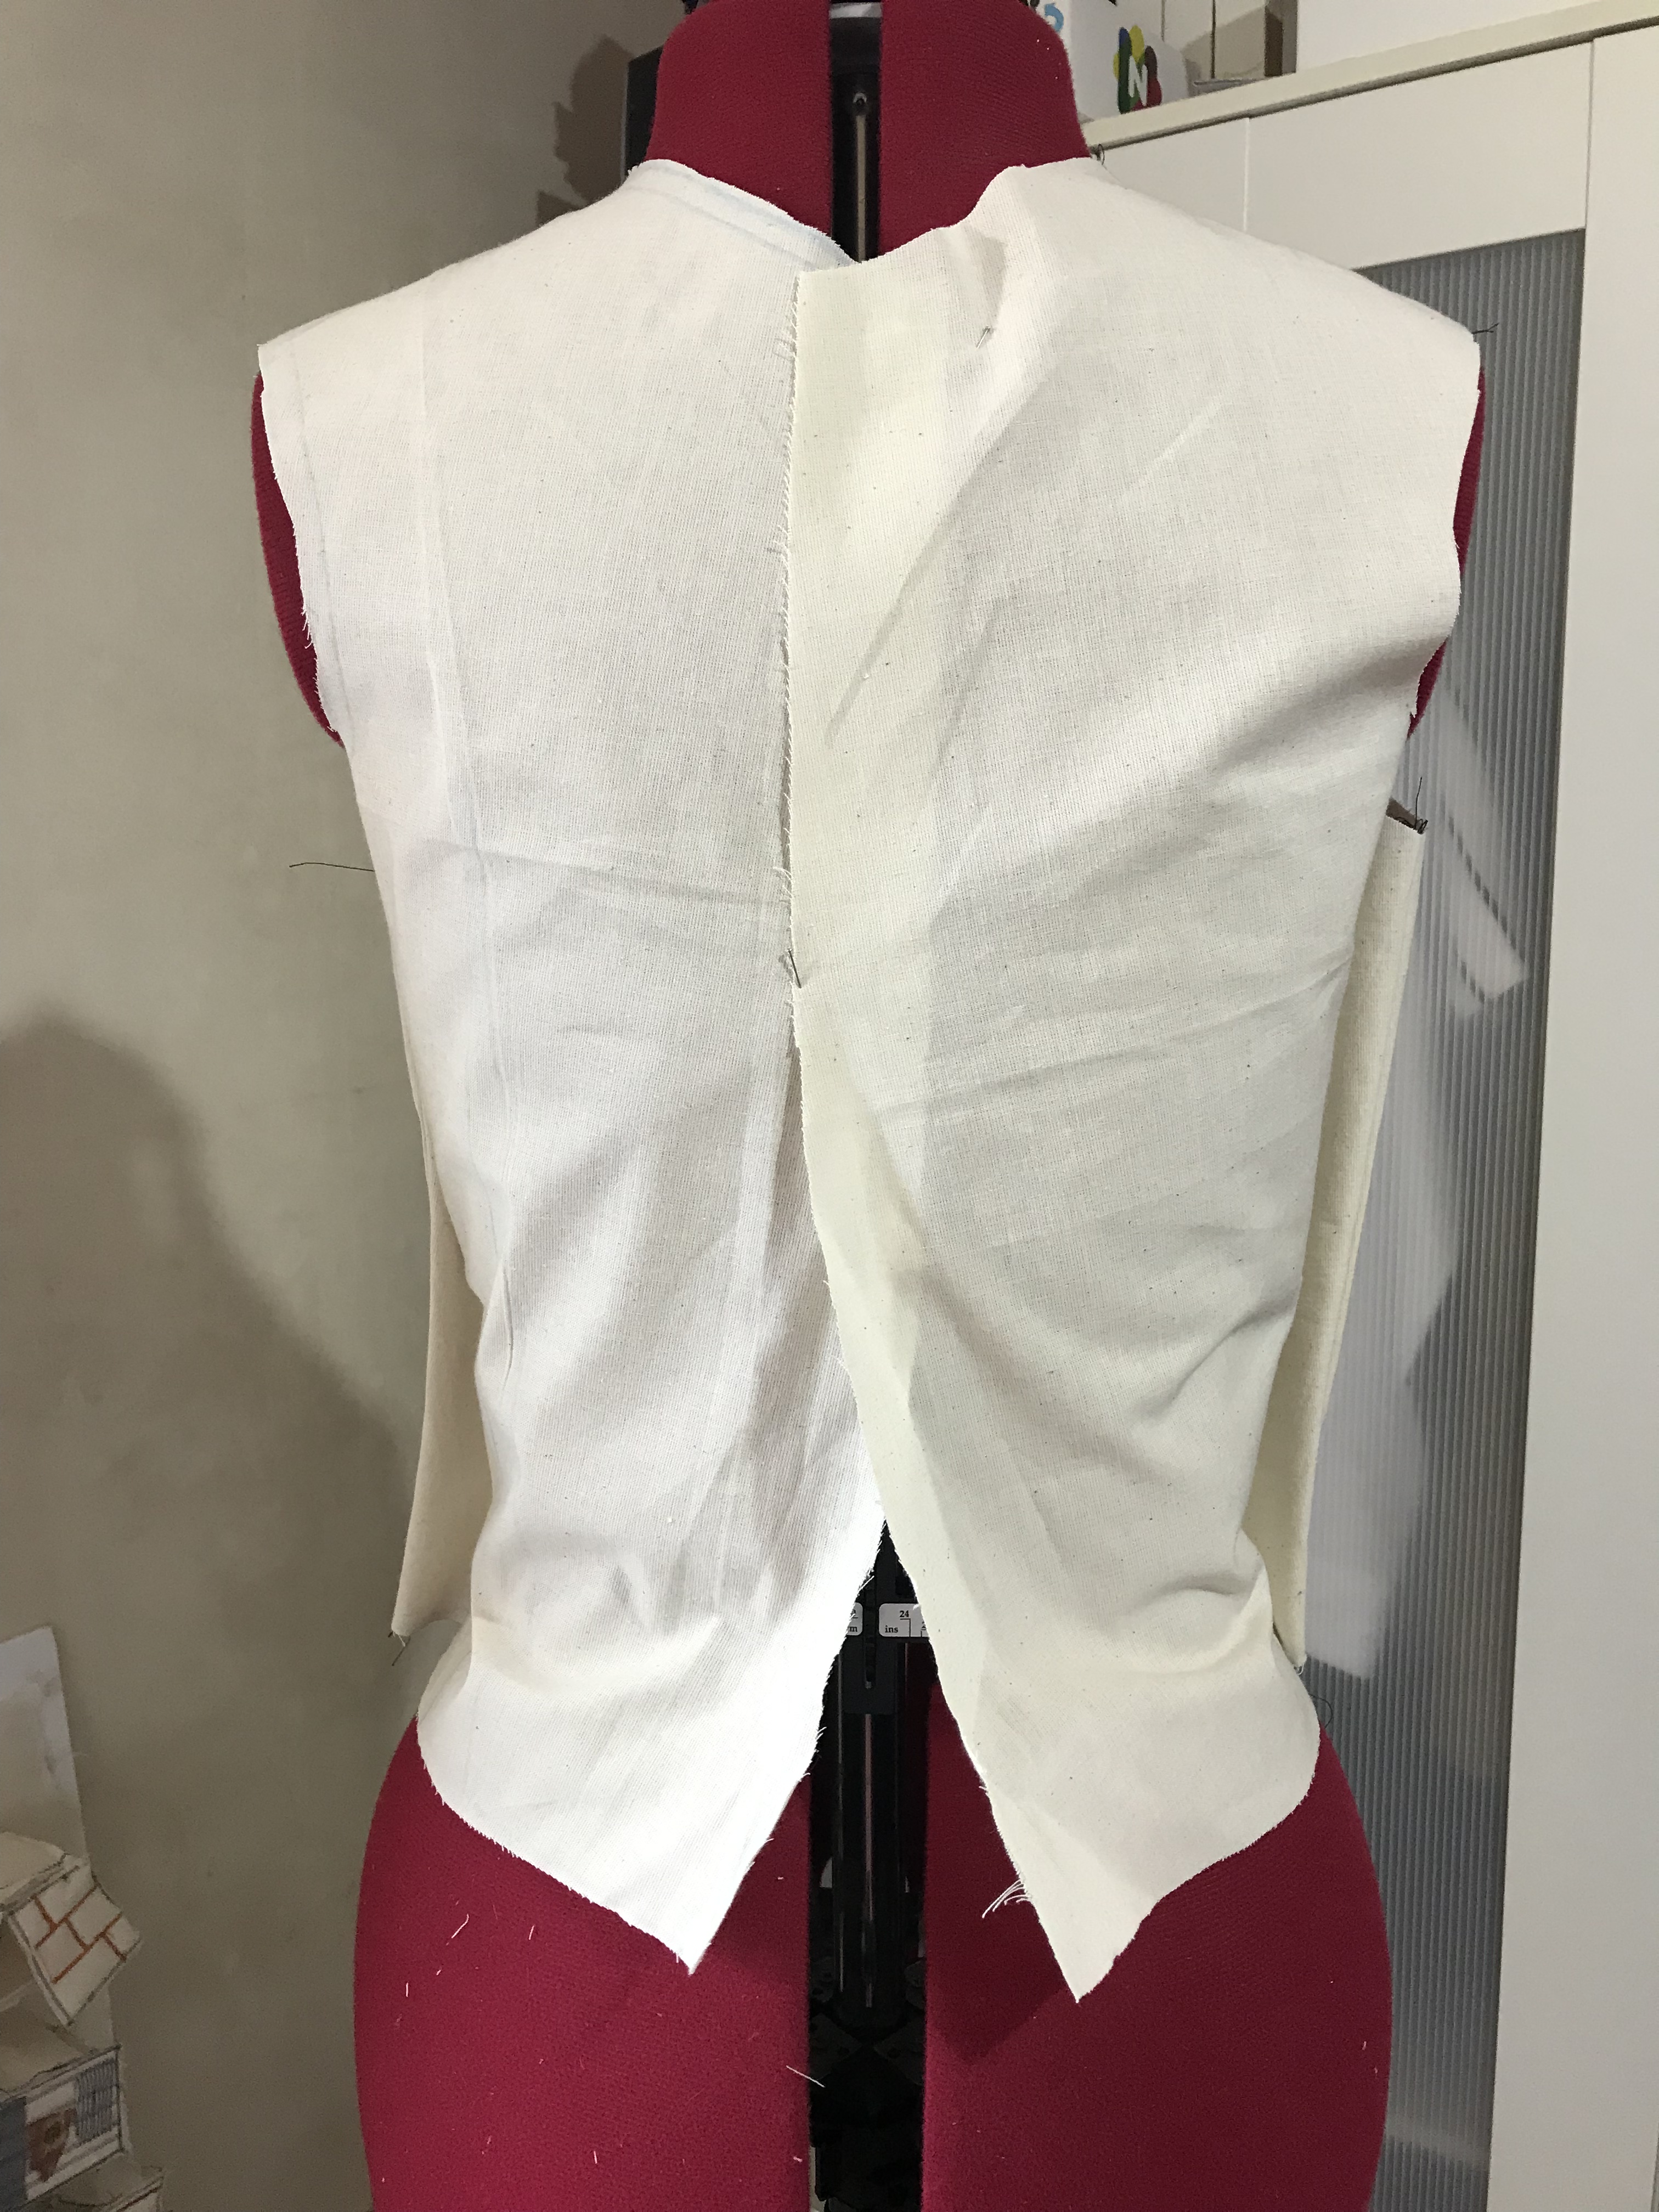
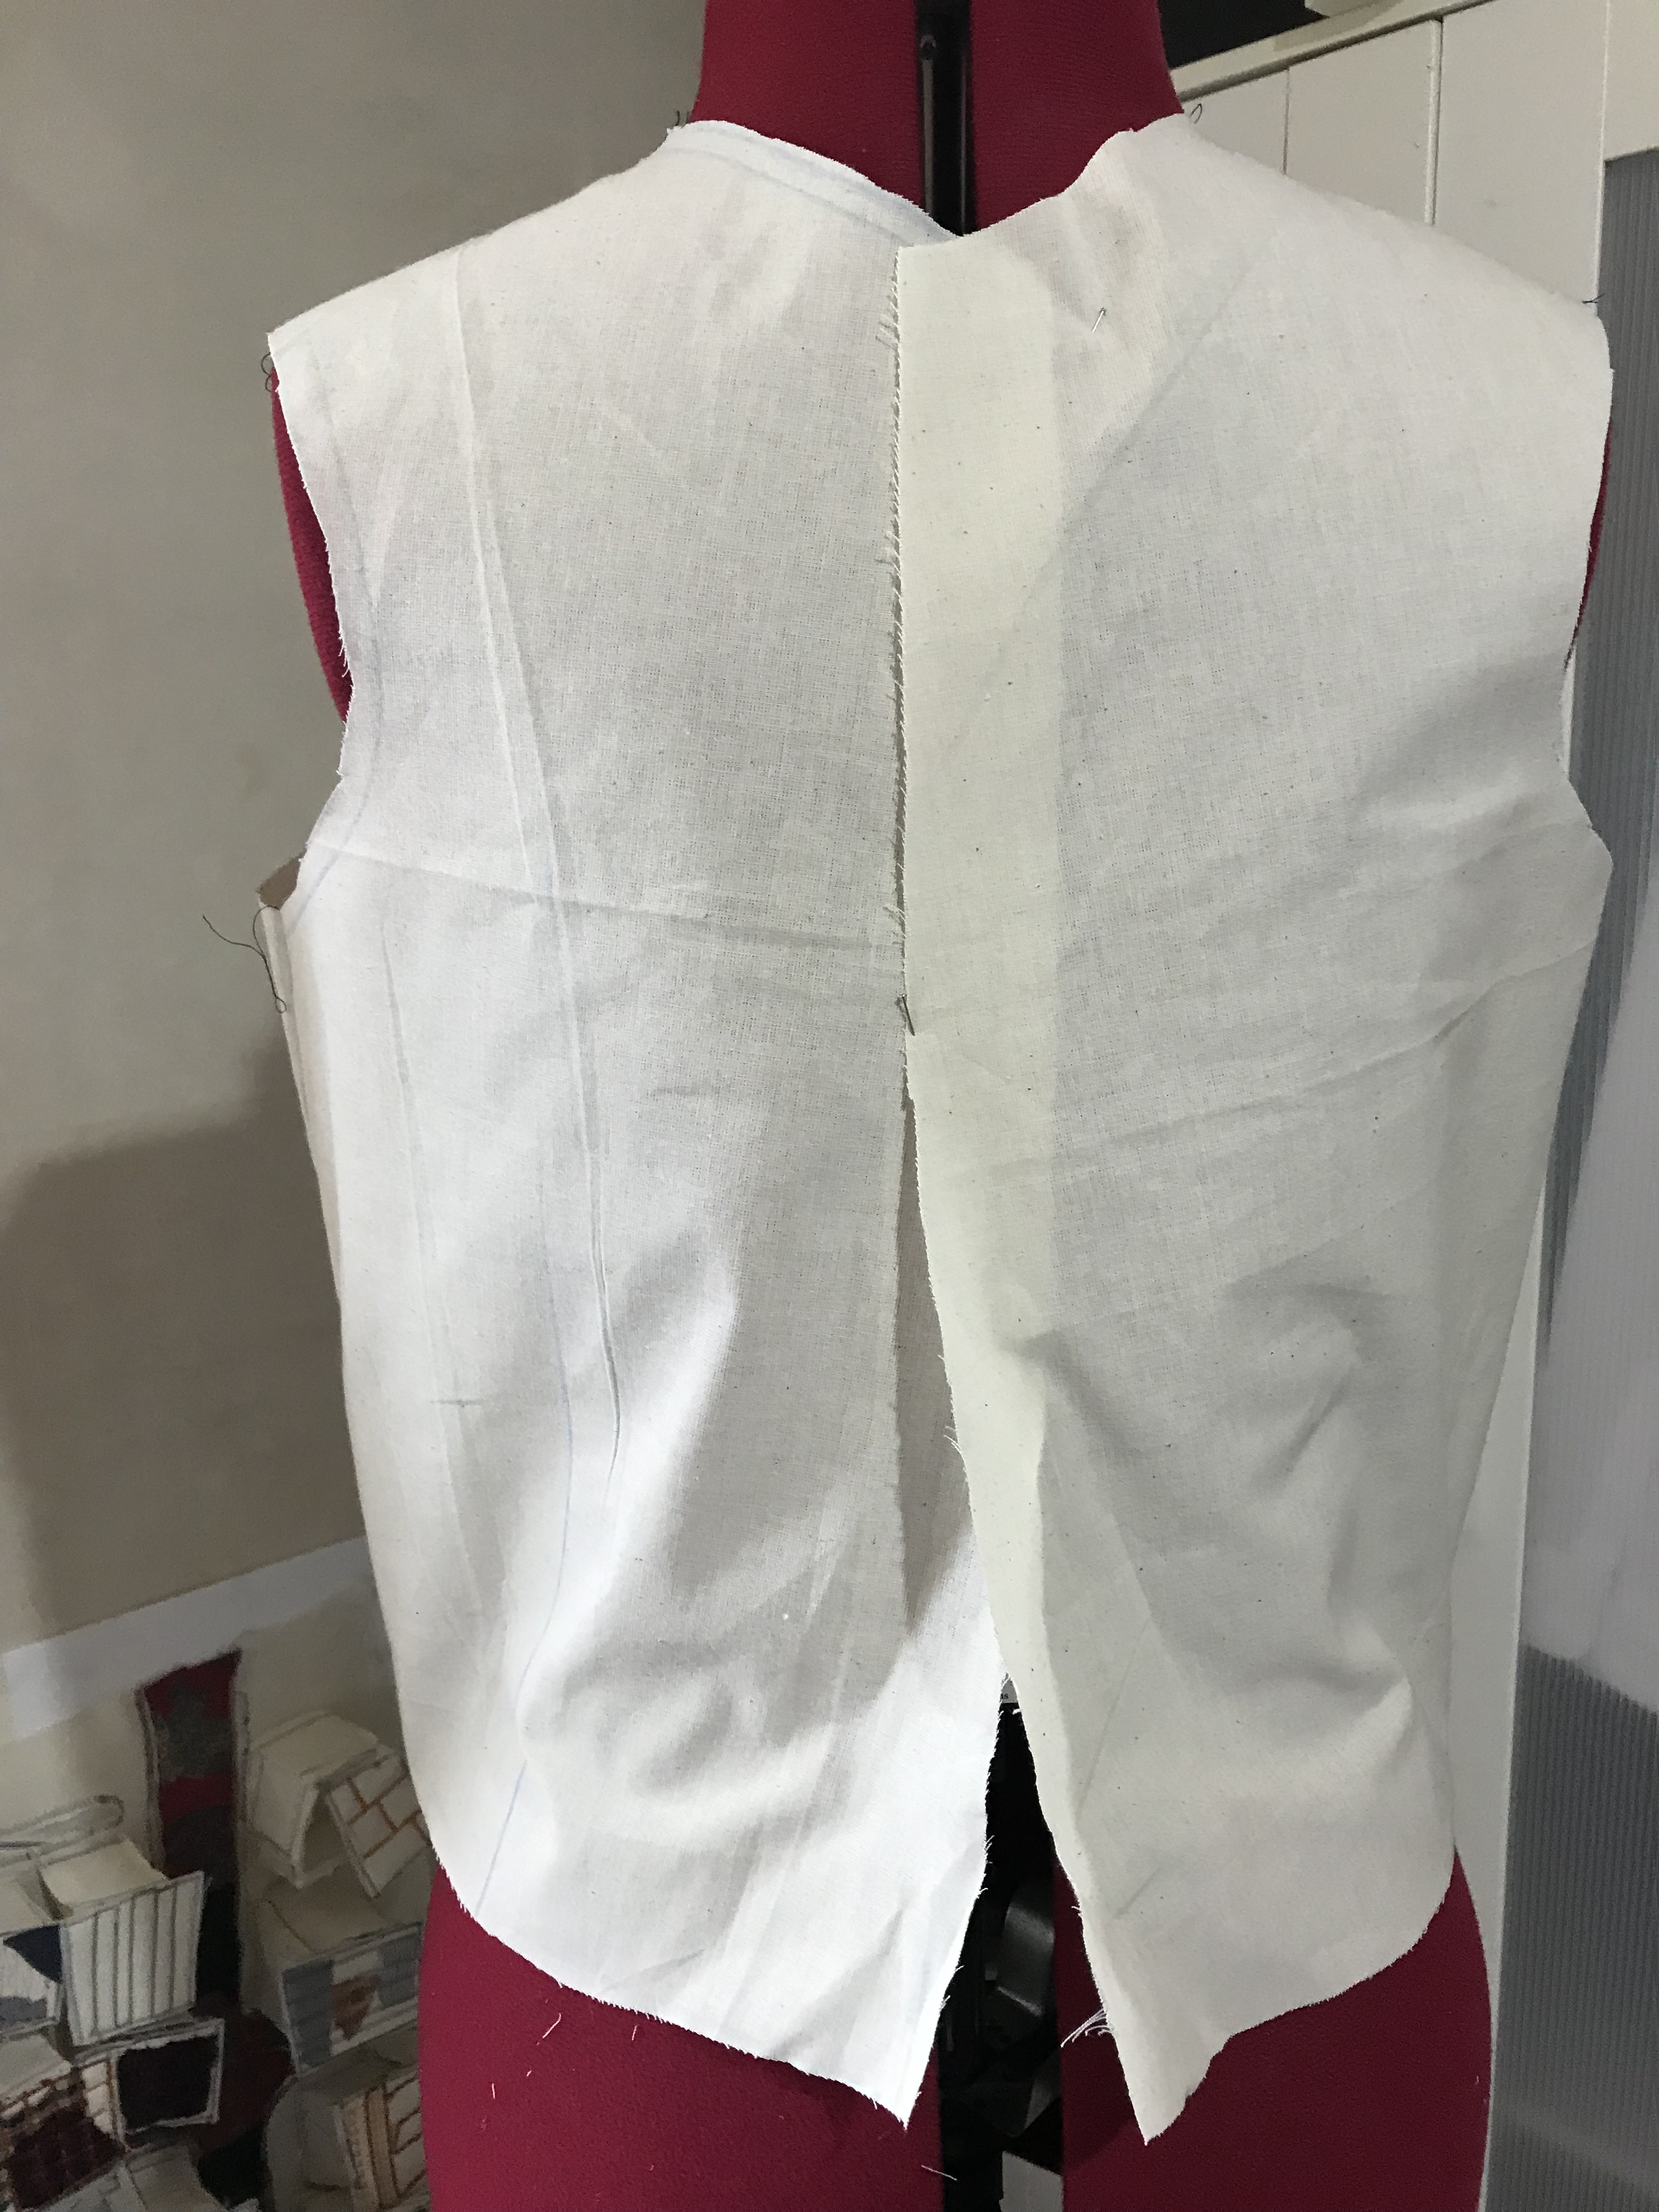
Toile 6:
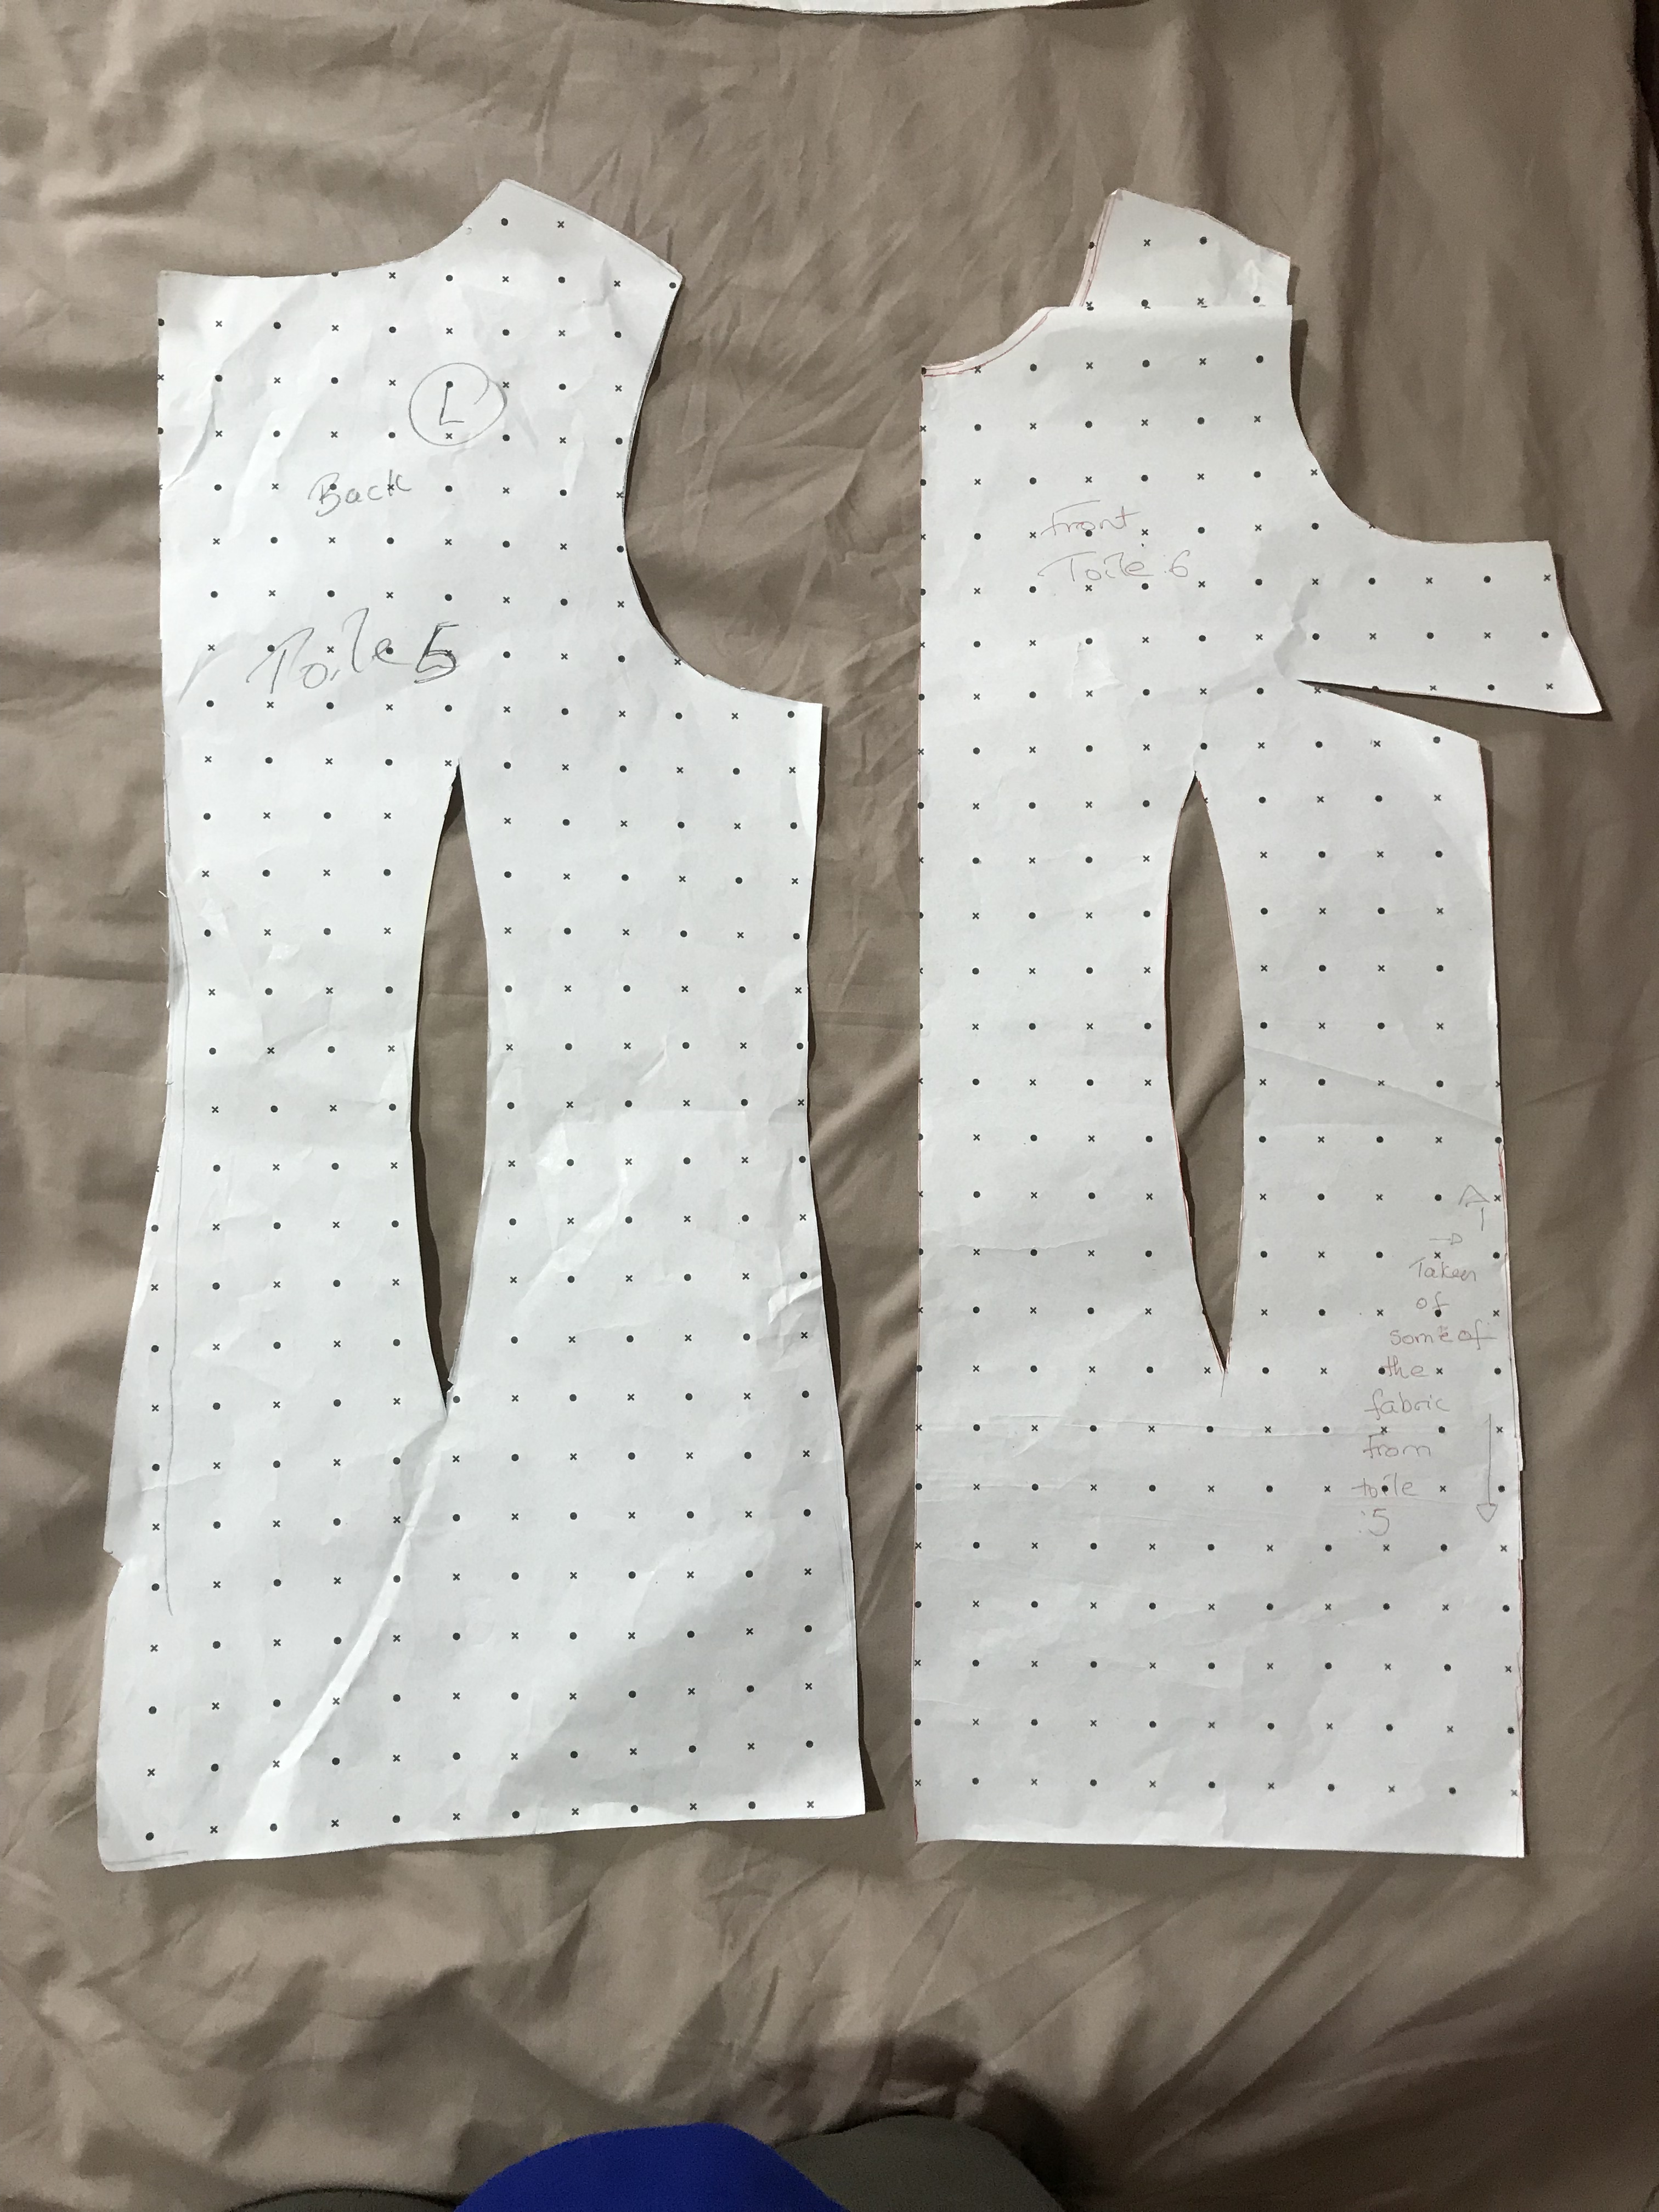
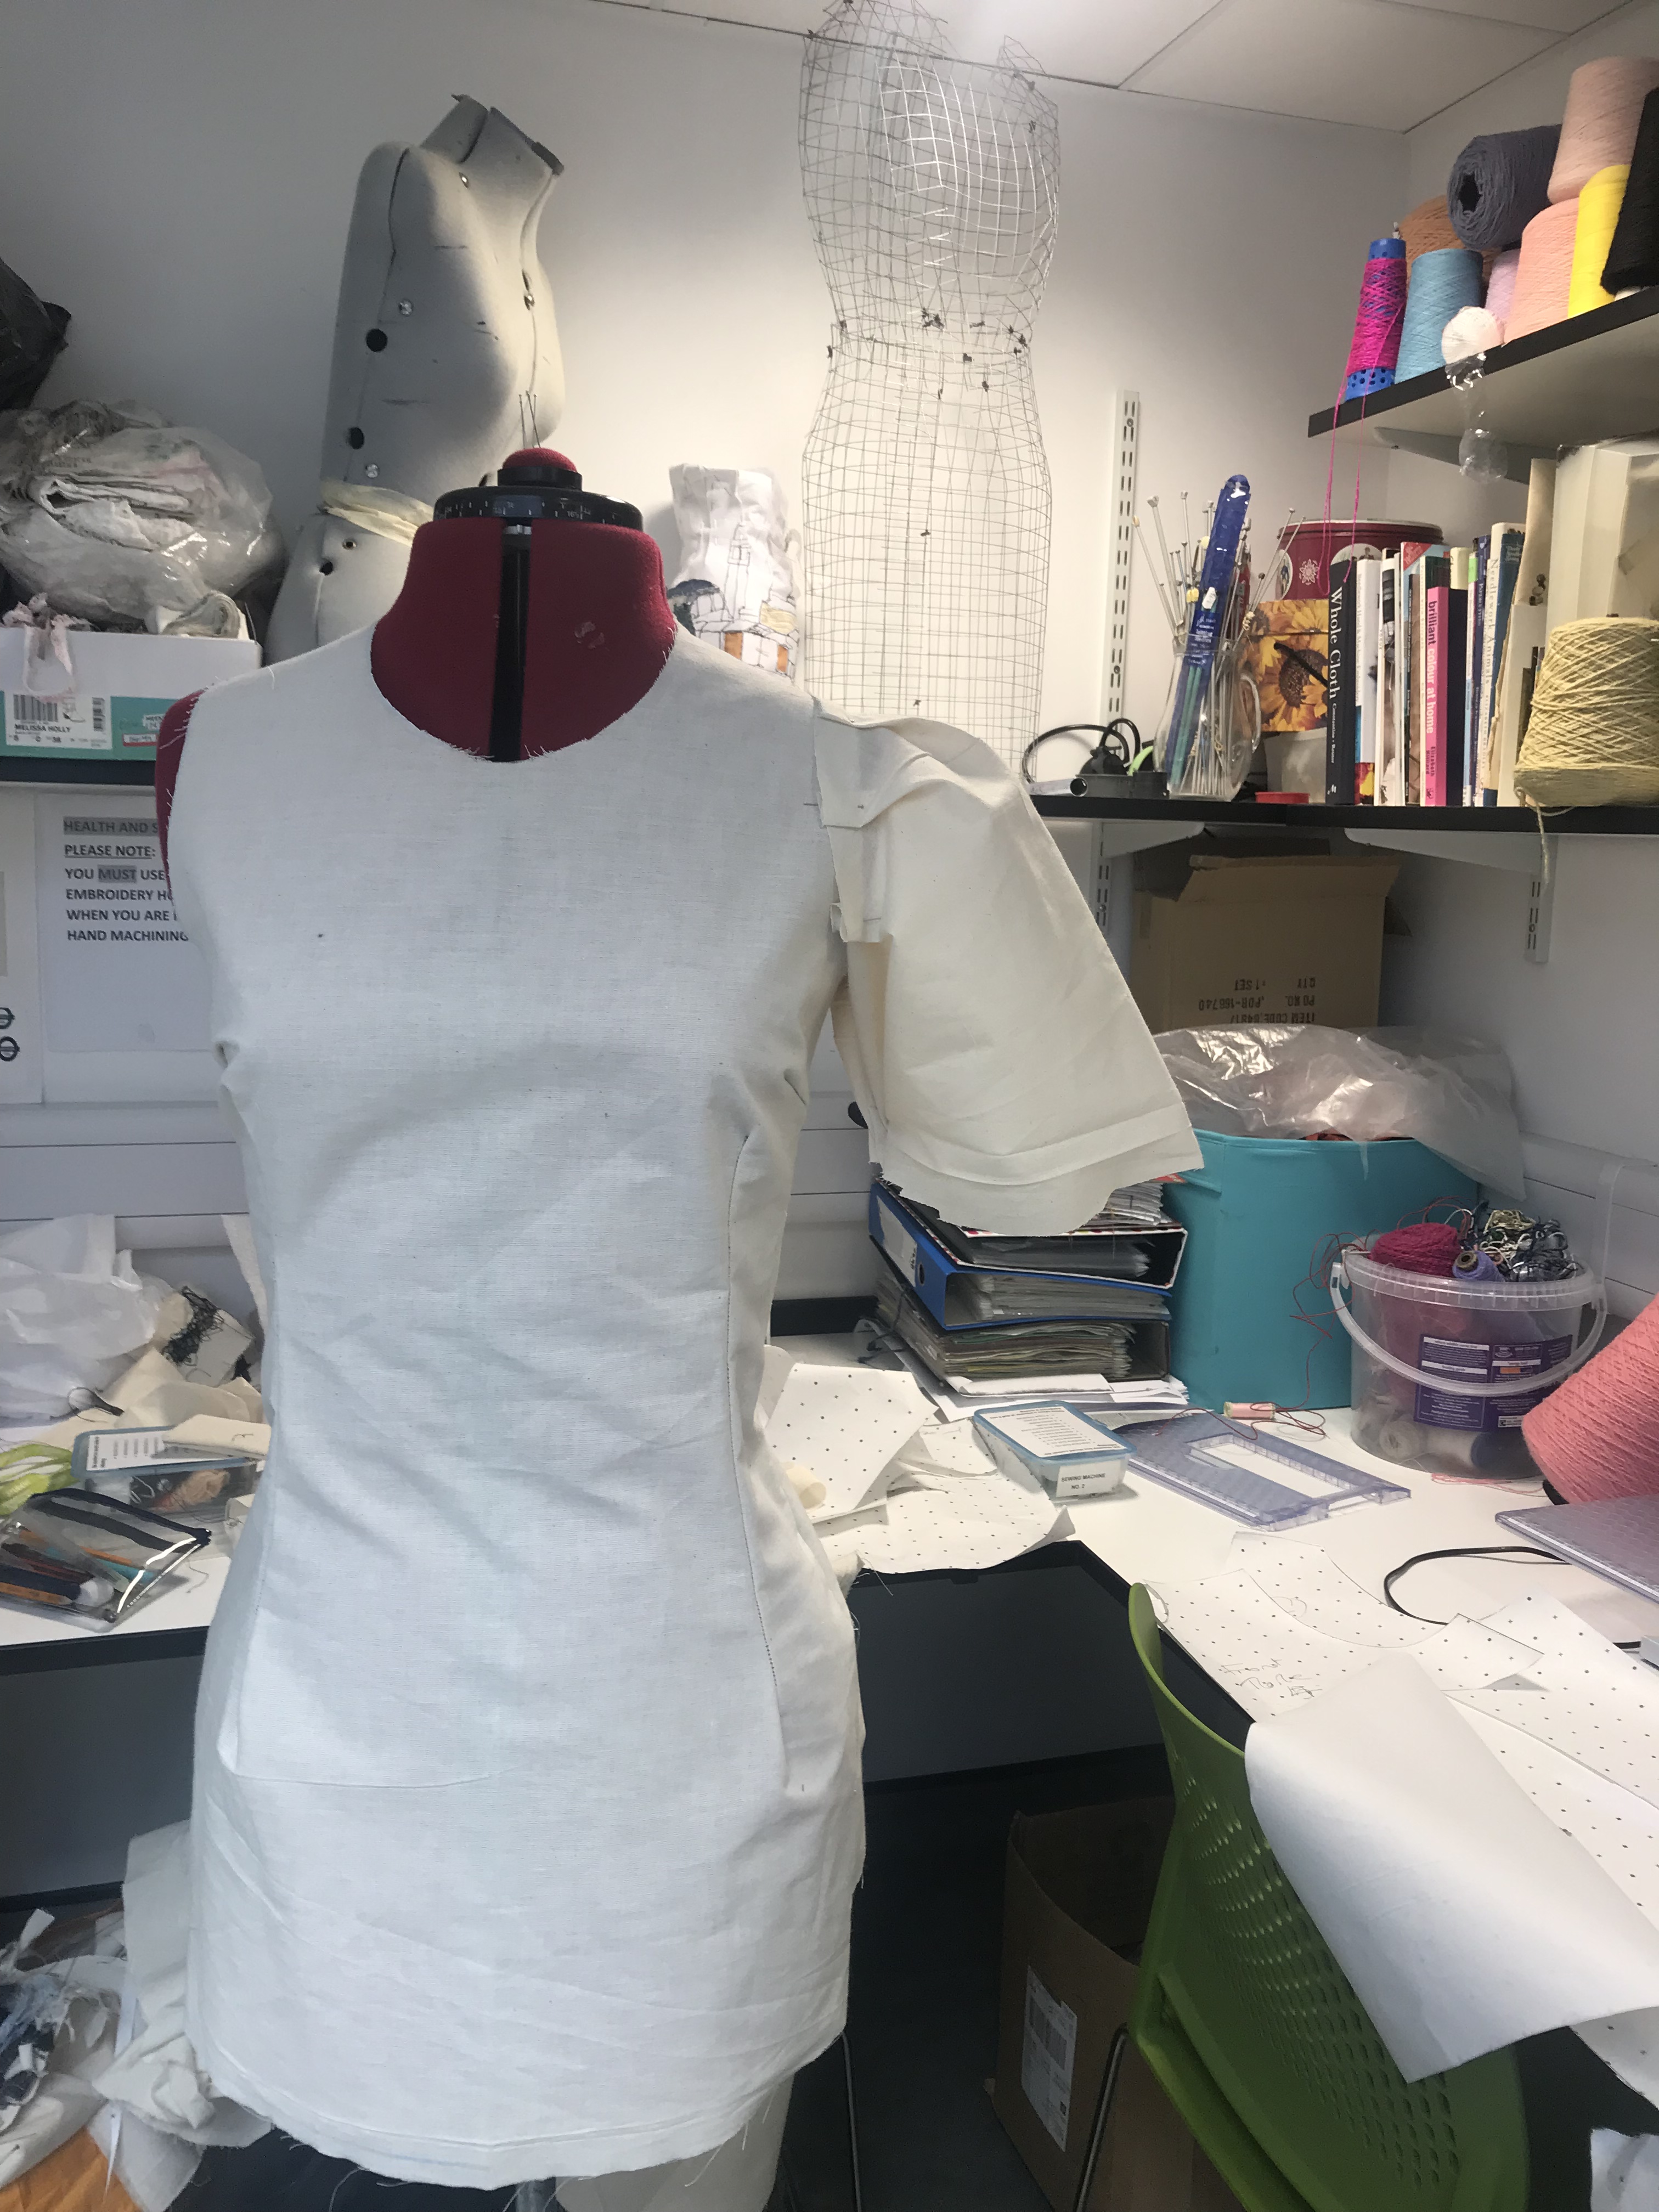
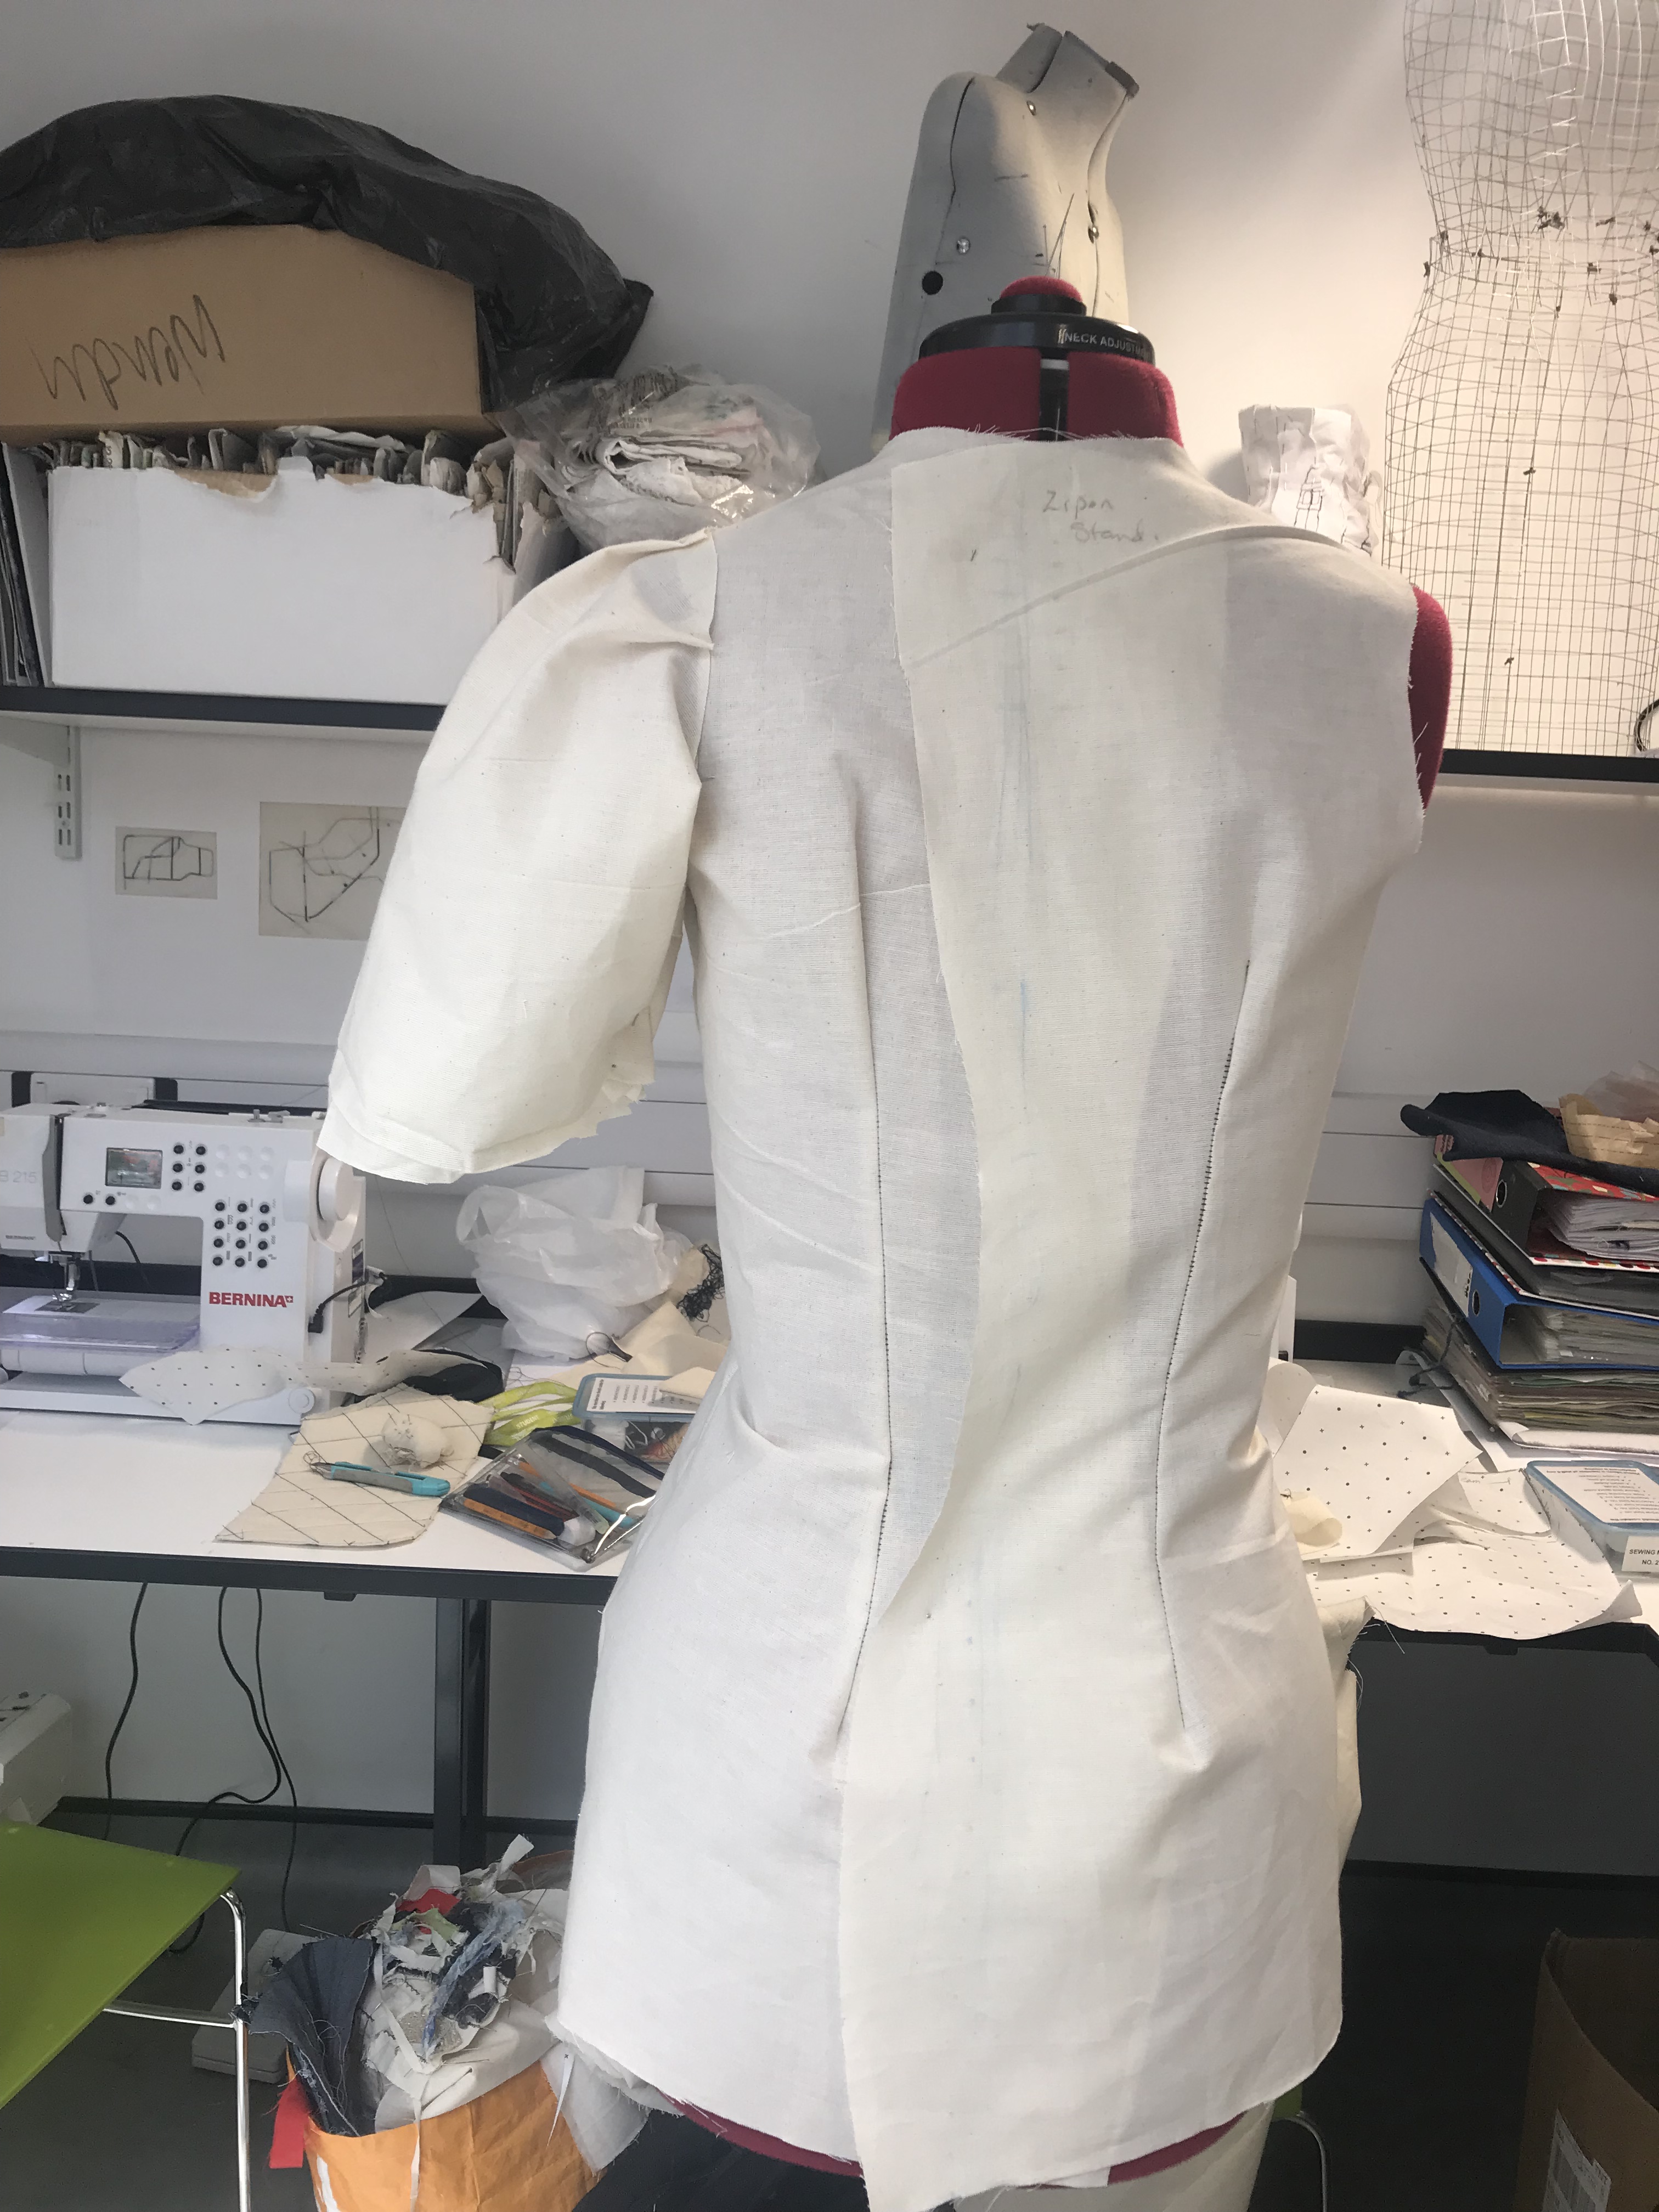
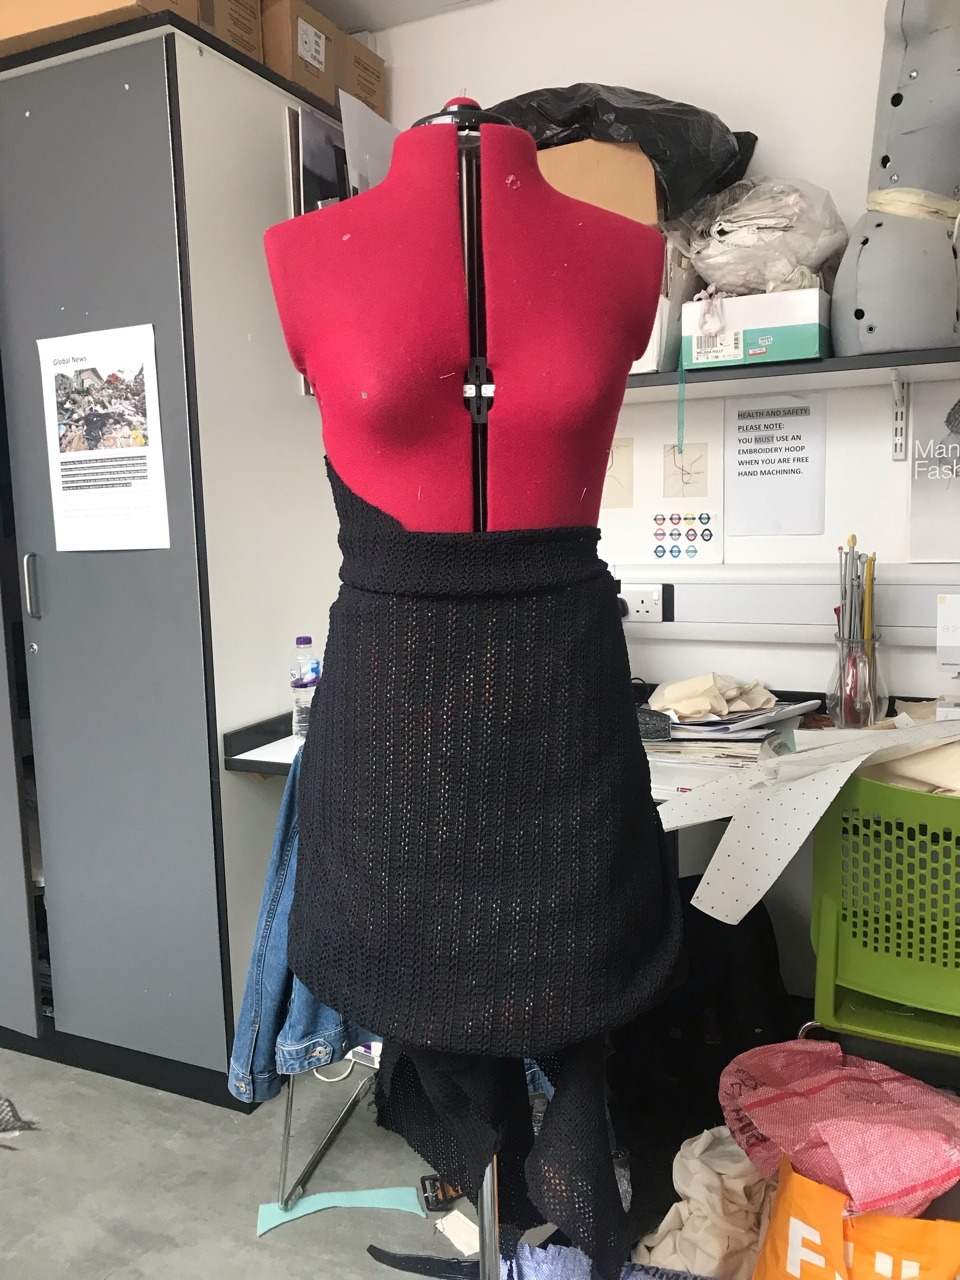
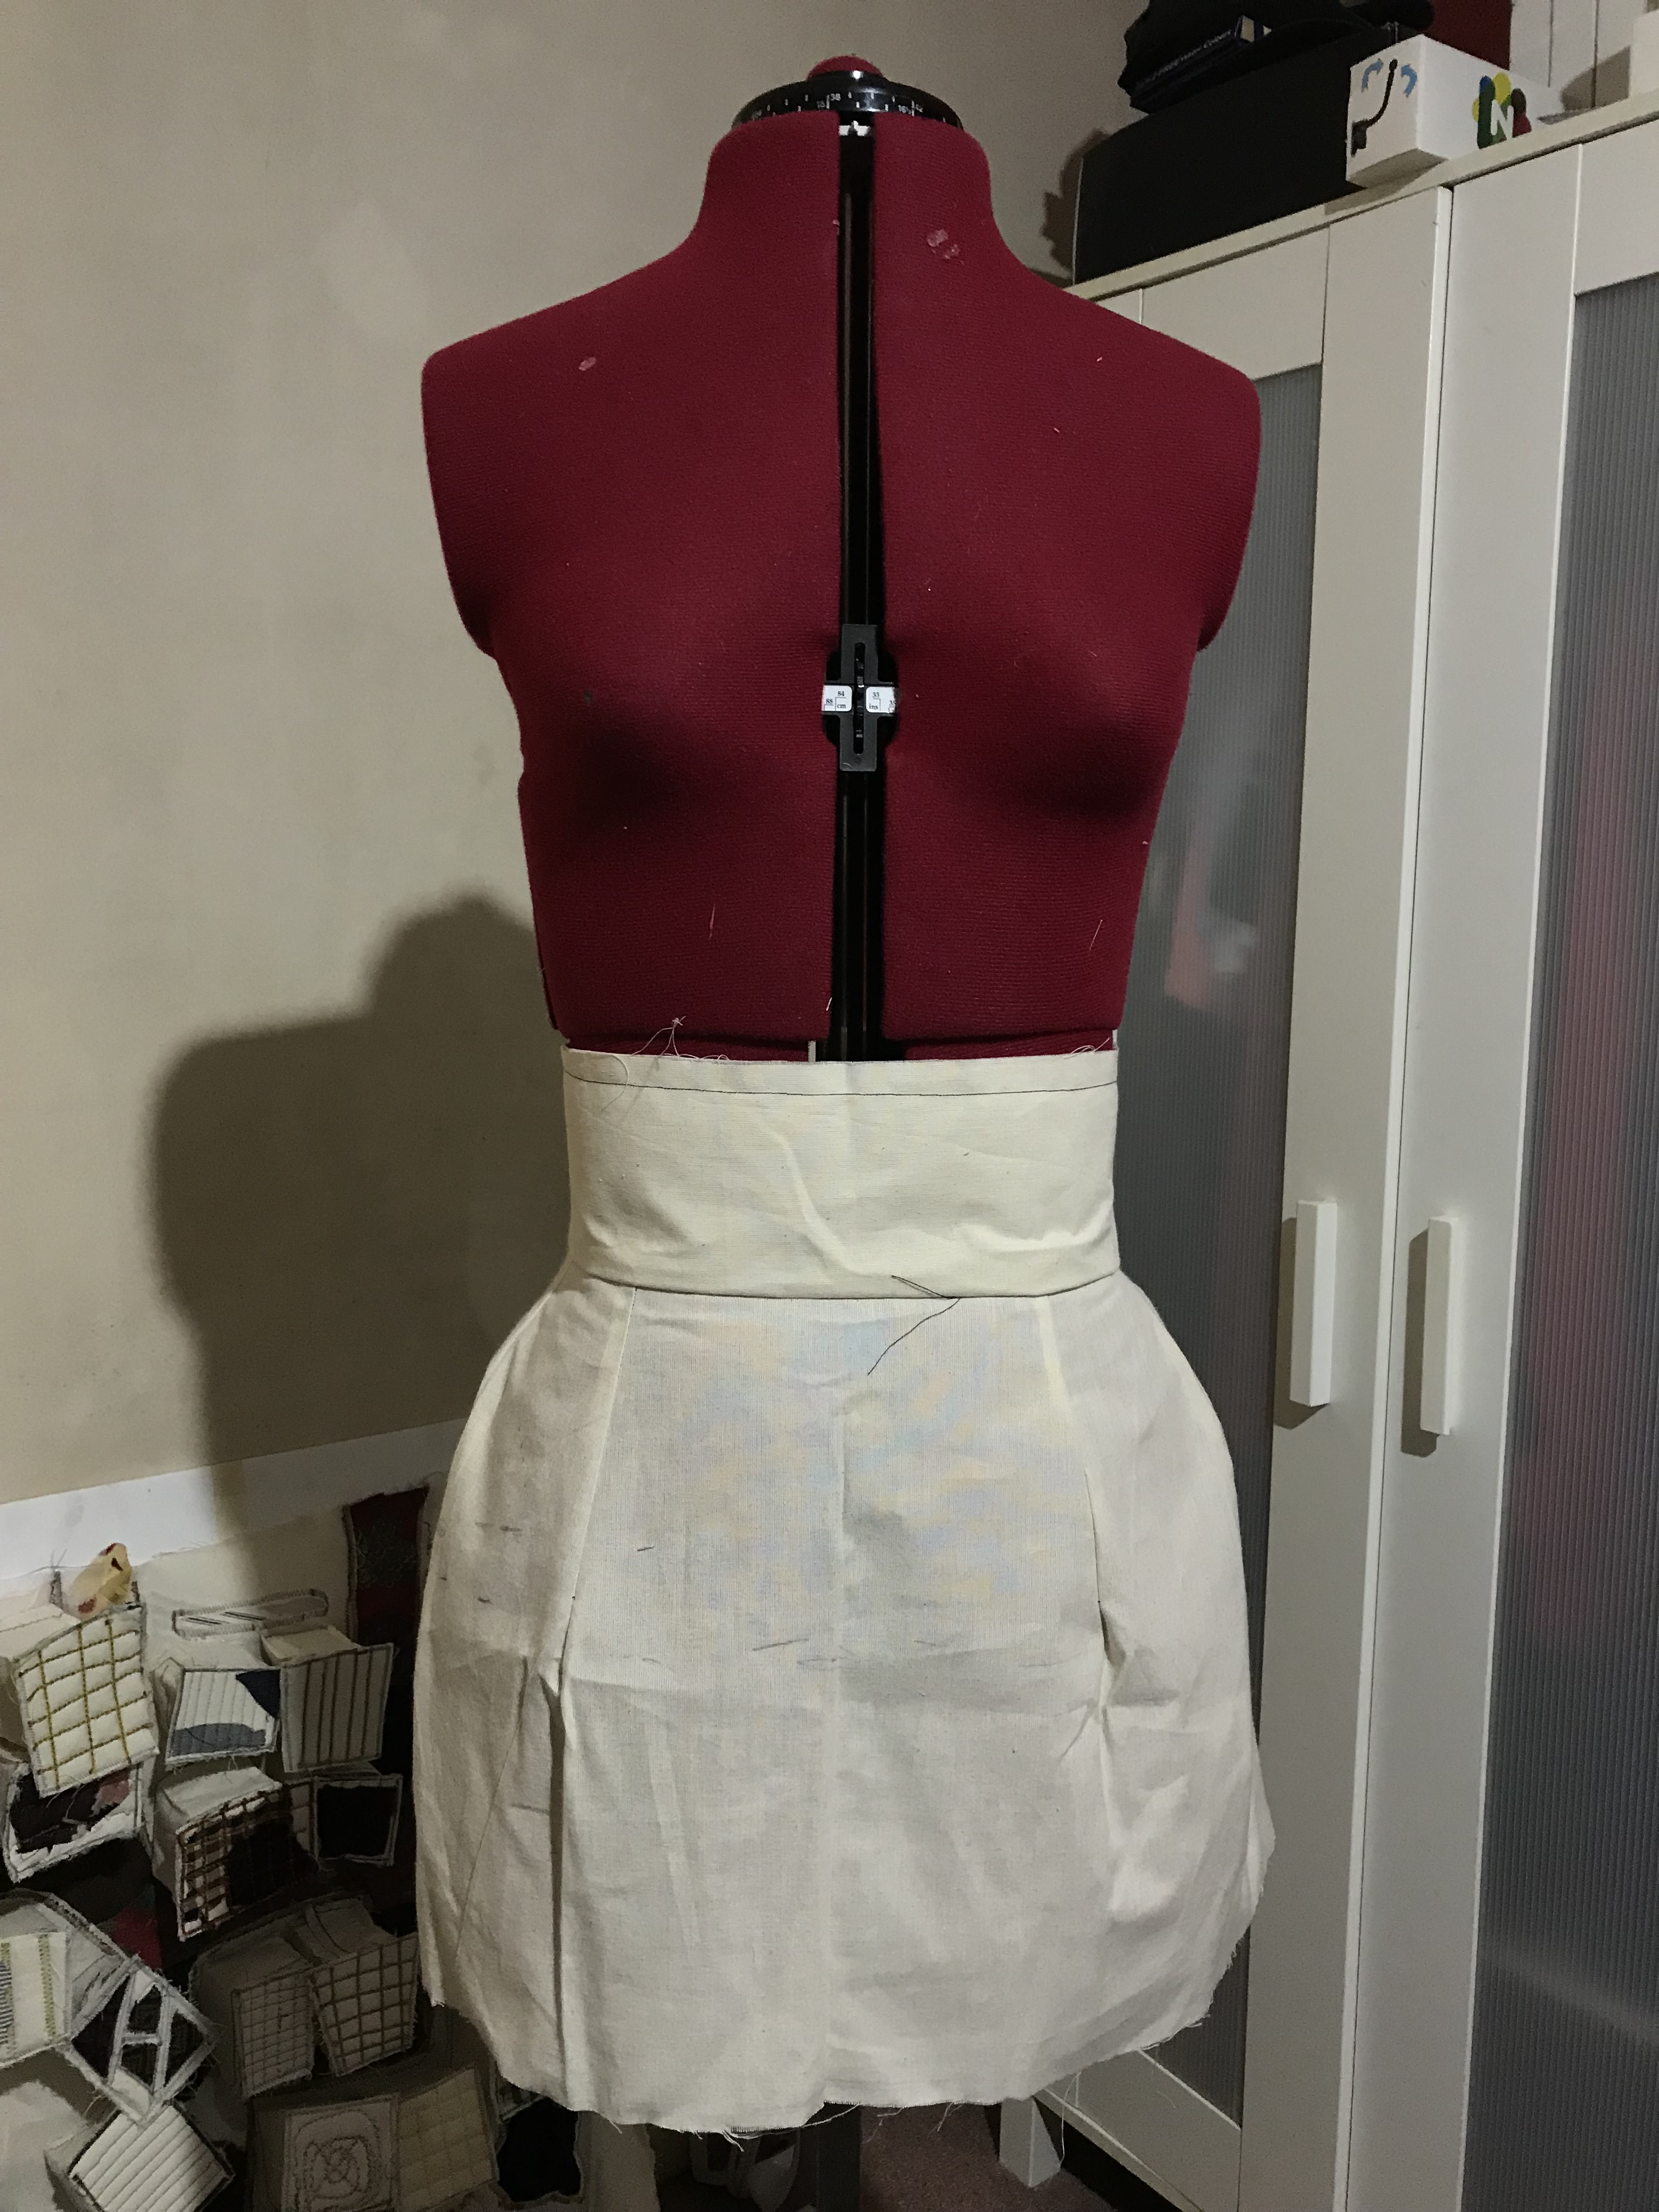
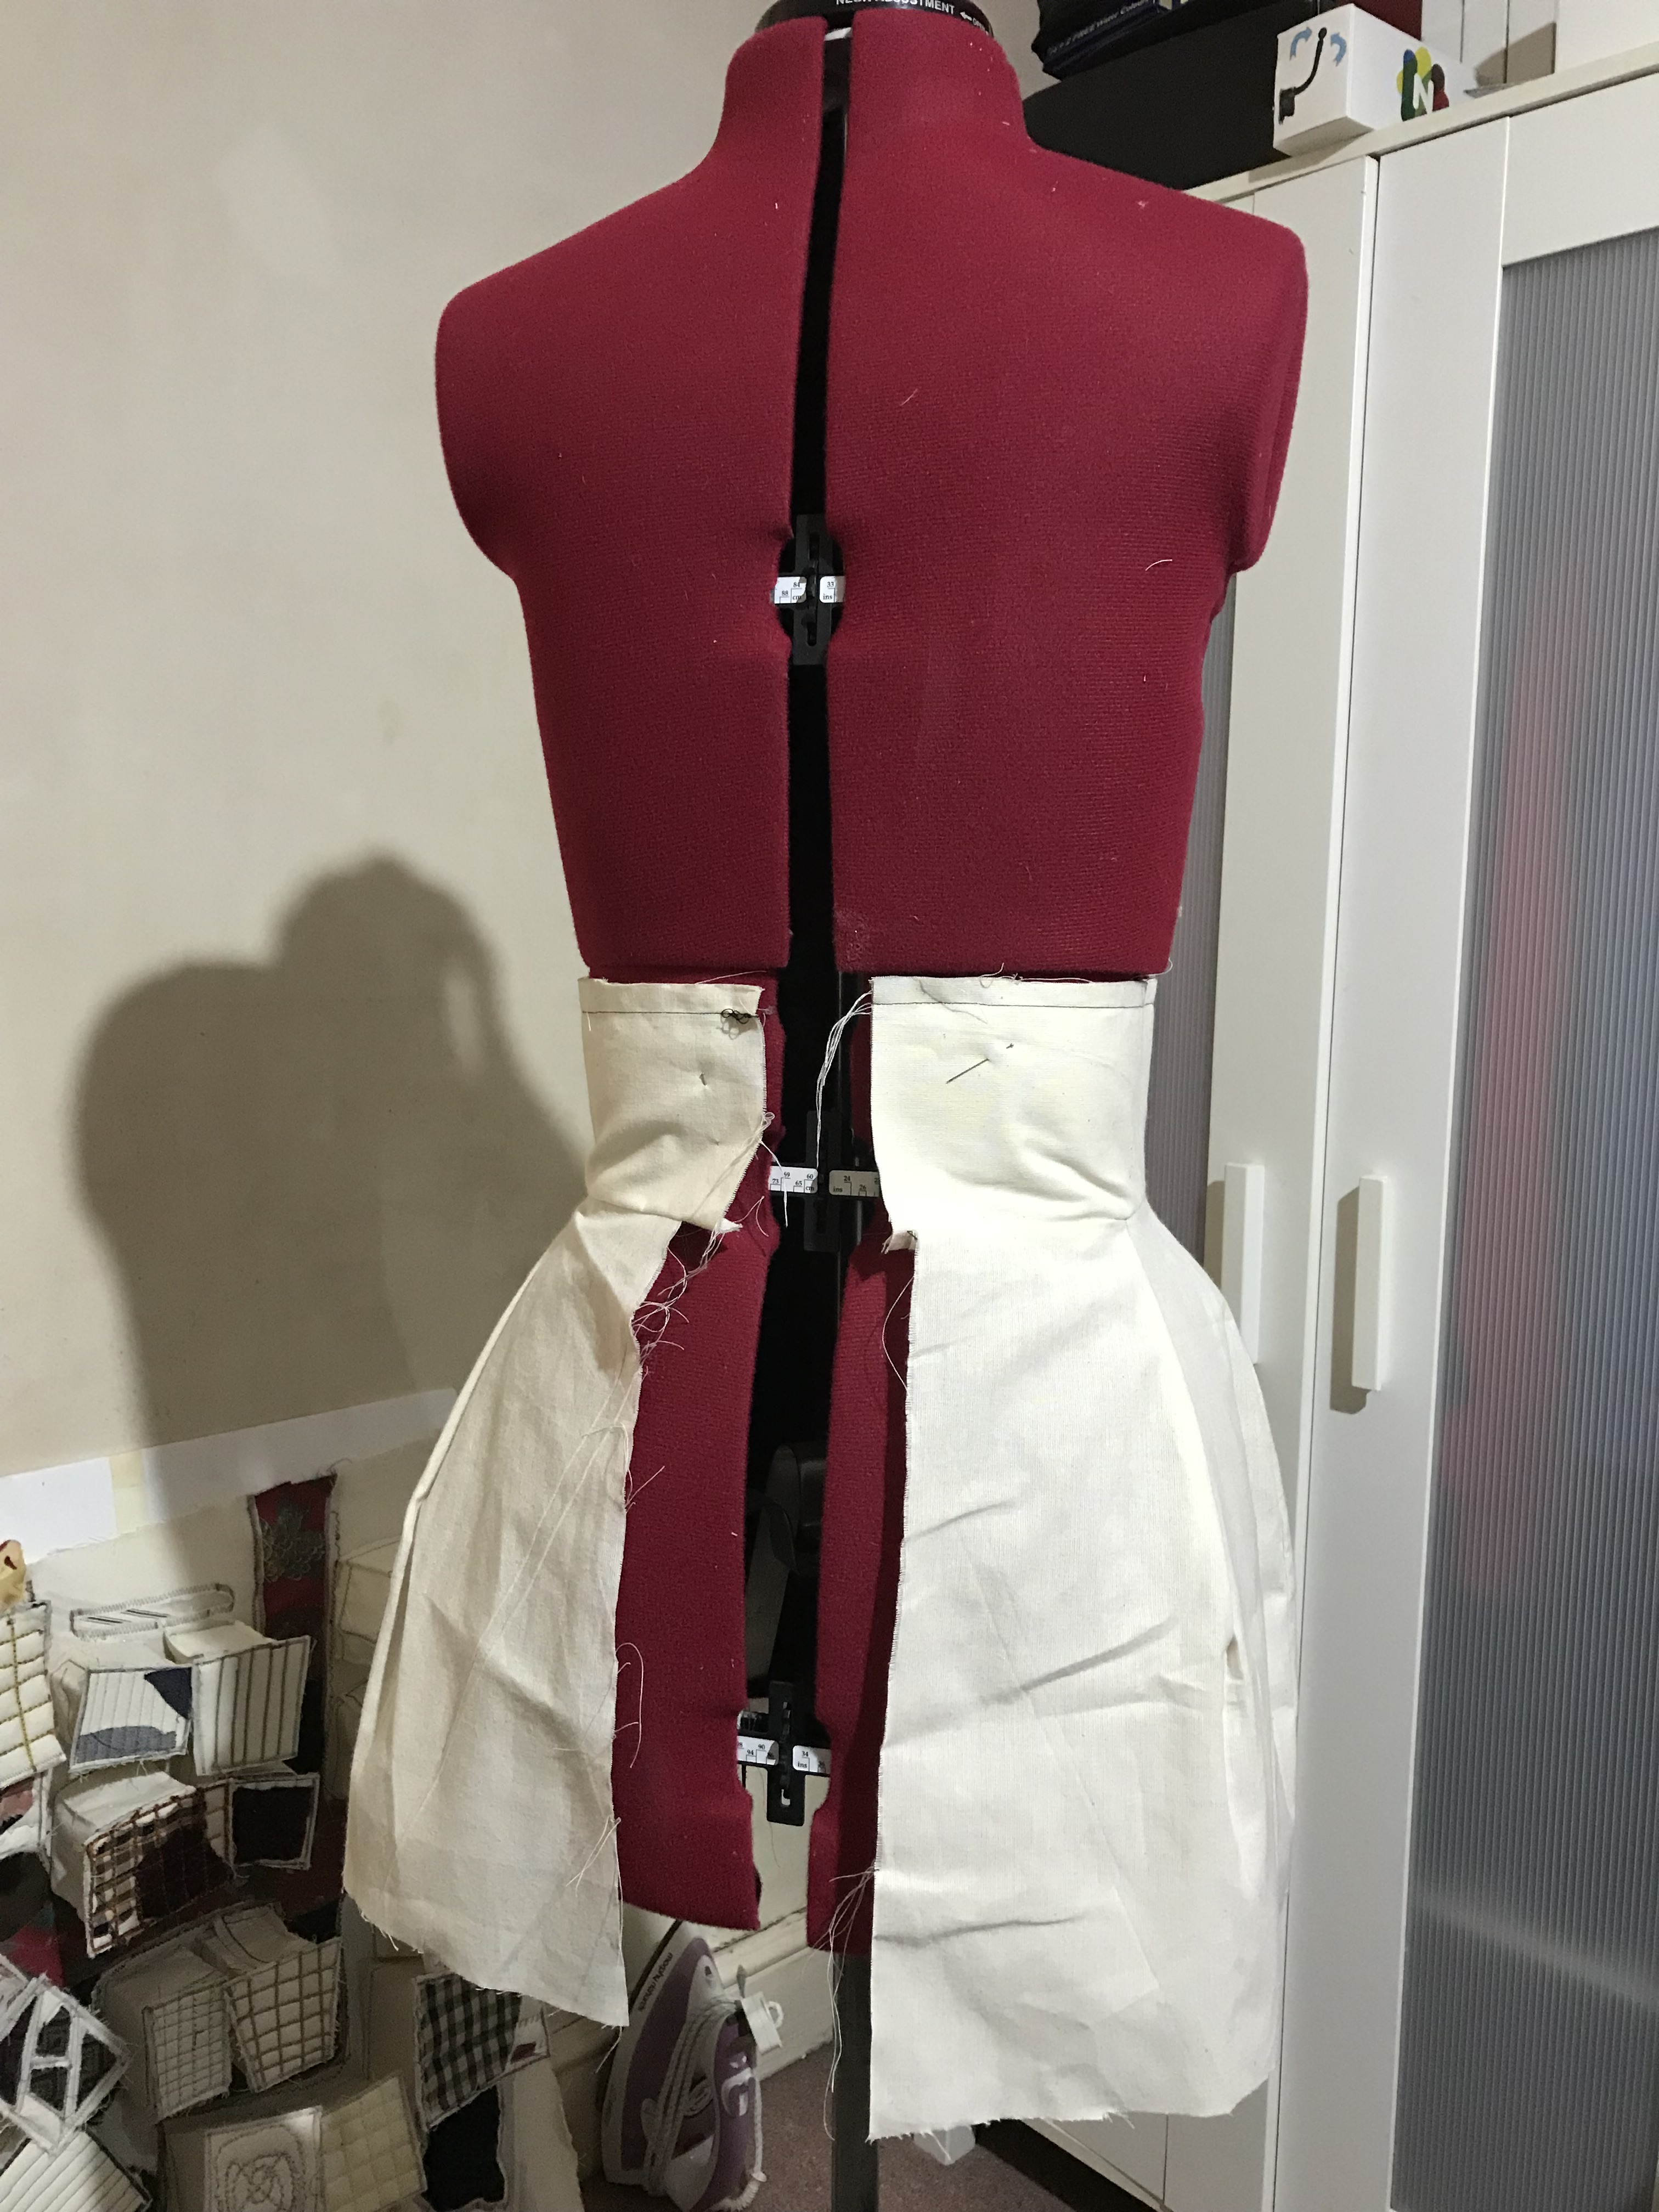
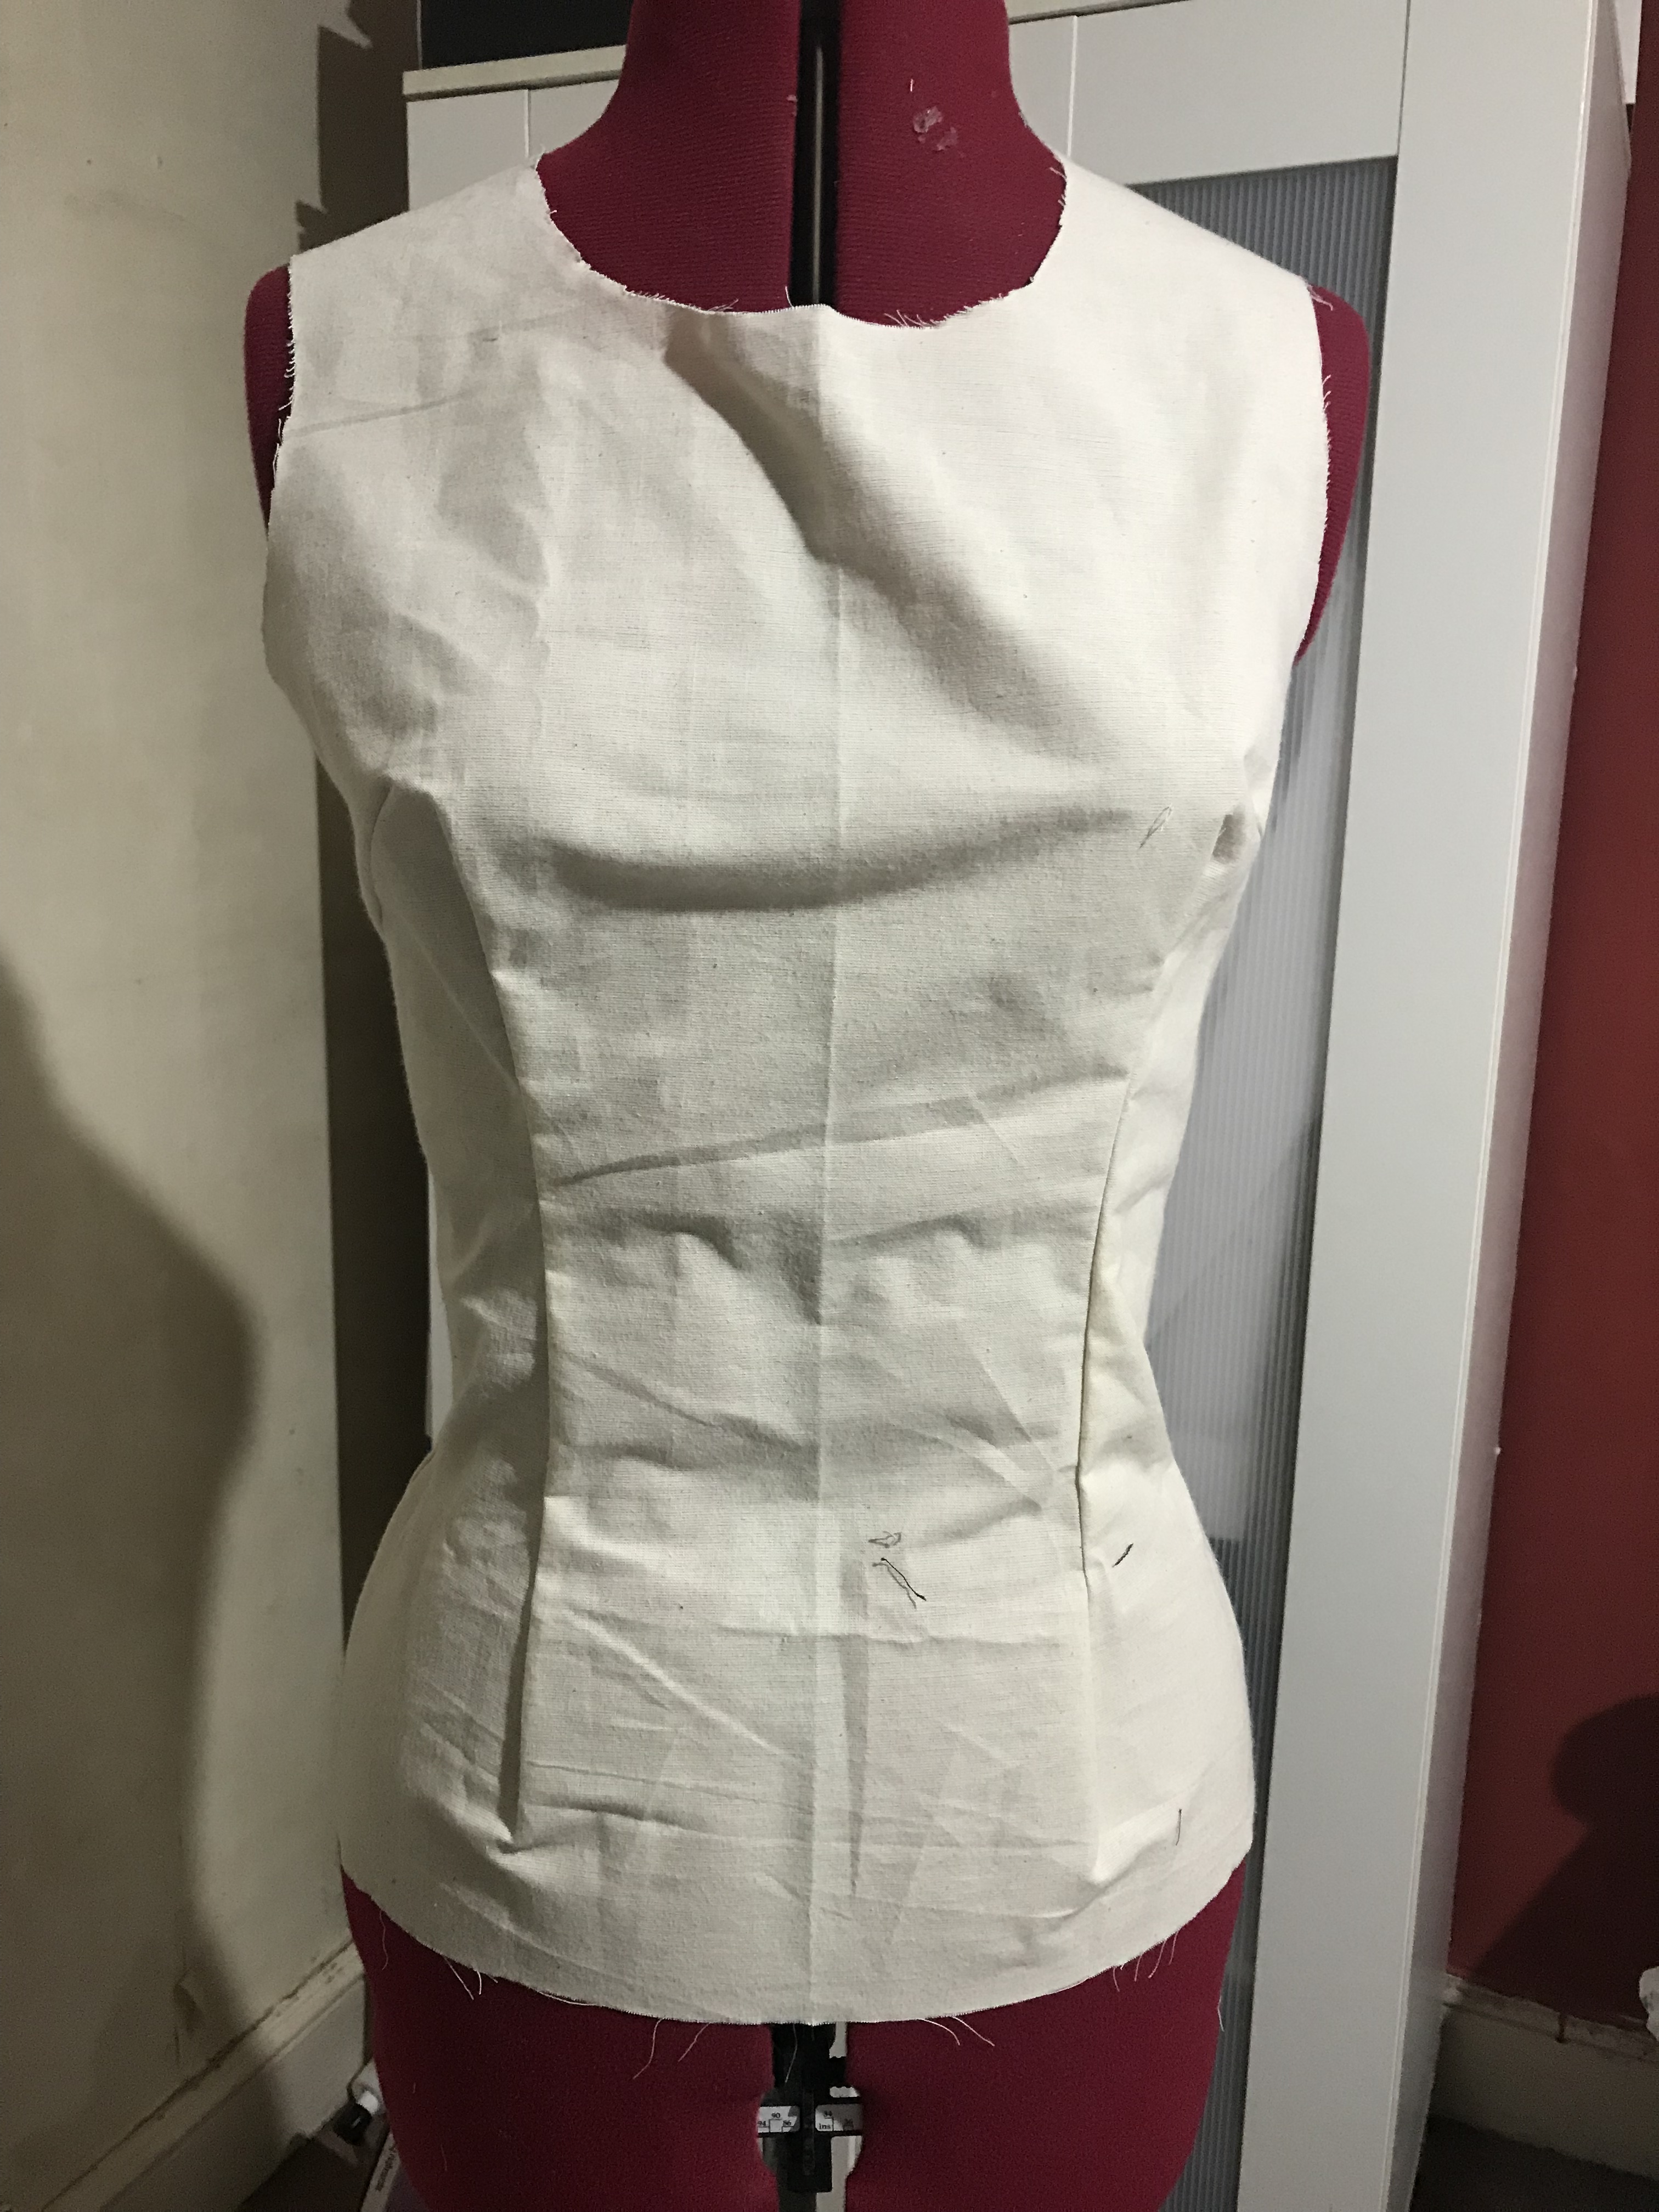
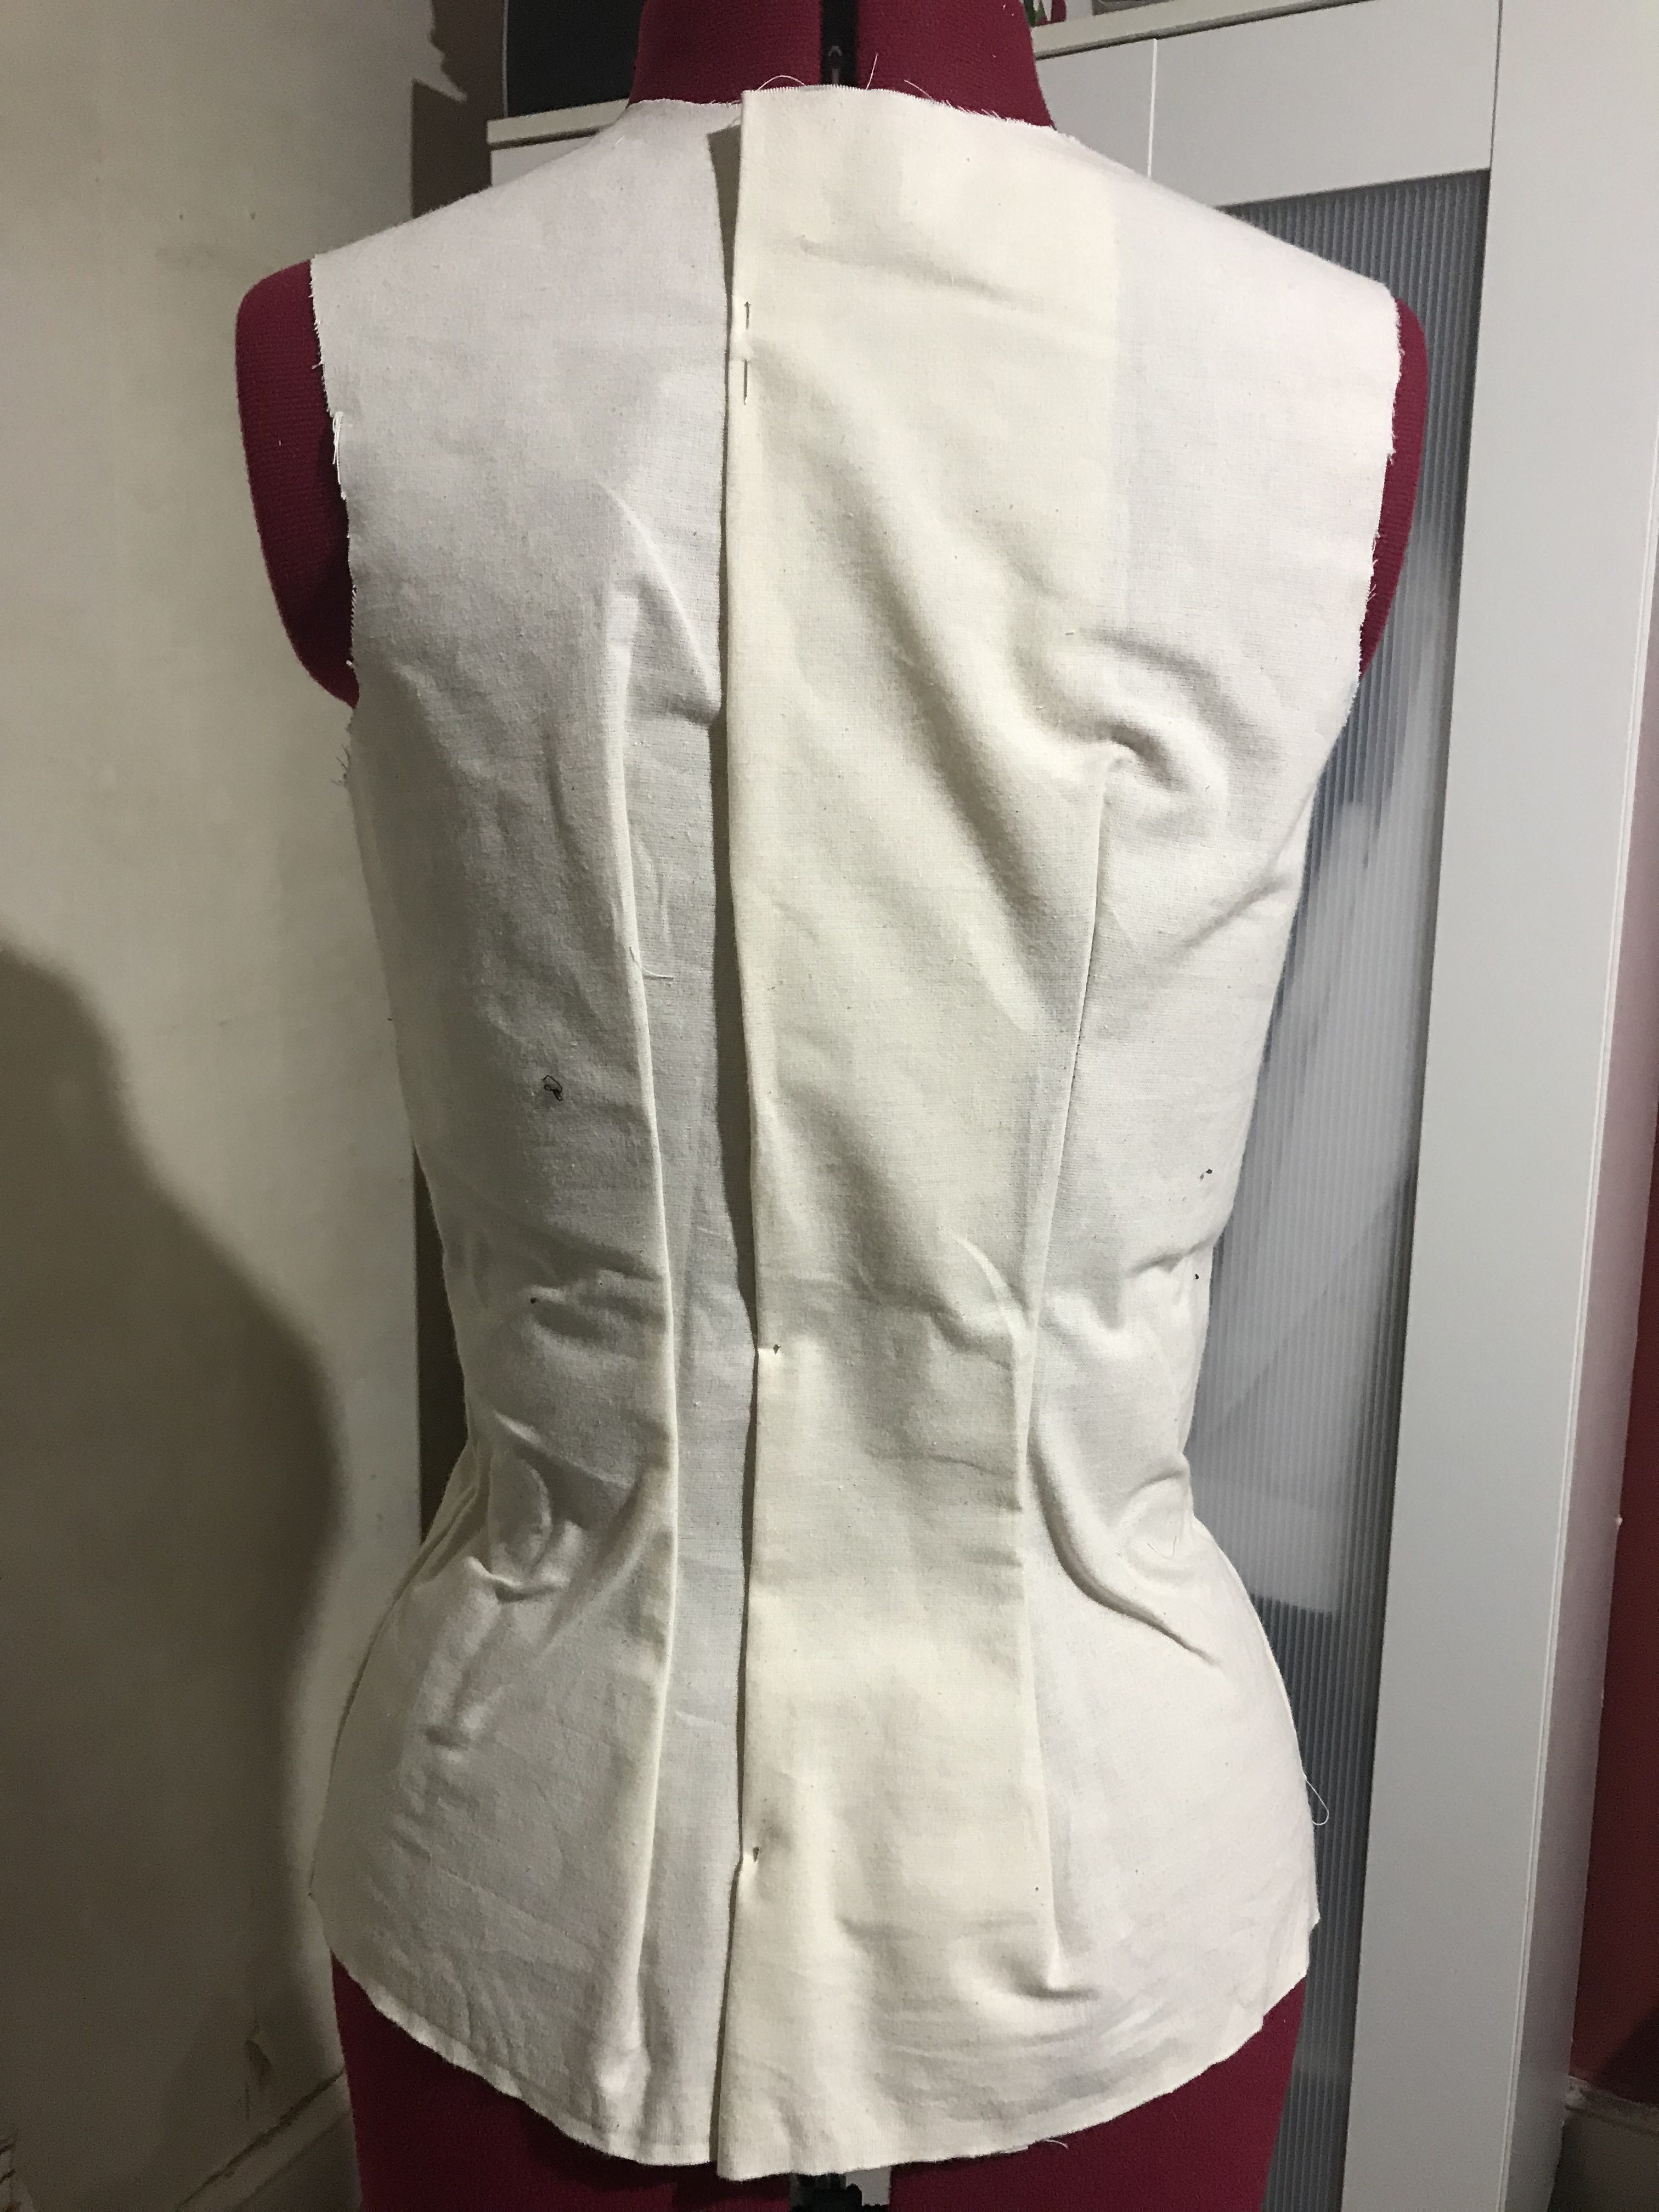
Improved front pattern cutout And for the back I used the pattern cutout form the toile5 as it was perfect and only the front needed adjusting. As see in the image the front is perfect (ignore the sleeves). The back as a bit of extra fabric which can be taken of but before that I will be doing some samples.
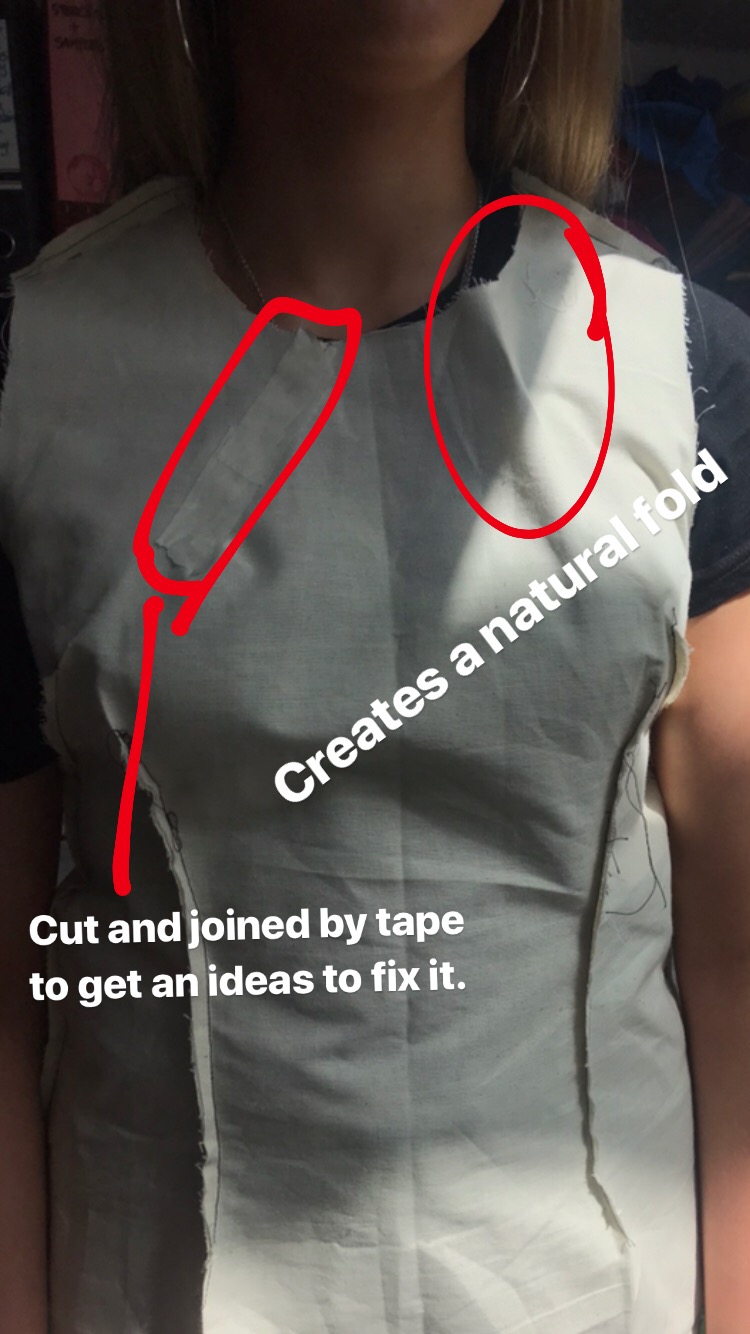
I tired on of the pre final toile (might be toile 5) on the model and had to do many adjustments: dart, collar sleeves, as I had to do de construct it.